Ravenous Bear Boss Guide: Parry, Dodge the Skull, Claim the Liver
Beat the Ravenous Bear in The Blood of Dawnwalker: dodge the skull-marked unblockables, block for free counter hits, and claim the Epic Bear Liver.
よくある質問
How do you beat the Ravenous Bear in The Blood of Dawnwalker?
What does the Ravenous Bear drop?
Which quest is the Ravenous Bear part of?
What Is the Ravenous Bear?
The Ravenous Bear is a large brown bear boss in The Blood of Dawnwalker, fought at the top of a rocky, cave-backed hill during the prologue objective “A Pilgrimage for Power: Bear Trouble” (tracker step: “Explore the top of the hill”). It is one of the earliest real fights the game throws at young Coen, and beating it nets the Epic-ingredient Bear Liver.
Everything on this page comes from a single clean gameplay capture by PazarGamingGuides — the creator narrates the full strategy while fighting, so the tactical advice below is quoted from what he actually does and says, and the loot is read straight off the on-screen menu.
The Fight Setup
The bear’s health bar spans the top of the screen, split into three segments with a small skull marker at the left end. Coen approaches the den on foot; the tracker on the right still shows “Rescue your family · 29 days left” and the clock reads Moonrise, so this detour spends the prologue’s tight time budget (see /guides/30-day-time-system/).
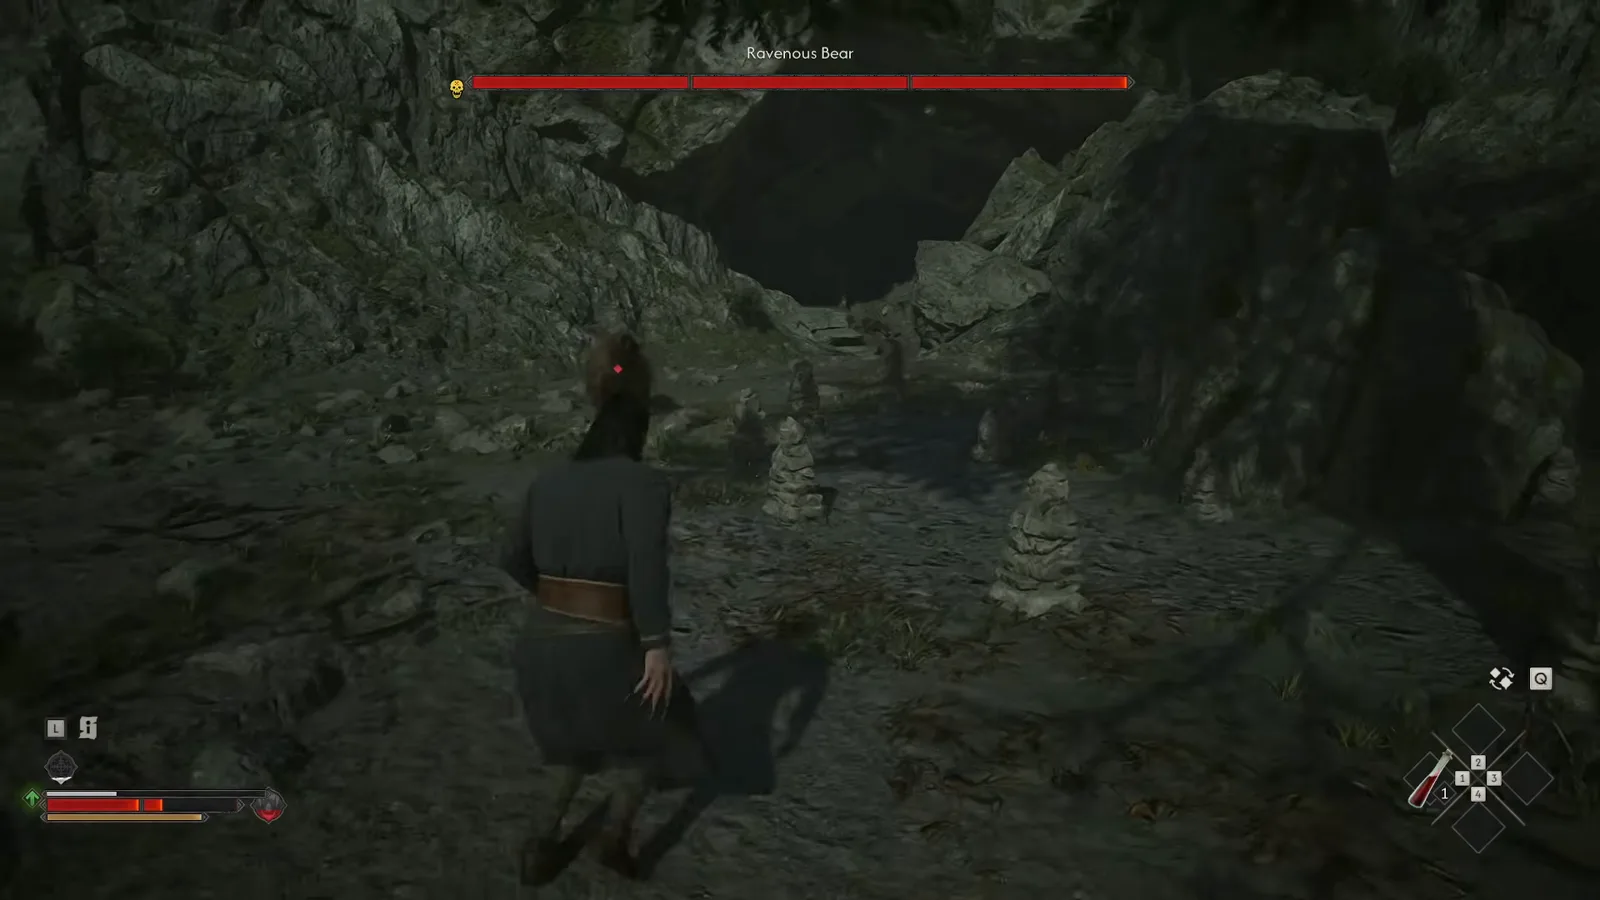
Three health segments and a skull icon — that combination is the whole story of this fight. The bear encounter at 0:02
The Core Rule: Dodge the Skull, Block the Rest
The creator’s plan is simple and he repeats it while executing it: “dodge to the left or right whenever that skull is happening. Always dodge when in doubt, and then block when you’re certain.” The skull marker on the bar is the tell for an unblockable swipe — you cannot guard it, so sidestep.
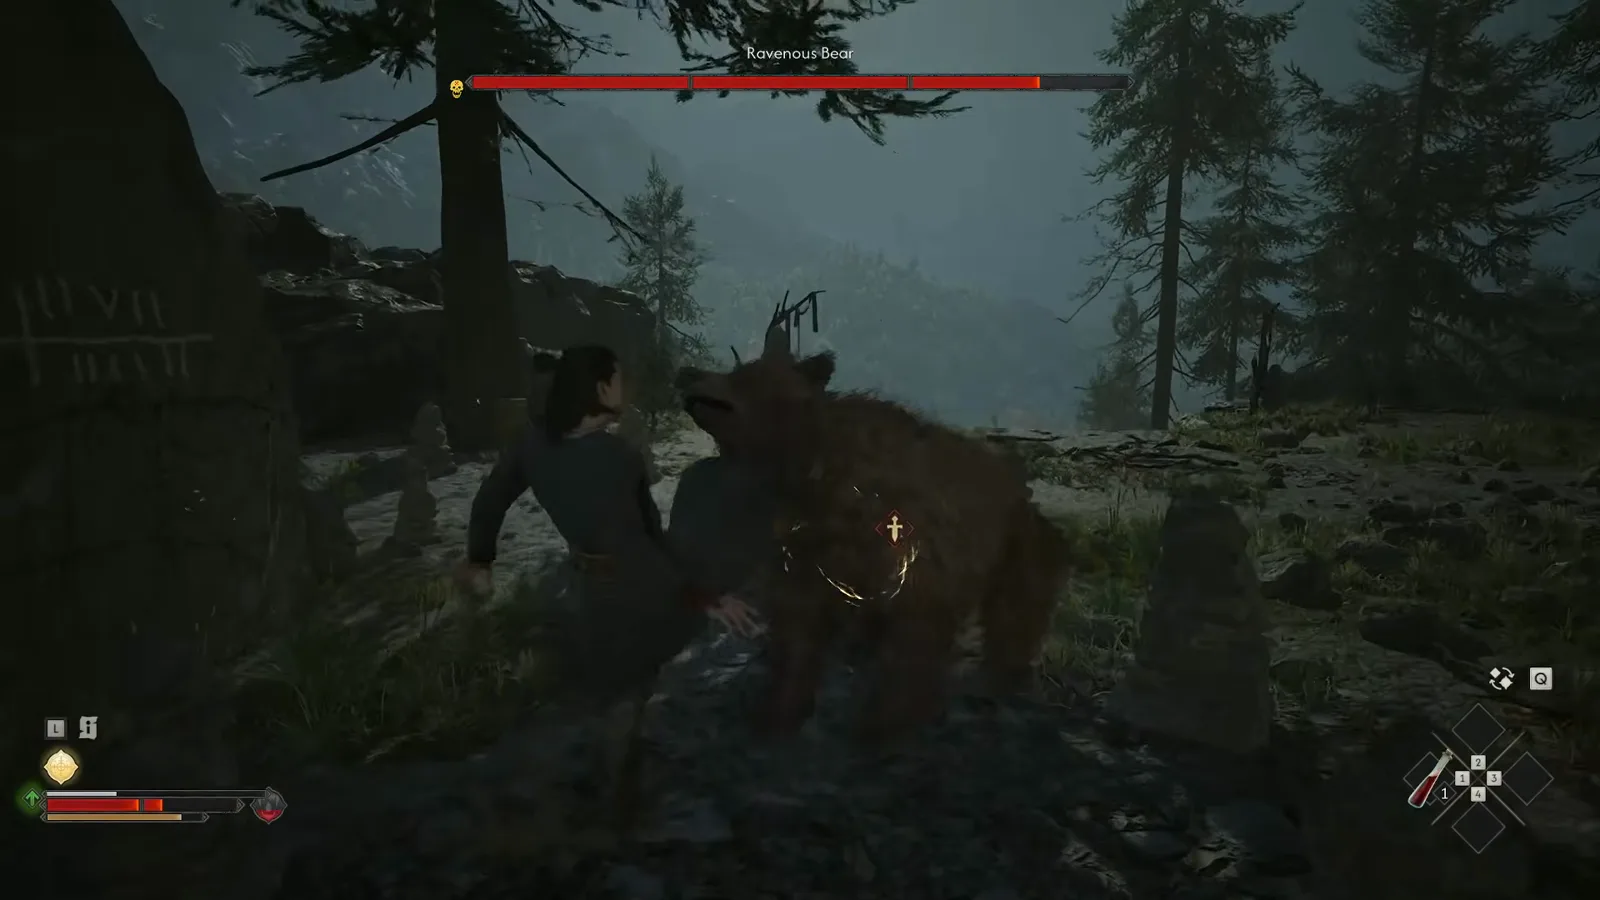
When an attack is blockable, meet it — the golden spark is a clean parry. The parry at 0:15
When the skull is not showing, the bear’s mauls are blockable or parryable. A successful block or parry is the entire point of the defensive game: it stuns the bear and opens your only safe damage window.
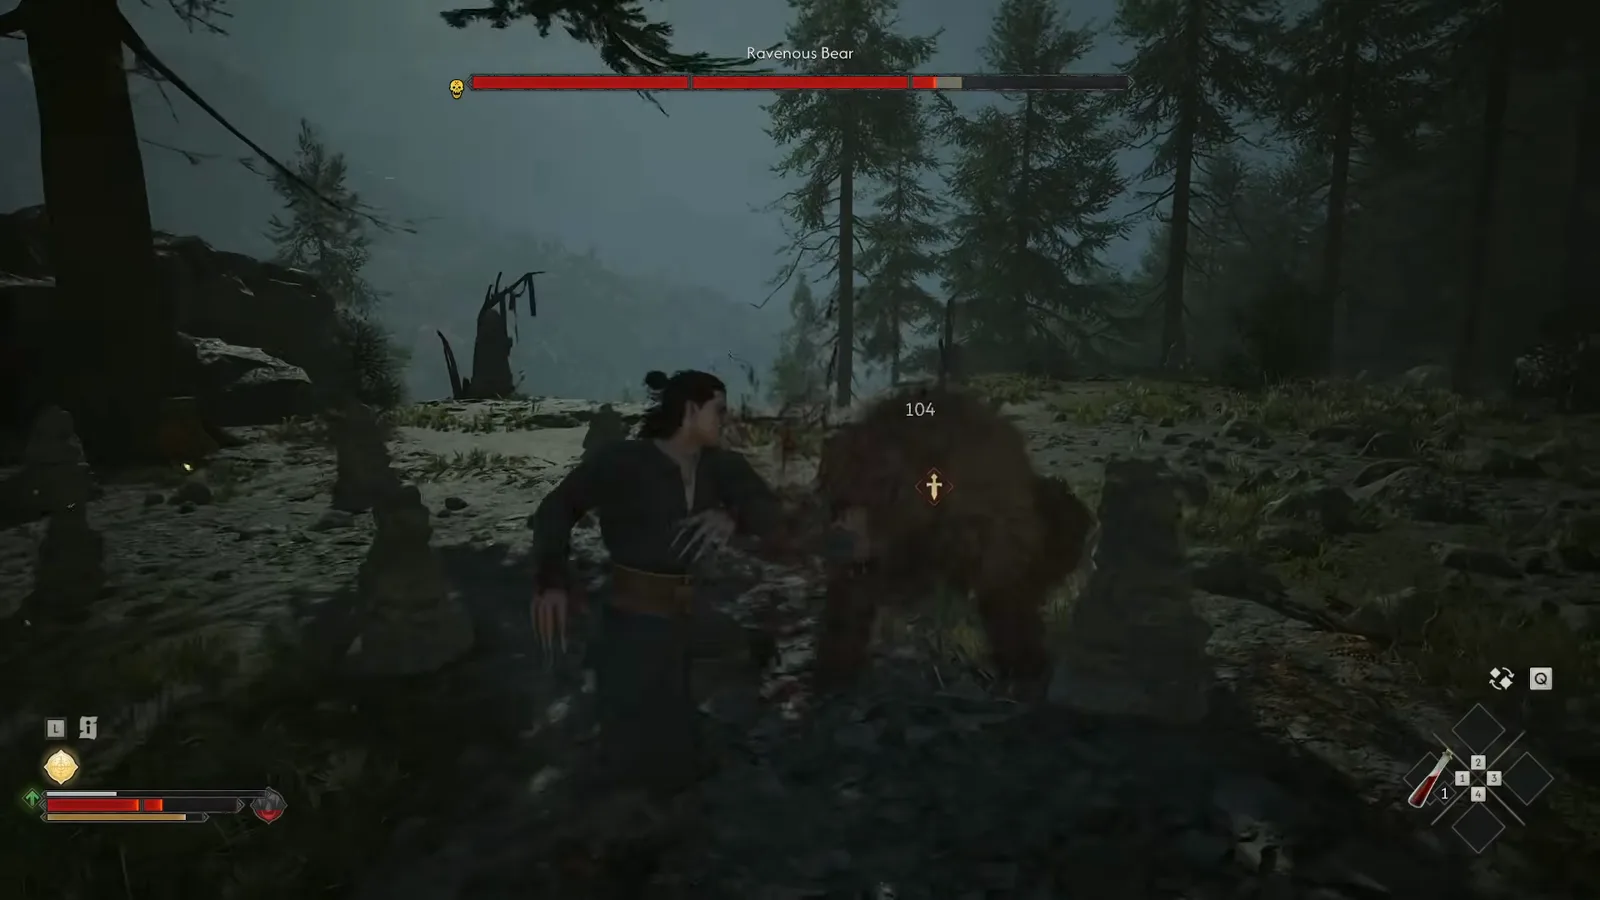
The 104-damage strike lands in the free window the creator earns by defending first. The punish hit at 0:20
Reading the Bear’s Attacks
The bear telegraphs two shapes you should recognise: a low claw sweep it drags across the ground, and a head-on charge. Both are where players over-commit and get hit — the answer is to back out and wait for the blockable or parryable follow-up.
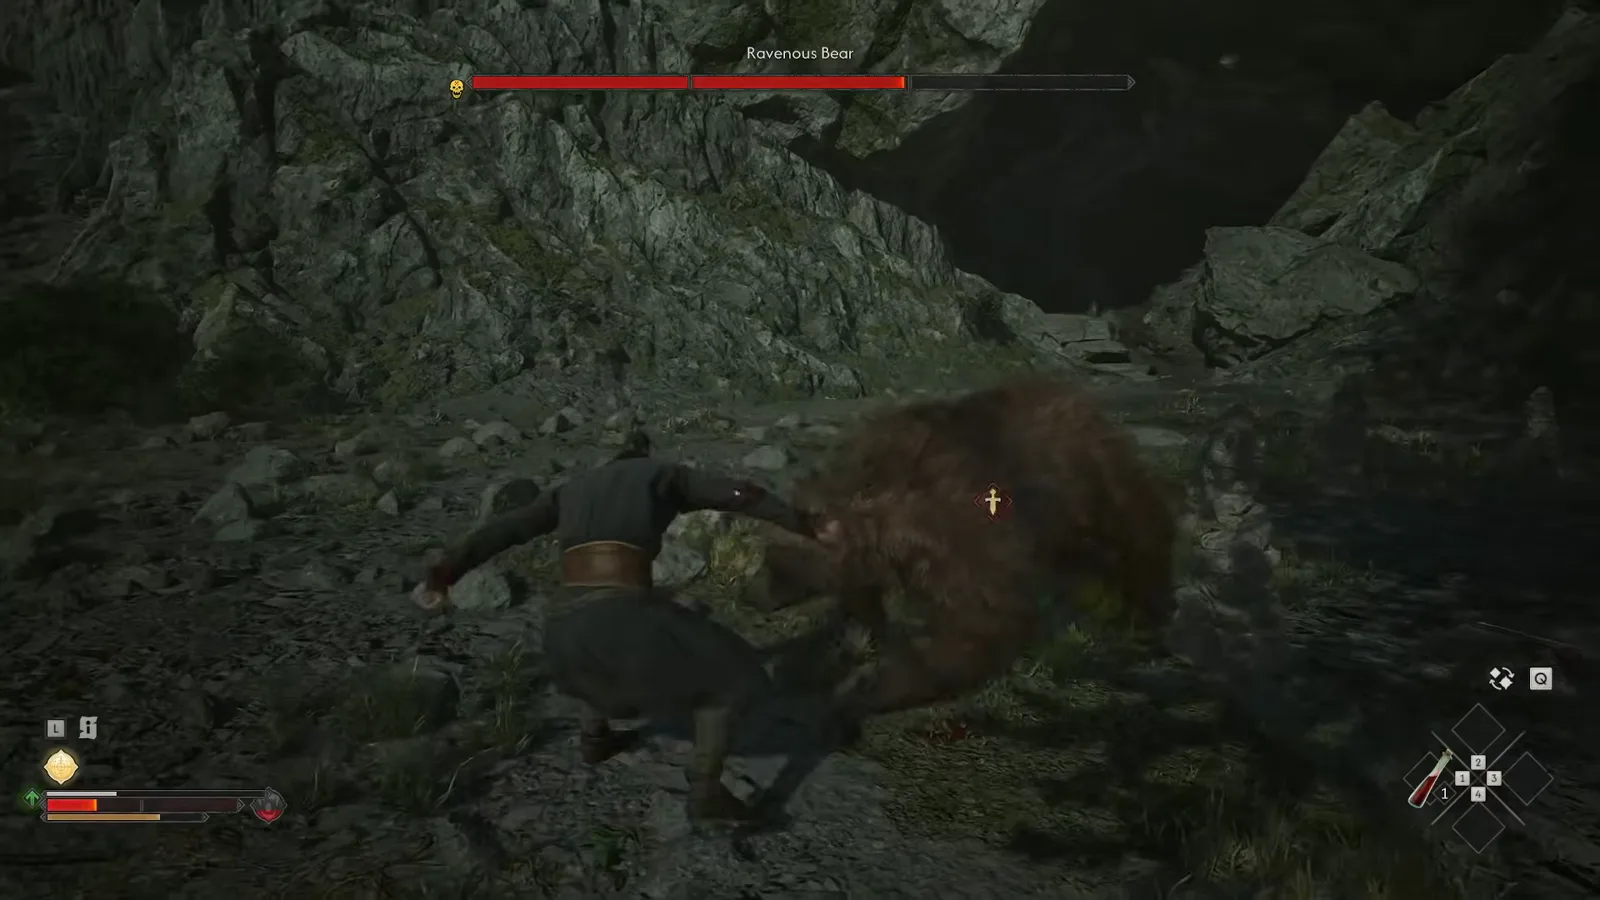
The low sweep is the attack that punishes greedy combos — respect the wind-up. The claw sweep at 0:24
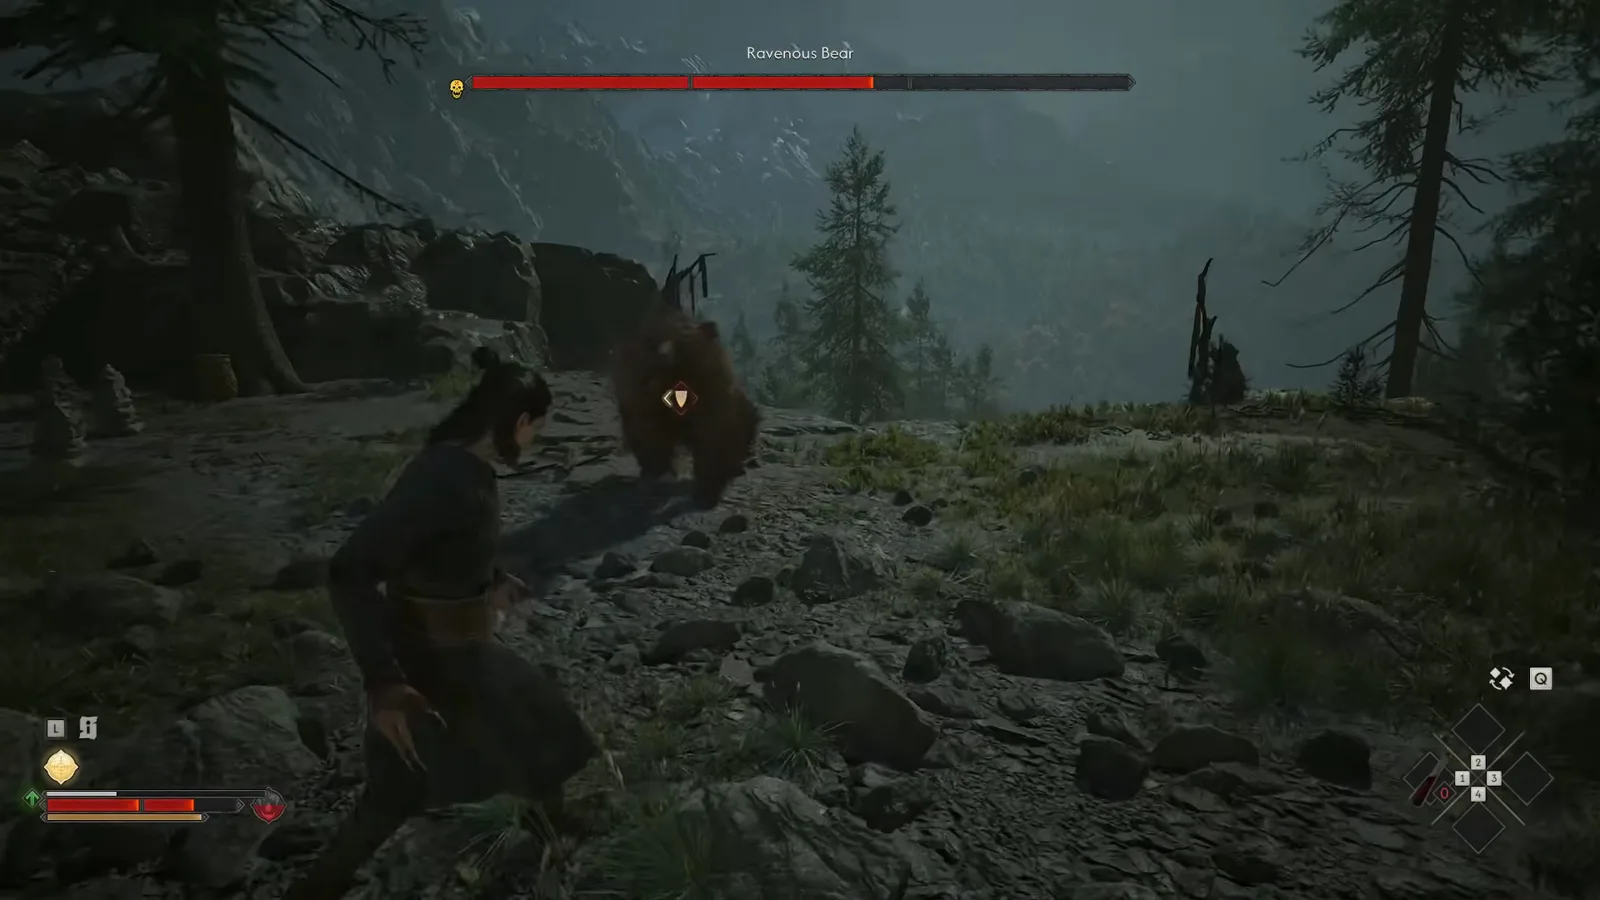
On the charge, move — this is the ‘dodge when in doubt’ case. The charge at 0:34
Where the Damage Comes From
The creator is explicit: “we are only going to attack after our parry, or after our perfect blocks.” He even has time to screenshot mid-fight, which tells you how safe the rhythm is once you stop panicking. Block, take the free two hits, reset.
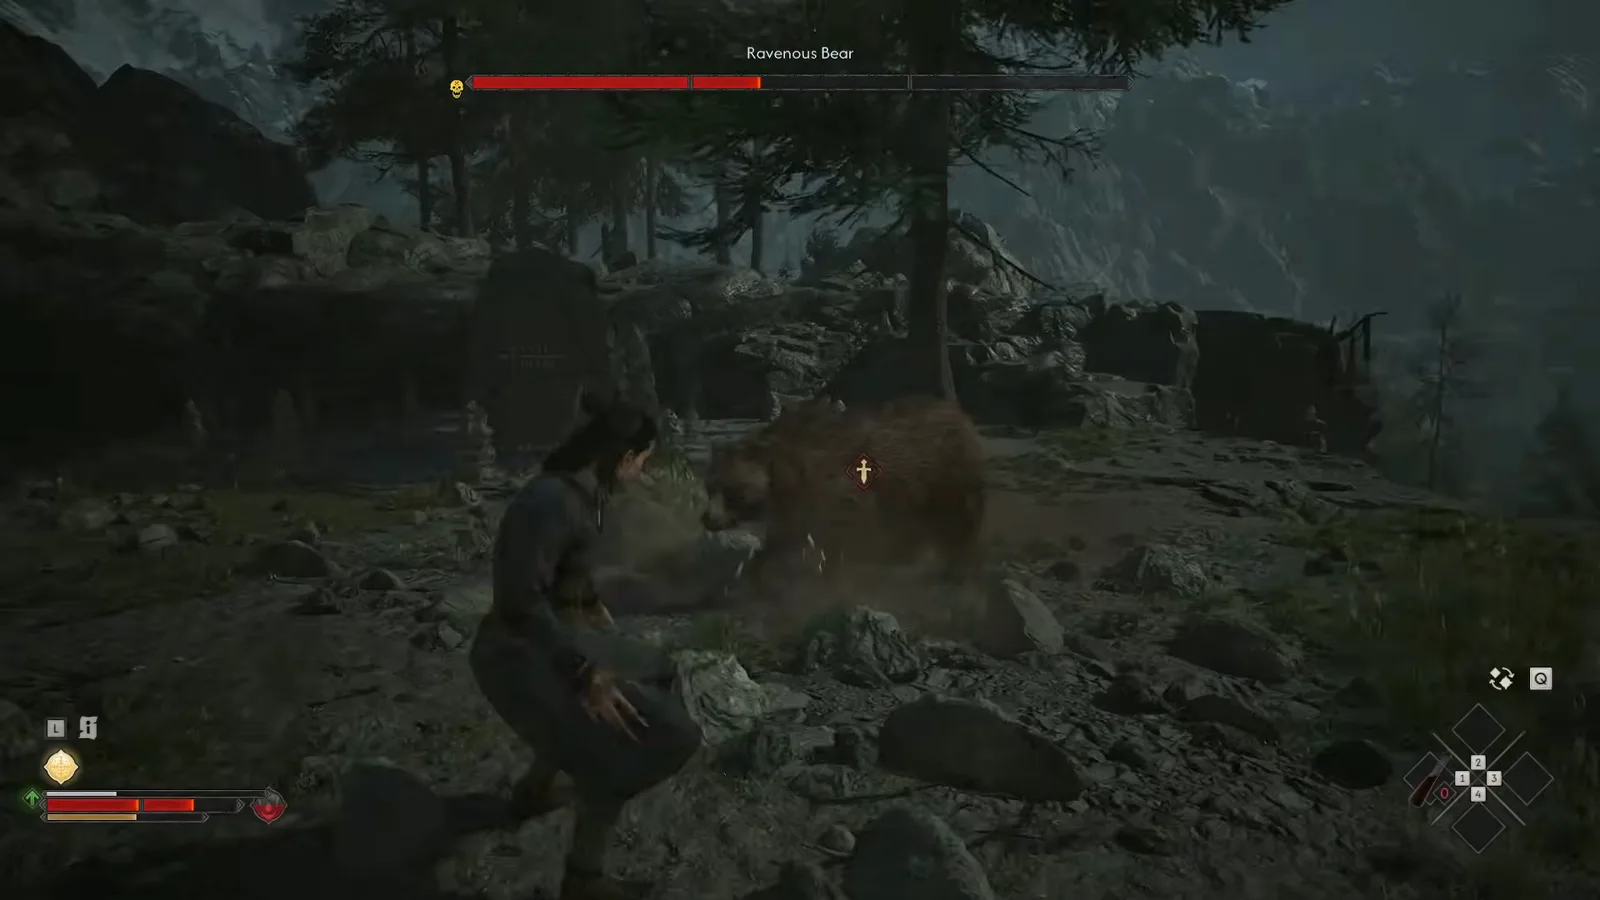
After the defensive beat, the bear over-commits — that is your punish beat. The counterattack at 0:40
The Kill and the Bear Liver
With the bear down, Coen kneels over it — “God… that was some beast. I bet many unwary travellers became its meal…” — and the loot menu confirms why the fight is worth doing.
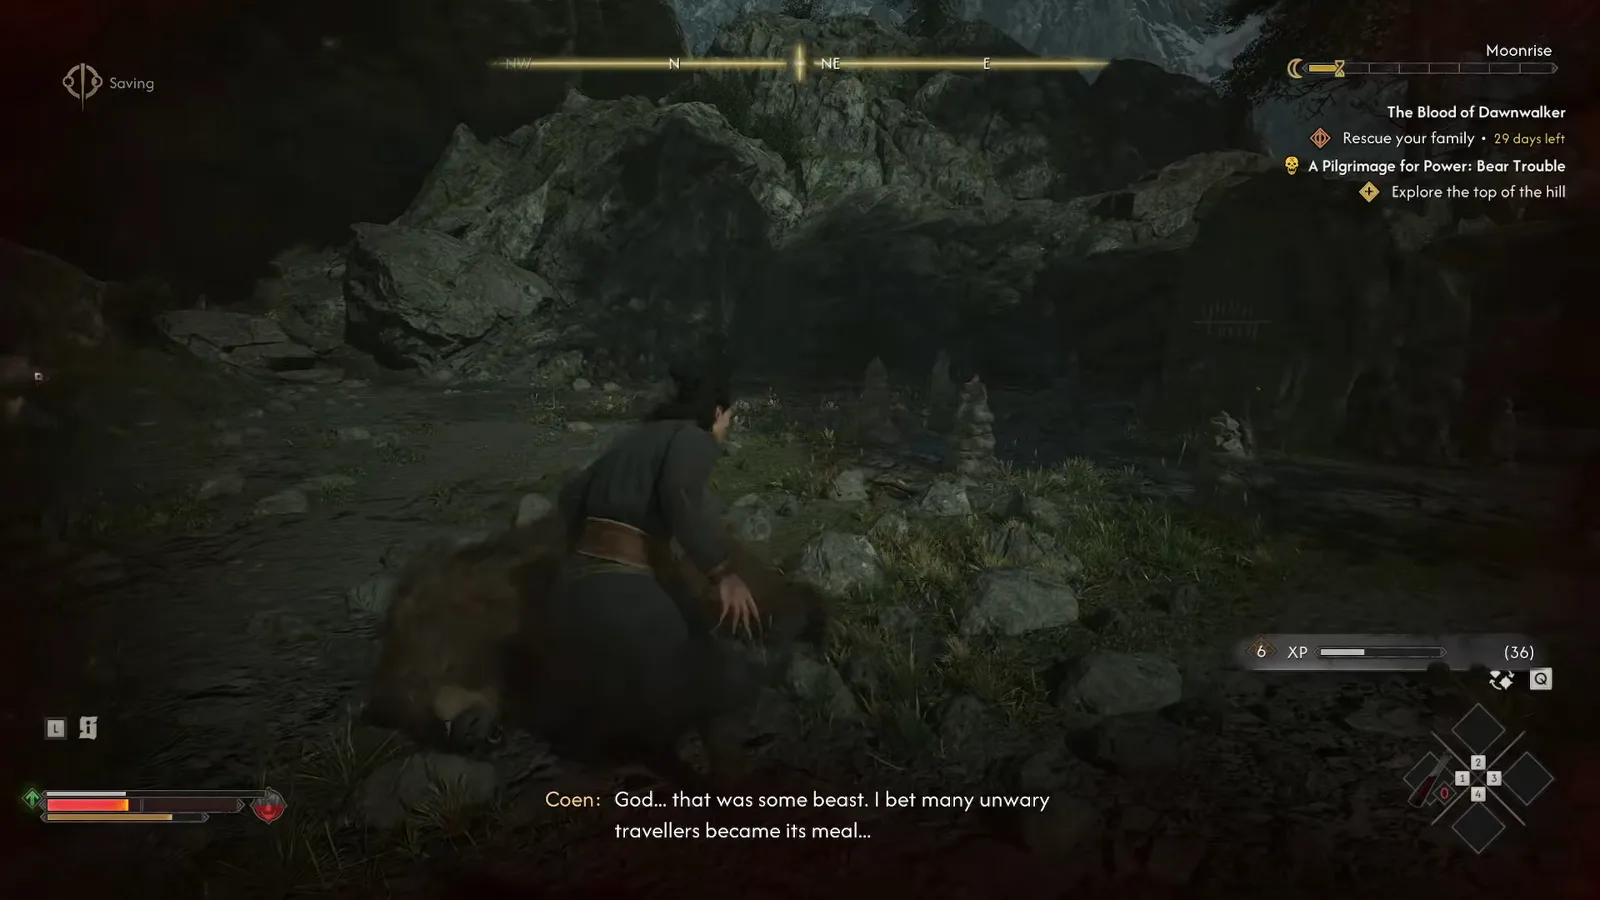
The objective tracker flips to complete as Coen catches his breath over the carcass. The aftermath at 1:12
The reward screen is the money shot: Bear Liver flagged as an Epic Ingredient with the flavour line “A rare treat — and for good reason.”
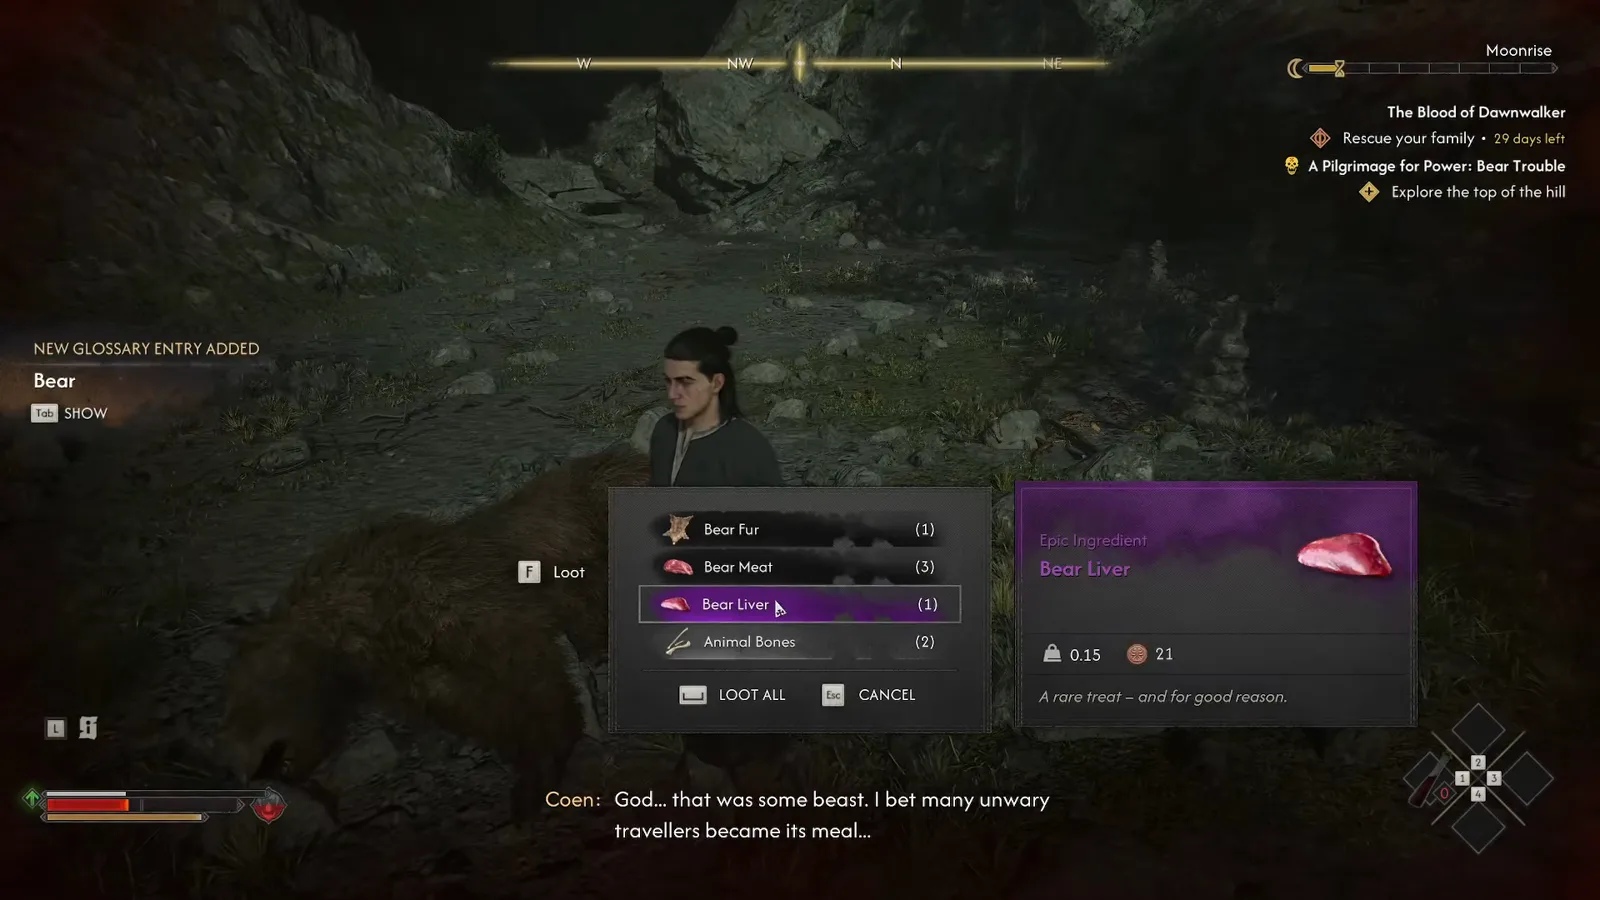
The loot menu lists Bear Fur (1), Bear Meat (3), Bear Liver (1, Epic Ingredient) and Animal Bones (2), and adds a ‘Bear’ glossary entry. The loot menu at 1:16

The Blood of Dawnwalker — How to beat the Ravenous Bear (PazarGamingGuides)
Sources & Verification
- The Blood of Dawnwalker — Ravenous Bear boss guide by PazarGamingGuides — the sole source for this page. It supplies the skull-dodge / block-counter strategy (narrated), the three-segment health bar, the “Bear Trouble” objective, and the loot menu. All eight screenshots are captured from this video (see the parry at 0:15 and the loot menu at 1:16).
More The Blood of Dawnwalker Boss Guides
- The tomb boss from the “Deep Down” prologue quest: /bosses/forgotten-guardian/
- The Cursed Chasm wraith that guards Durandal: /bosses/echo/
- Every documented encounter, indexed: /bosses/
- Which prologue bosses you can miss: /guides/prologue-missable-quests/
関連記事
bosses
The Bloodletter Boss Guide: Ambrus's Collectors Duel in Briar Sloughs
Beat The Bloodletter in The Blood of Dawnwalker: the Briar Sloughs leech-barrel camp, his dual-sword duel, the wipe that opens it, and the Blood Leeches he drops.
bosses
Essence of Grief Boss Guide: The Blood of Dawnwalker Memory Fight
Beat the Essence of Grief in The Blood of Dawnwalker: the red apparition inside Isbrand's memory, her unblockable red-skull attacks, and the exact loot.
bosses
Rayko the Incorruptible Boss Guide: Under Watchful Eyes at Stoneward Post
Beat Rayko the Incorruptible in The Blood of Dawnwalker: the Stoneward Post cellar duel during Under Watchful Eyes, his overhead swings, and the loot he drops.
この攻略は役に立ちましたか?
フィードバックありがとうございます!