The Bloodletter Boss Guide: Ambrus's Collectors Duel in Briar Sloughs
Beat The Bloodletter in The Blood of Dawnwalker: the Briar Sloughs leech-barrel camp, his dual-sword duel, the wipe that opens it, and the Blood Leeches he drops.
よくある質問
Who is The Bloodletter in The Blood of Dawnwalker?
How do you trigger The Bloodletter fight?
What does The Bloodletter drop?
Is The Bloodletter a hard boss?
Who Is The Bloodletter in The Blood of Dawnwalker?
The Bloodletter is the boss the game’s own health bar names in exactly that wording — a red-coated, helmeted swordsman who carries a blade in each hand — and he is the armed end of Ambrus’s Collectors: Bounty of the Mire, the timed side operation in which you dismantle one of Ambrus’s leech-harvesting camps. He has no personal name on screen. Everything on this page comes from a single three-minute capture, and where the footage stops this guide says so instead of filling the gap.
The capture is unusually honest about difficulty, because it starts by losing. Coen is already in the camp, his own health bar down to a sliver, while the boss bar above The Bloodletter is barely touched.
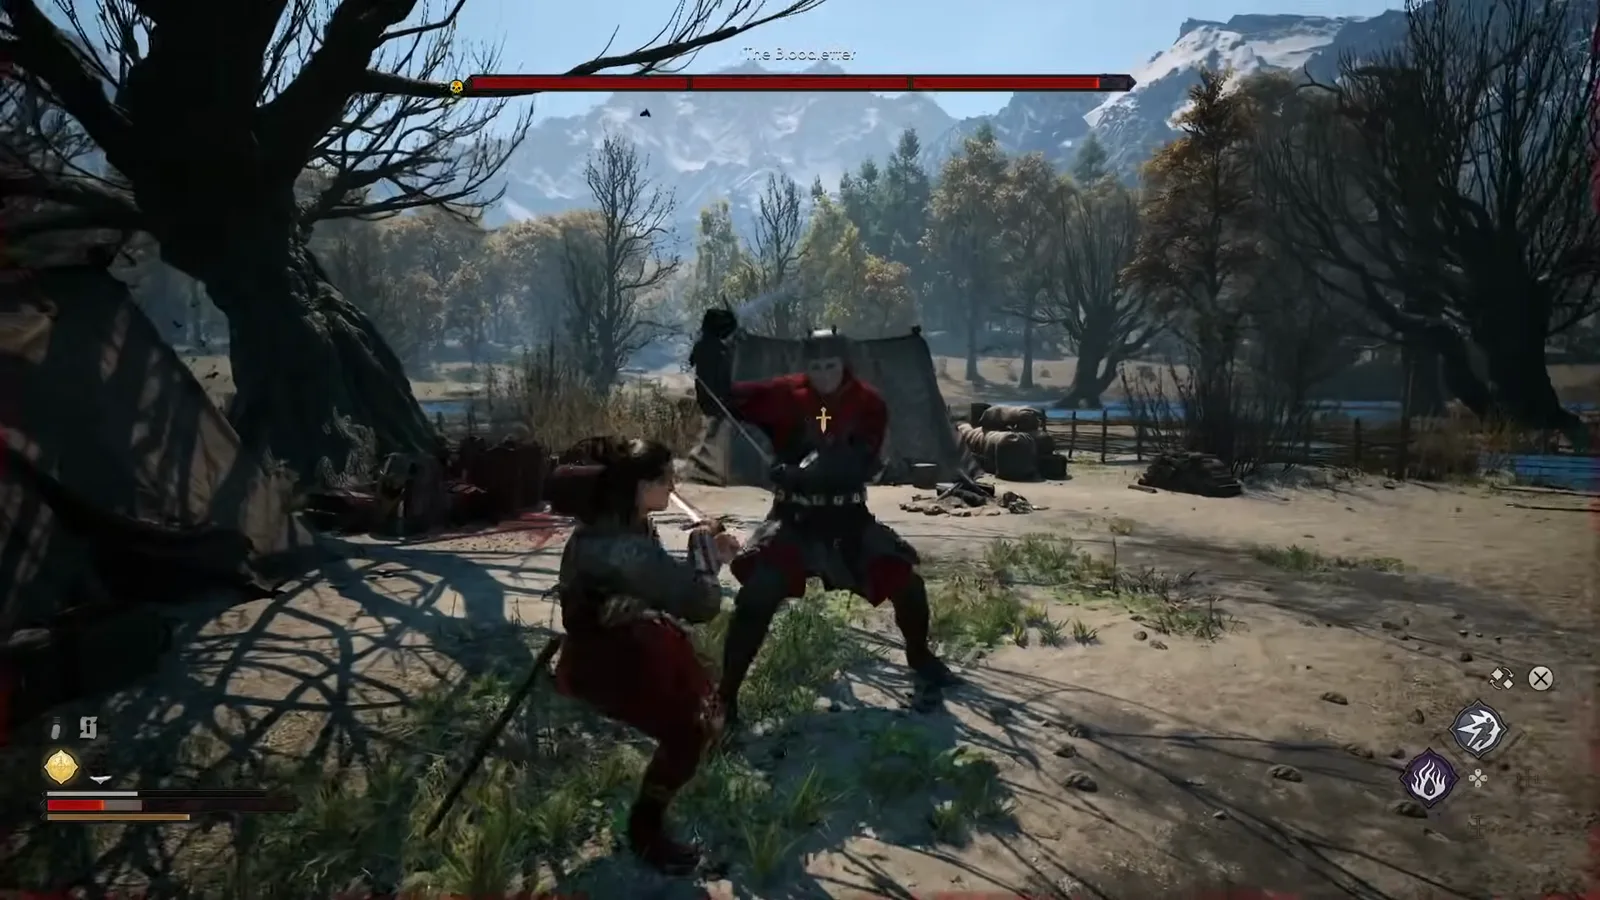
The bar titles him plainly: three red segments, skull marker at the left, almost none of it gone. Watch the opening exchange at 0:05
The boss’s subtitle line over that first attempt reads “This is why you’ll die.” It is not a threat left hanging. Seconds later the capture is on the death screen.
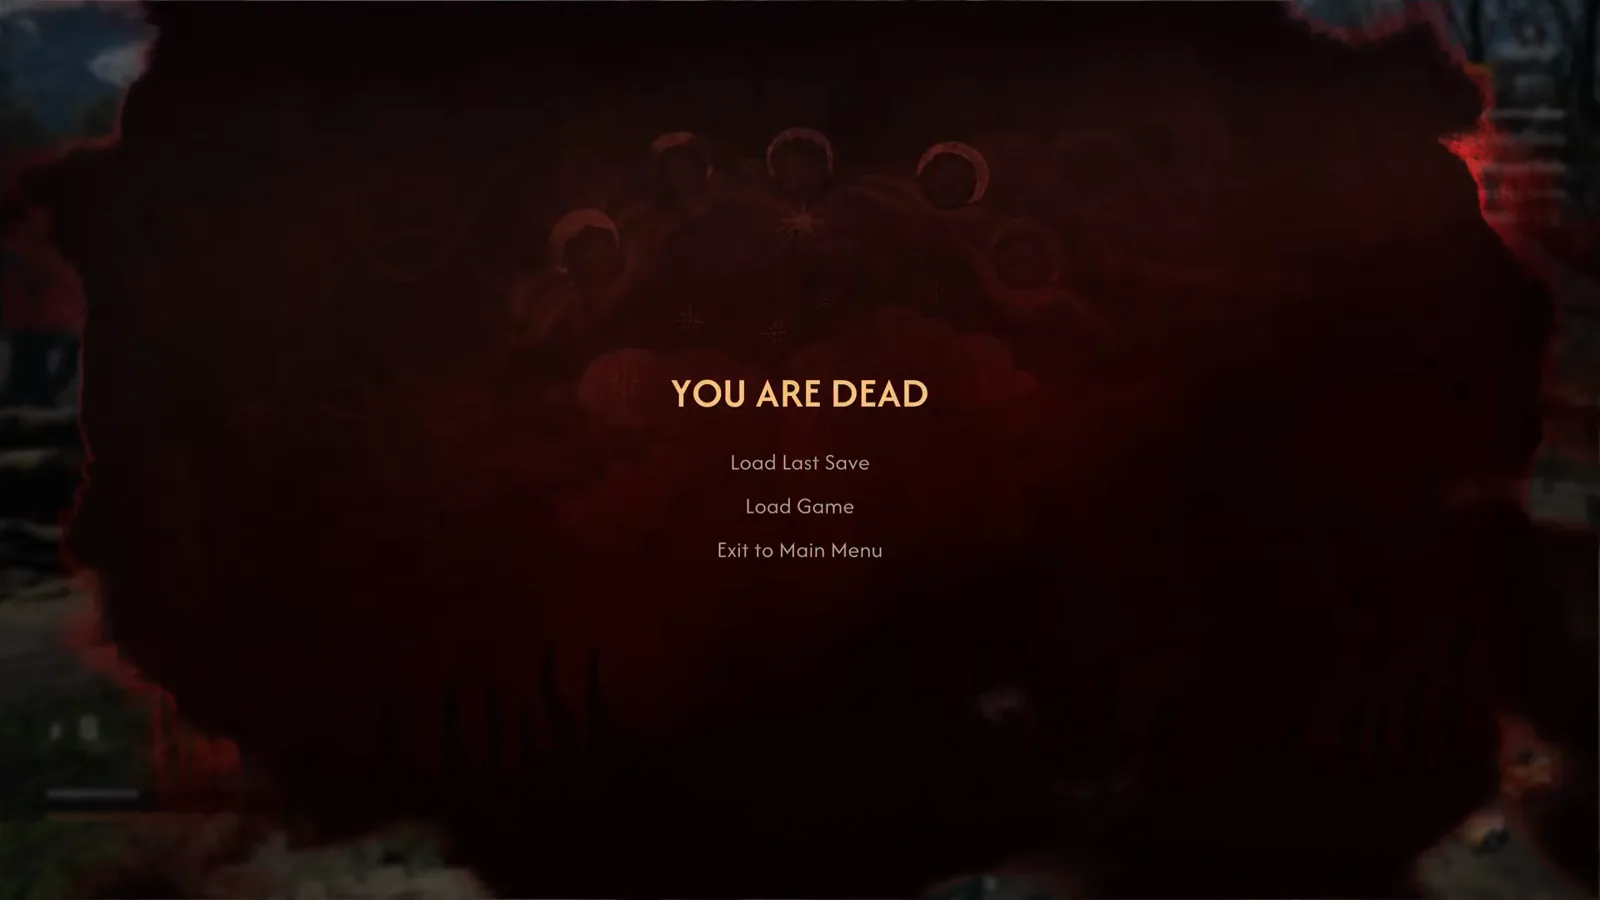
The capture opens by losing — a wipe inside the first twenty seconds. Watch the death screen at 0:22
Note what that first attempt establishes, and what it does not. The boss bar is a single red bar split into three segments with a small skull marker at its left end, and a little golden sword icon floats over the boss’s chest with red chevrons flanking it — the capture never labels what that marker means, so this page does not guess.
How Do You Reach The Bloodletter’s Camp?
After the reload, the capture restarts outside the camp so you can watch the approach properly. The HUD does all the naming work. Bottom-left, the region tag reads Briar Sloughs — the same marsh that hosts the blood outpost behind /bosses/chief-jailor/. Top-right, the tracker lists the main quest The Blood of Dawnwalker — Avenge your family above the side objective Ambrus’s Collectors: Bounty of the Mire, with the current step “Destroy the leech barrels” and a small hourglass beside the count.
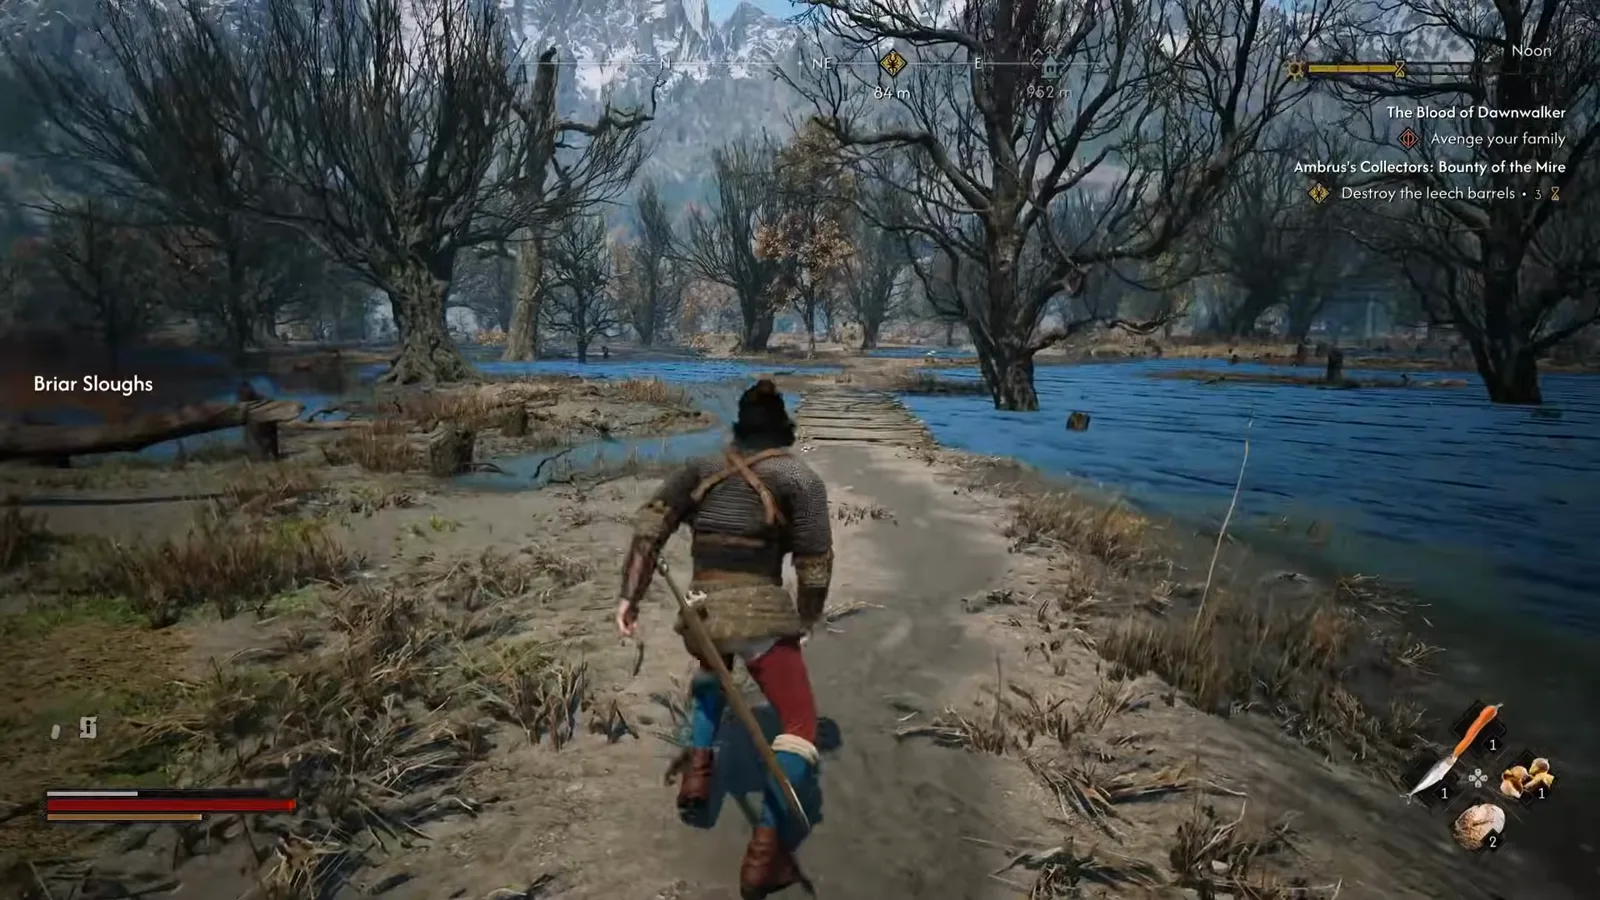
The tracker puts a timer on this one — the hourglass means the objective is spending your day. Watch the approach at 0:35
That hourglass is not decoration. The whole of Ambrus’s collector work runs on the clock explained on /guides/30-day-time-system/, and the capture’s own time-of-day readout proves it: the tracker bar reads Noon on the way in and Evening by the time the quest closes. Barrel smashing is also one of the operations catalogued on /guides/court-activities/.
The barrels themselves are unmistakable once you are standing in front of them — a ring of staves banded in a yellow chevron mark, set under a big tree at the edge of the camp. Walking up to them raises the interaction prompt.
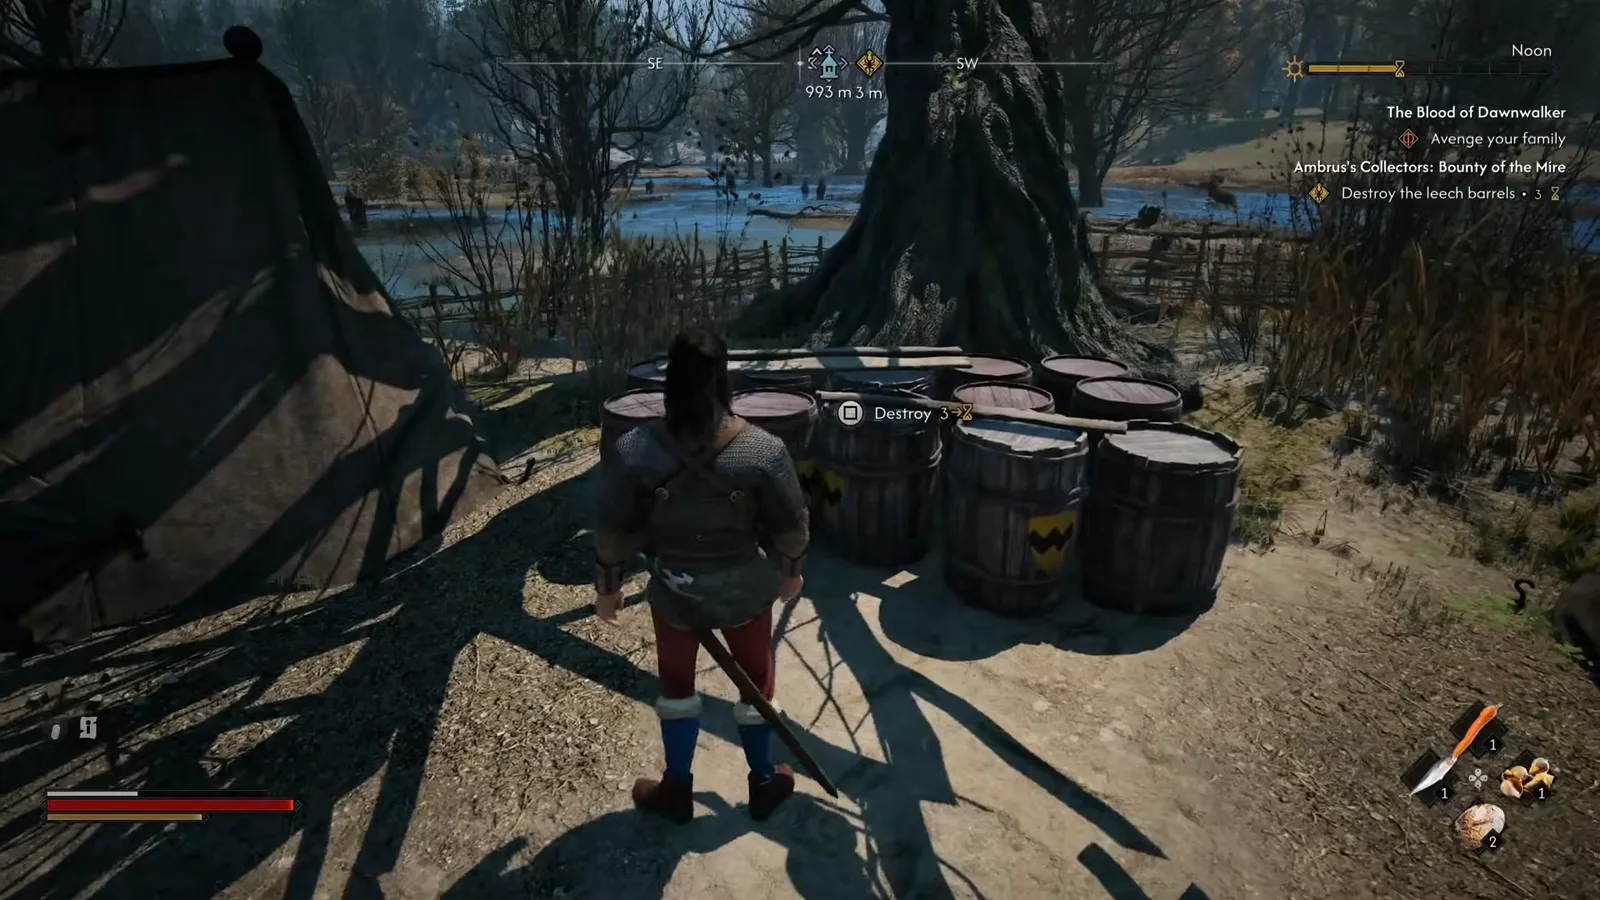
“Destroy”, with a count and an hourglass on both the prompt and the tracker. Watch the barrel cluster at 1:04
There is dialogue at the camp before it comes to blows, and it is the closest thing the capture gives to a motive. An Ambrus collector in chainmail under a yellow-and-blue striped tabard explains the leech trade with total absence of shame.
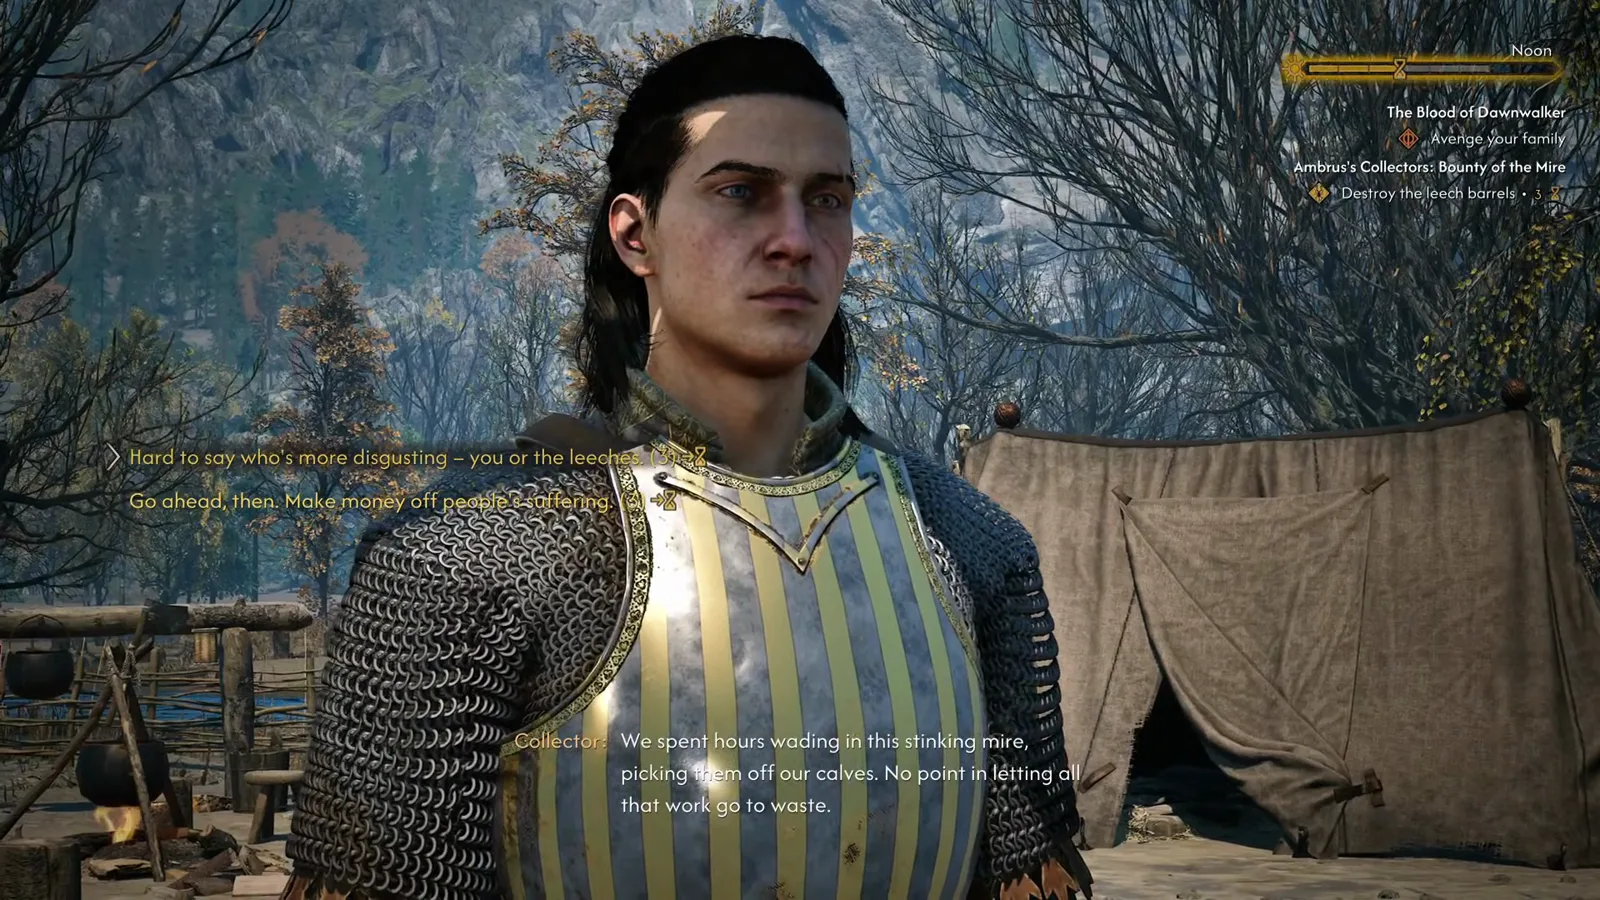
The camp’s whole business model, in one subtitle. Watch the collector at 1:15
His line reads: “We spent hours wading in this stinking mire, picking them off our calves. No point in letting all that work go to waste.” The two player options on screen are “Hard to say who’s more disgusting – you or the leeches.” and “Go ahead then. Make money off people’s suffering.” — a rare case where both replies are insults, so pick whichever tone suits you.
What Is The Bloodletter’s Boss Fight Like?
The reload is marked by the game’s “Time Has Passed” notification sitting in the corner as Coen resets at the camp — a reminder that the failed attempt cost real hours off the calendar, not just a try. Then the banner drops and the duel is on.
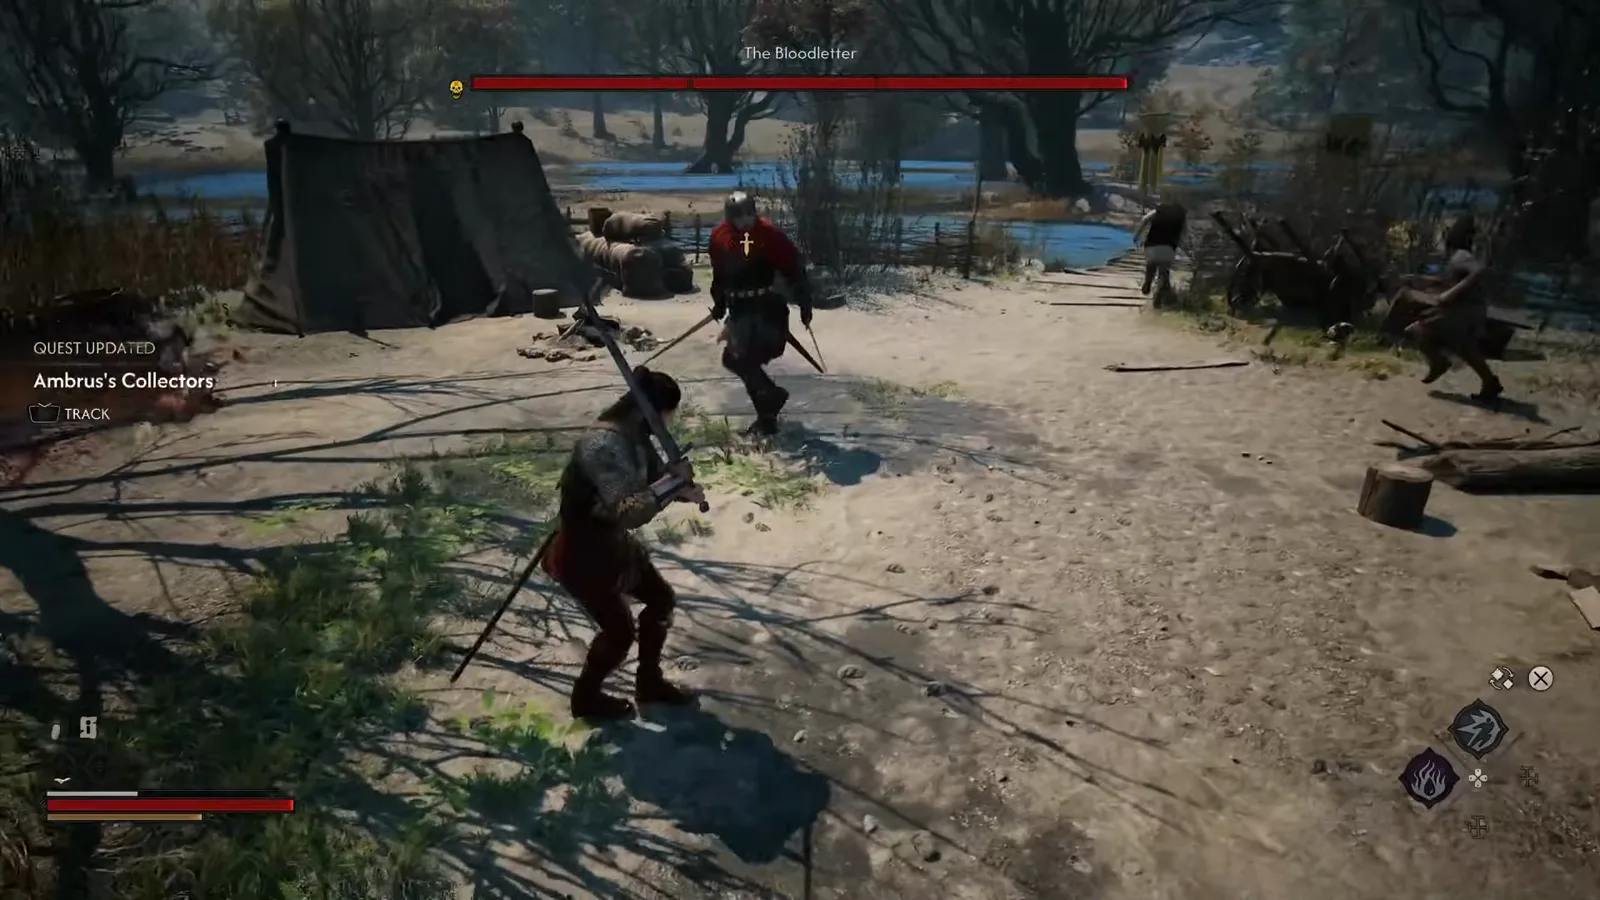
Two blades, both drawn, both moving — the shape of the whole fight. Watch the re-engage at 1:26
What the frames show is a straight duel in open sand, and the defining detail is that The Bloodletter is dual-wielding: at 0:05, 1:26 and 2:05 he is holding a sword in each hand, which means his combos overlap and there is no clean idle window between swings to step into. Nobody else joins the duel. In the re-engage frame two camp figures are visible at the right edge and both are running away from the fight, not toward it.
The only damage readout the capture produces is a white 85 popping over the boss’s torso with a small gold sword icon beside it — a plain blade hit, no element attached.
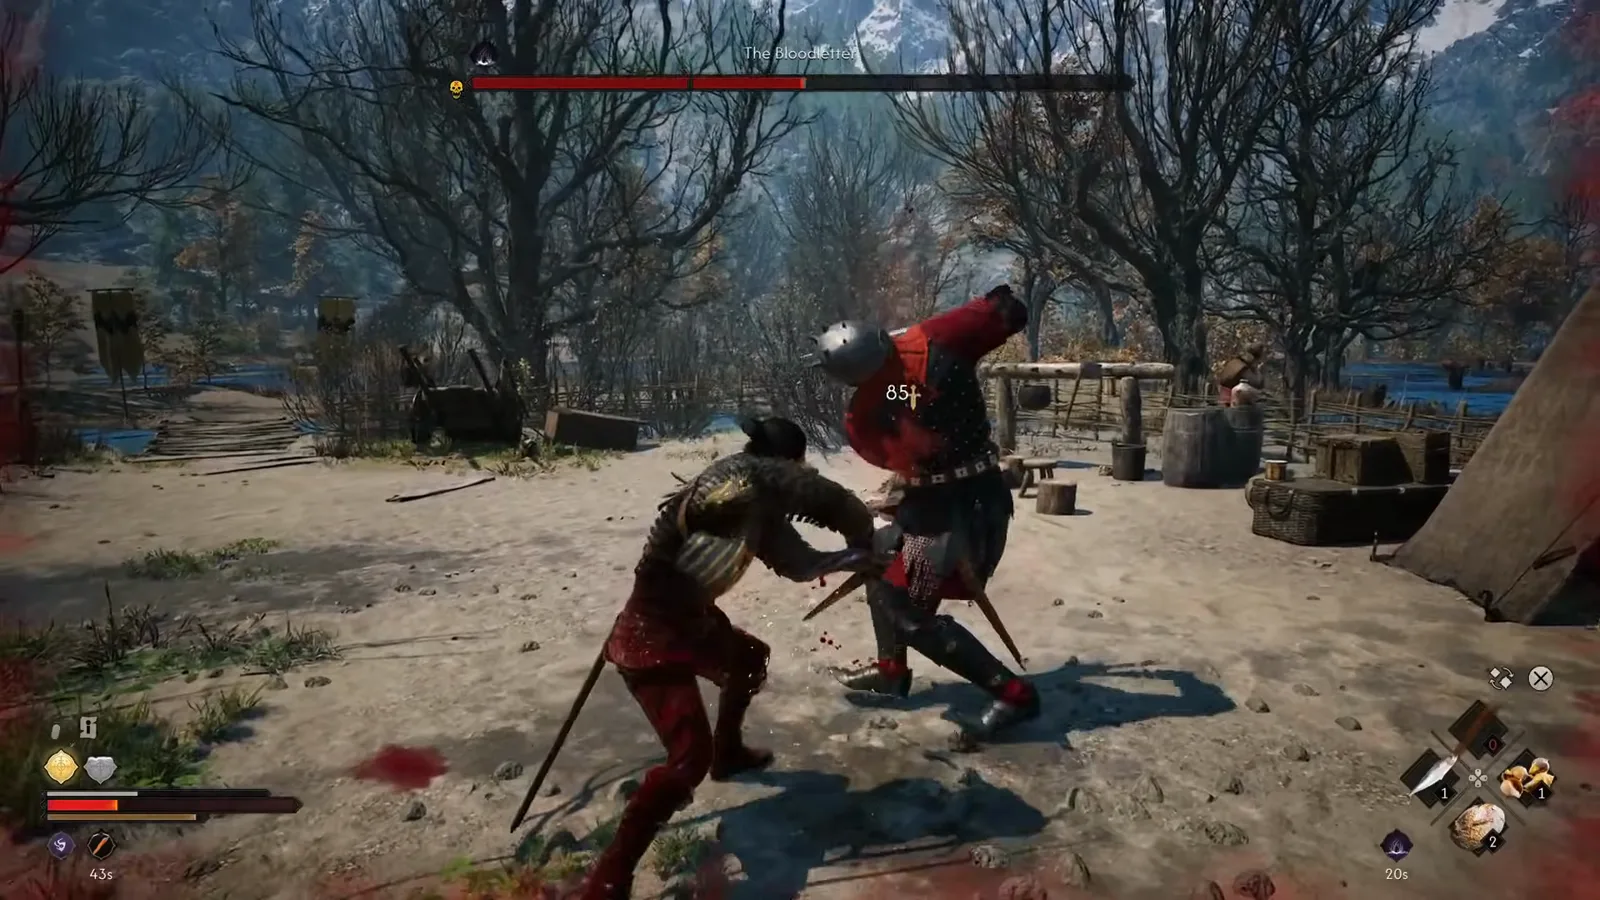
The bar is into segment two here — roughly half gone, and no transition happened to mark it. Watch the 85 hit at 2:05
The bar drains segment by segment with no visible phase change, transformation or new attack set between the opening and the kill. The practical lesson from the capture is the one it demonstrates by failing: do not trade with a two-sword boss while your own health is low, because his damage does not stop for your recovery. For the general parry-and-punish loop this site recommends against every named duel, compare /bosses/brencis/.
What Does The Bloodletter Drop?
The kill closes the quest on the spot. The banner reads QUEST ENDED — Ambrus’s Collectors: Bounty of the Mire, and the reward card under it is the item the whole camp existed around: twelve Blood Leeches, alongside 250 experience and one skill point. The XP row on that panel prints the number 11 beside the bar, and the ring looted off the body is gated to Level 11, so 11 is Coen’s level here rather than any recommendation about the boss.
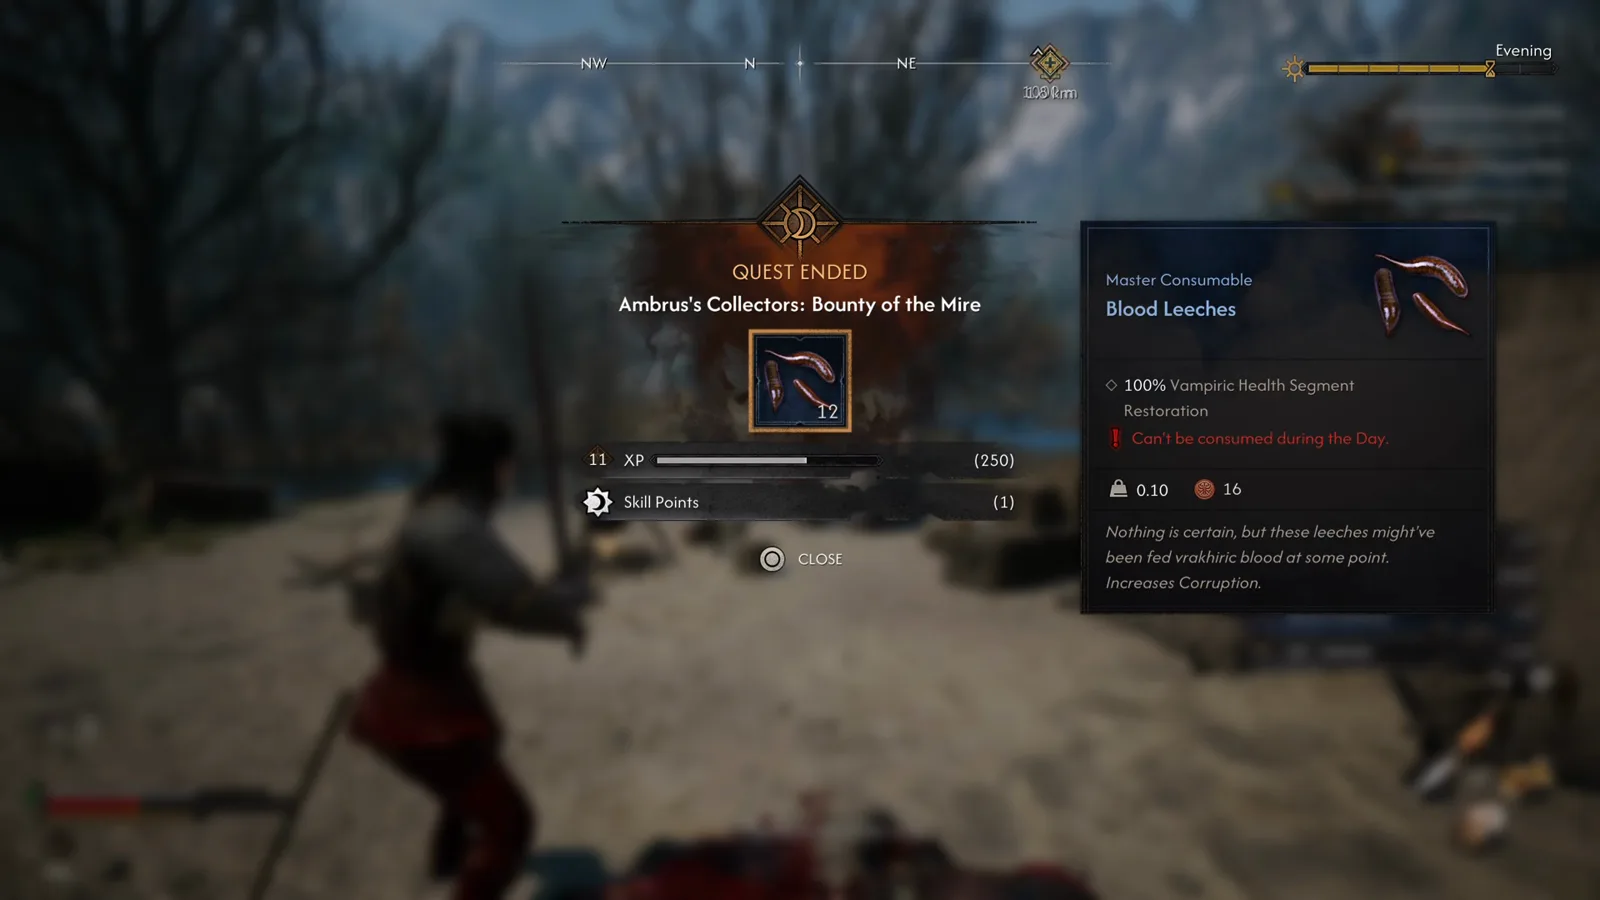
Quest rewards, not corpse loot — the leeches come from finishing the job. Watch the QUEST ENDED panel at 2:26
The tooltip open in the same frame is worth reading properly, because Blood Leeches are a consumable, not a weapon or a crafting ingredient. The panel labels them Master Consumable, effect 100% Vampiric Health Segment Restoration, weight 0.10, value 16, with a red warning line that the panel edge cuts off after “Can’t be consumed during th…”. The flavour text reads: “Nothing is certain, but these leeches might’ve been fed vrakhiric blood at some point. Increases Corruption.”
That single item is the one this site already tracks on /items/forging-materials-guide/ — where they are correctly described as a barrel-camp drop and explicitly not a forging material. What the effect line means in practice is a full refill of one of the health segments behind /guides/vampire-powers/, and what the downside means is Corruption, which is the whole economy of /guides/corruption-build/.
Then there is the body itself, and this is where the capture pays off for anyone farming Ambrus.
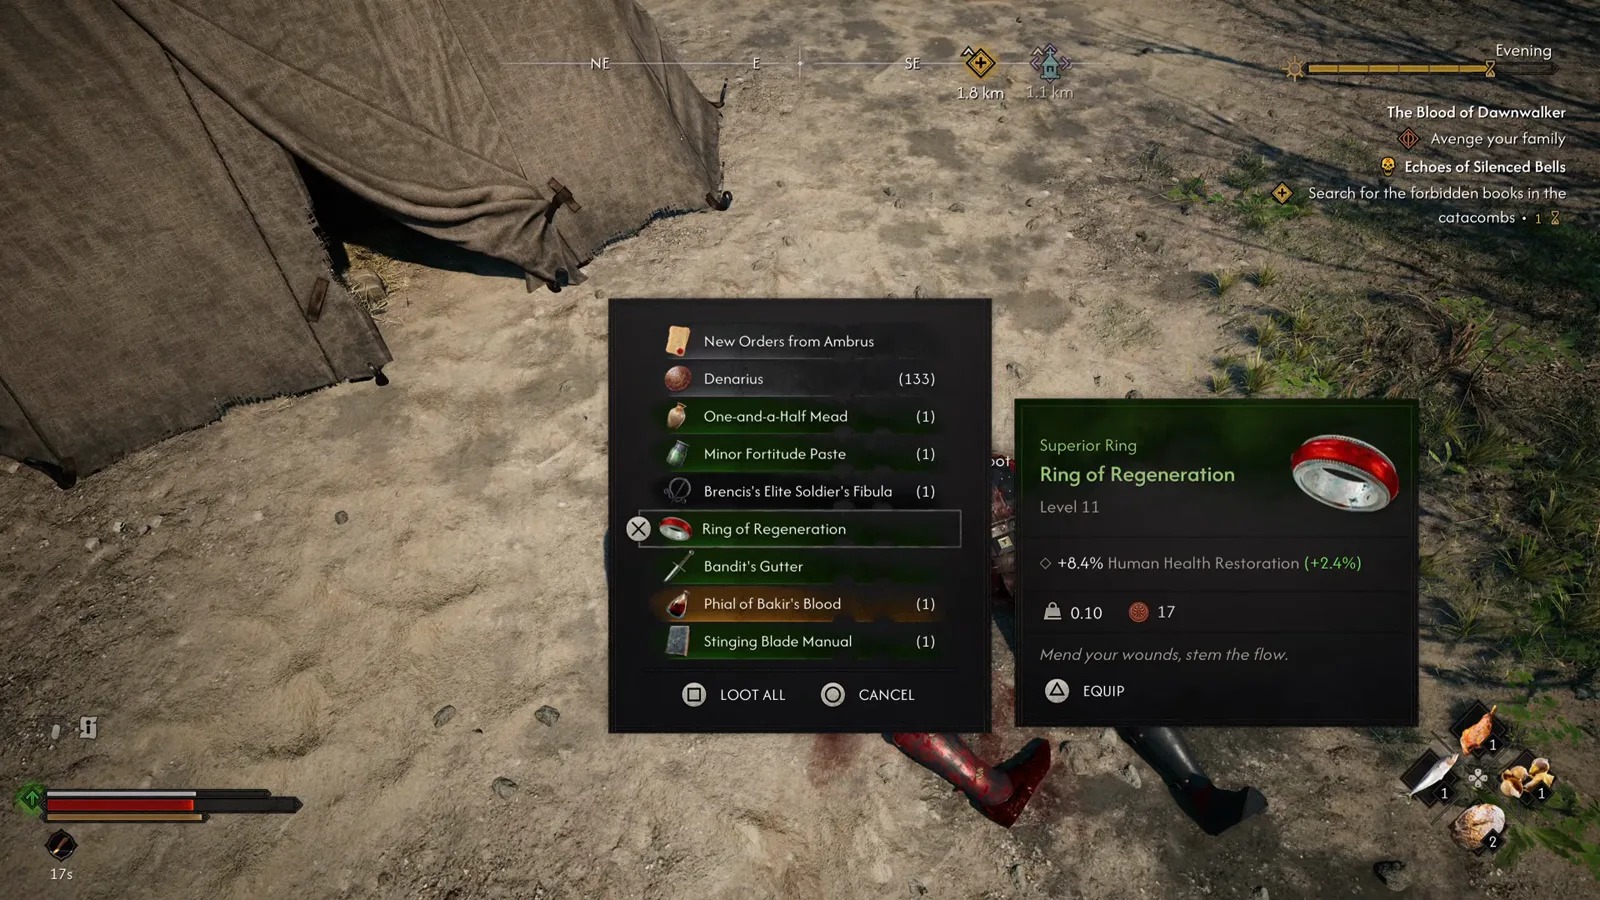
Nine lines of loot, and two of them are named after other bosses on this site. Watch the loot list at 2:37
Read off the panel, the full list is: New Orders from Ambrus, Denarius (133), One-and-a-Half Mead (1), Minor Fortitude Paste (1), Brencis’s Elite Soldier’s Fibula (1), Ring of Regeneration, Bandit’s Gutter, Phial of Bakir’s Blood (1) and Stinging Blade Manual (1), with LOOT ALL and CANCEL underneath. The highlighted ring’s own tooltip calls it a Superior Ring at Level 11 granting +8.4% Human Health Restoration (+2.4%), weight 0.10, value 17, flavour “Mend your wounds, stem the flow.”
Three of those lines are cross-references rather than loot: the fibula belongs to /bosses/brencis/, the phial to /bosses/bakir/, and the manual is one of the swordmastery books indexed on /items/swordmastery-manuals/. The Denarius is the currency covered on /guides/denarius-farming/.

Blood of Dawnwalker The Bloodletter Boss fight — HalfwaySanctum
Sources & Verification
- Blood of Dawnwalker The Bloodletter Boss fight (4K) by HalfwaySanctum — the sole footage source for this page, and the reason the guide is structured around a failed first attempt. It supplies the boss bar, the Briar Sloughs region tag, the leech-barrel objective and prompt, the collector dialogue, the QUEST UPDATED banner, the dual-sword duel, the 85 damage number, the QUEST ENDED reward card and the complete corpse loot list. All nine screenshots are captured from this video (see the wipe at 0:22 and the loot list at 2:37).
- Fextralife — The Bloodletter — consulted only to corroborate the boss’s canonical name and to place his camp north of the Southern Swampside shrine inside Ambrus’s Collectors. No stat, drop or mechanic on this page was taken from it.
More Briar Sloughs and Ambrus Boss Guides
- The blood-outpost duel in the same marsh, with the kill-or-spare choice: /bosses/chief-jailor/
- The Boyar whose collector operation this quest is part of: /bosses/ambrus/
- The duel that owns one of the fibulae in this boss’s loot list: /bosses/brencis/
- The Khan behind the Phial of Bakir’s Blood drop: /bosses/bakir/
- Every documented encounter, indexed: /bosses/
- Why Blood Leeches are loot and not a crafting material: /items/forging-materials-guide/
関連記事
bosses
Essence of Grief Boss Guide: The Blood of Dawnwalker Memory Fight
Beat the Essence of Grief in The Blood of Dawnwalker: the red apparition inside Isbrand's memory, her unblockable red-skull attacks, and the exact loot.
bosses
Rayko the Incorruptible Boss Guide: Under Watchful Eyes at Stoneward Post
Beat Rayko the Incorruptible in The Blood of Dawnwalker: the Stoneward Post cellar duel during Under Watchful Eyes, his overhead swings, and the loot he drops.
bosses
Munch-Munch Boss Guide: The Rockfalls Kobold in The Blood of Dawnwalker
Beat Munch-Munch in The Blood of Dawnwalker: the Rockfalls cave kobold, its four-segment boss bar, the red-skull unblockable attacks, and the exact loot.
この攻略は役に立ちましたか?
フィードバックありがとうございます!