Chief Jailor Boss Guide: The Briar Sloughs Outpost Duel
Kill or spare the Chief Jailor at The Blood of Dawnwalker's Briar Sloughs outpost: his plea for mercy, the fight, his loot, and the Blood Collection ledger.
FAQ
Where do you find the Chief Jailor in The Blood of Dawnwalker?
Can you spare the Chief Jailor?
What does the Blood Collection document say?
What happens after you kill the Chief Jailor?
Who Is the Chief Jailor in The Blood of Dawnwalker?
The Chief Jailor is the armored officer in charge of the blood-draining outpost at Briar Sloughs — one of the outpost raids in the campaign’s court-activity war against Brencis’s Boyars (see /guides/court-activities/). The game never names him personally: his subtitle prefix is simply “Chief Jailor”, and by his own account he answers to knyaz Ambrus, whose boss page lives at /bosses/ambrus/. The encounter sits under the Ambrus’s Dungeons quest umbrella, detailed below.
Rebuilt from a single gameplay capture by Yohanes Aditya (linked in Sources), every quote below is transcribed from game-rendered subtitles or readable UI in full-resolution frames — anything the footage does not show is labelled rather than guessed. The capture plays the refusal route: Coen turns down the plea and the duel follows.
The Outpost Confrontation: “I Was Just Following Knyaz Ambrus’s Orders”
Inside the outpost, Coen corners the jailor — a helmeted man in a mail hauberk — and the questioning turns to begging. His subtitle reads in full:
Chief Jailor: I beg you – In the name of God! Let me go! I was just following knyaz Ambrus’s orders! I had no choice!
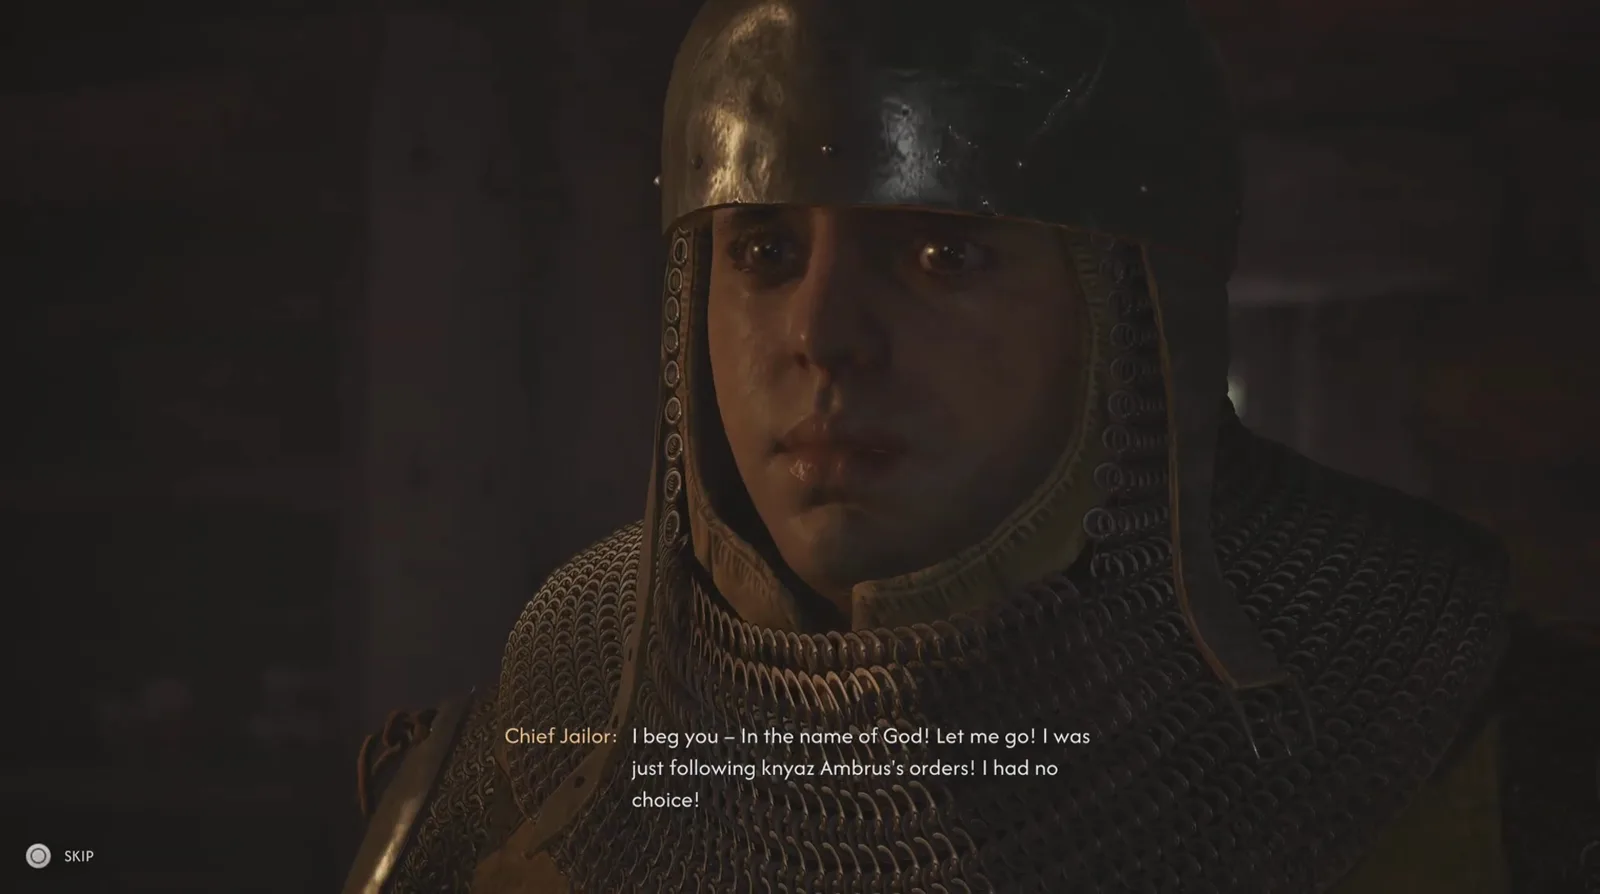
“Just following orders” is the jailor’s entire defense — and this subtitle is where Ambrus’s name verifies letter by letter. Watch the plea at 0:26
Pressed about the carts stacked at the outpost — “What’s with all the carts? Going somewhere?” — he answers “I’m just following orders”, and the conversation opens into a formal dialogue choice with four options: “You’re not going anywhere.” (the duel-picking answer this capture takes), “Pay me and you walk.”, “[give in to the hunger]”, and repeating the question about the carts.
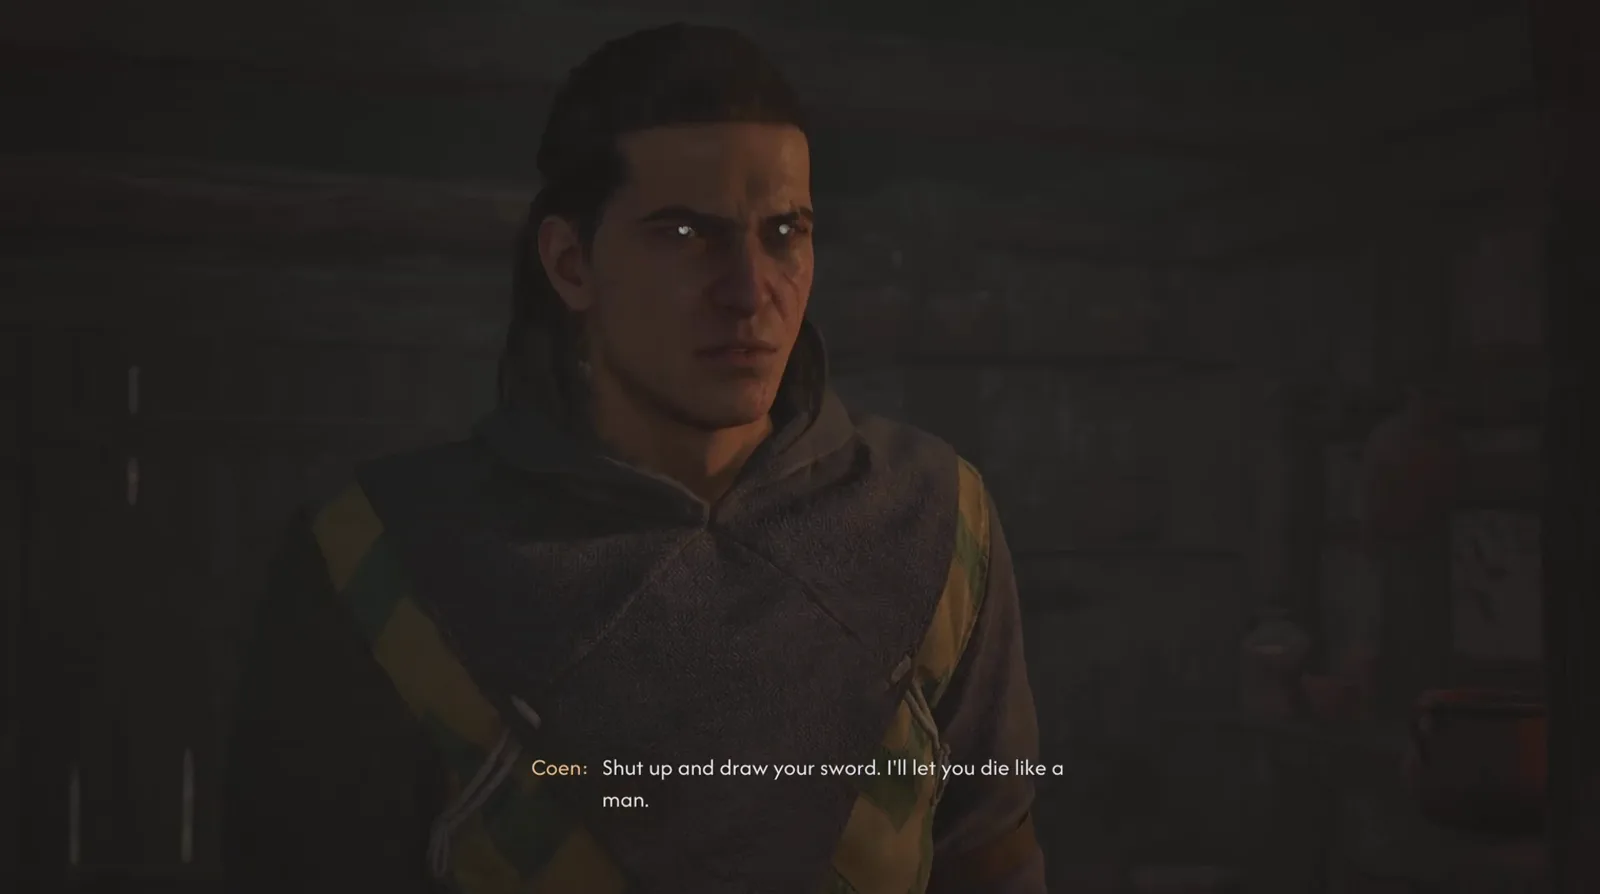
The decision point as the game presents it: refuse, take his money, give in to the hunger, or keep questioning him. Watch the choice at 0:50
The plea right before the choice — “I’ll give you everything I own! Just spare me!” — is as close as the footage comes to a spare branch. Coen’s refusal is verbatim: “Shut up and draw your sword. I’ll let you die like a man.” The video never plays the other branches, so no spare outcome is described here; GameRant’s kill-or-spare piece (see Sources & Verification) reports both main routes hand over the same Treasure Map: Hidden Stash.
The Chief Jailor Boss Fight at Briar Sloughs
Refusal triggers the duel. The boss health bar drops in labelled “Chief Jailor” — a single full-width red segment with the game’s skull marker at its left end; no numeric HP is shown at any point. As the arena loads, the location tag “Briar Sloughs” appears on the left of the screen, making the setting unambiguous.
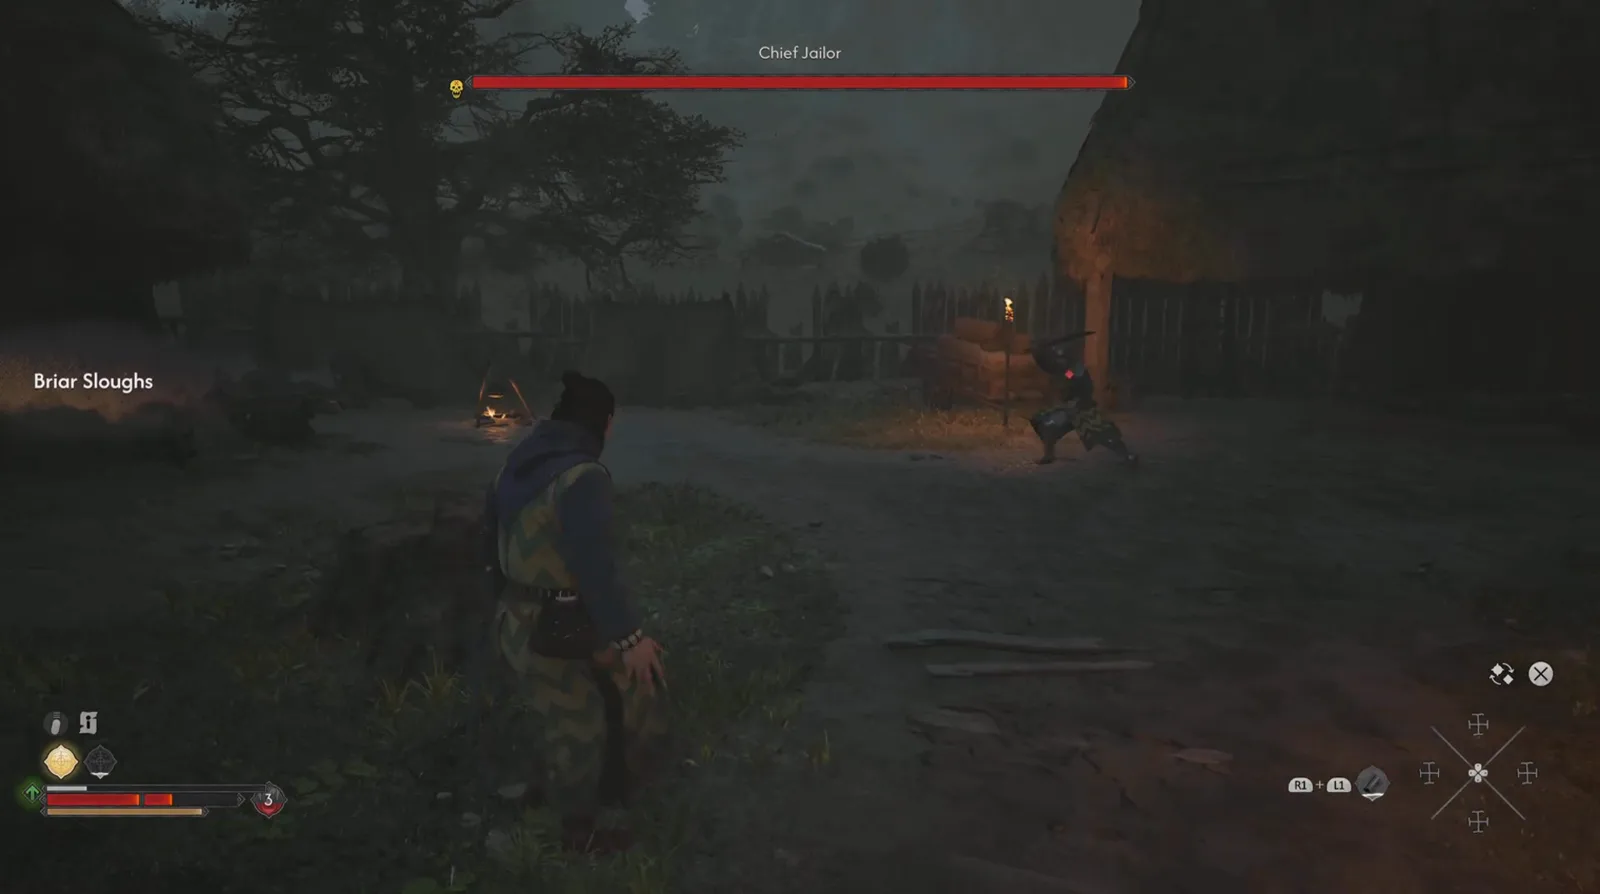
The full bar and the location tag in one frame — on-screen proof of both the boss label and the setting. Watch the bar drop in at 0:58
The same instant, a quest banner confirms the encounter is a registered beat of the quest line: “QUEST UPDATED — Ambrus’s Dungeons: Evil and Convenience”, with a TRACK prompt beneath it, while the arena flares blood-red around the two fighters.
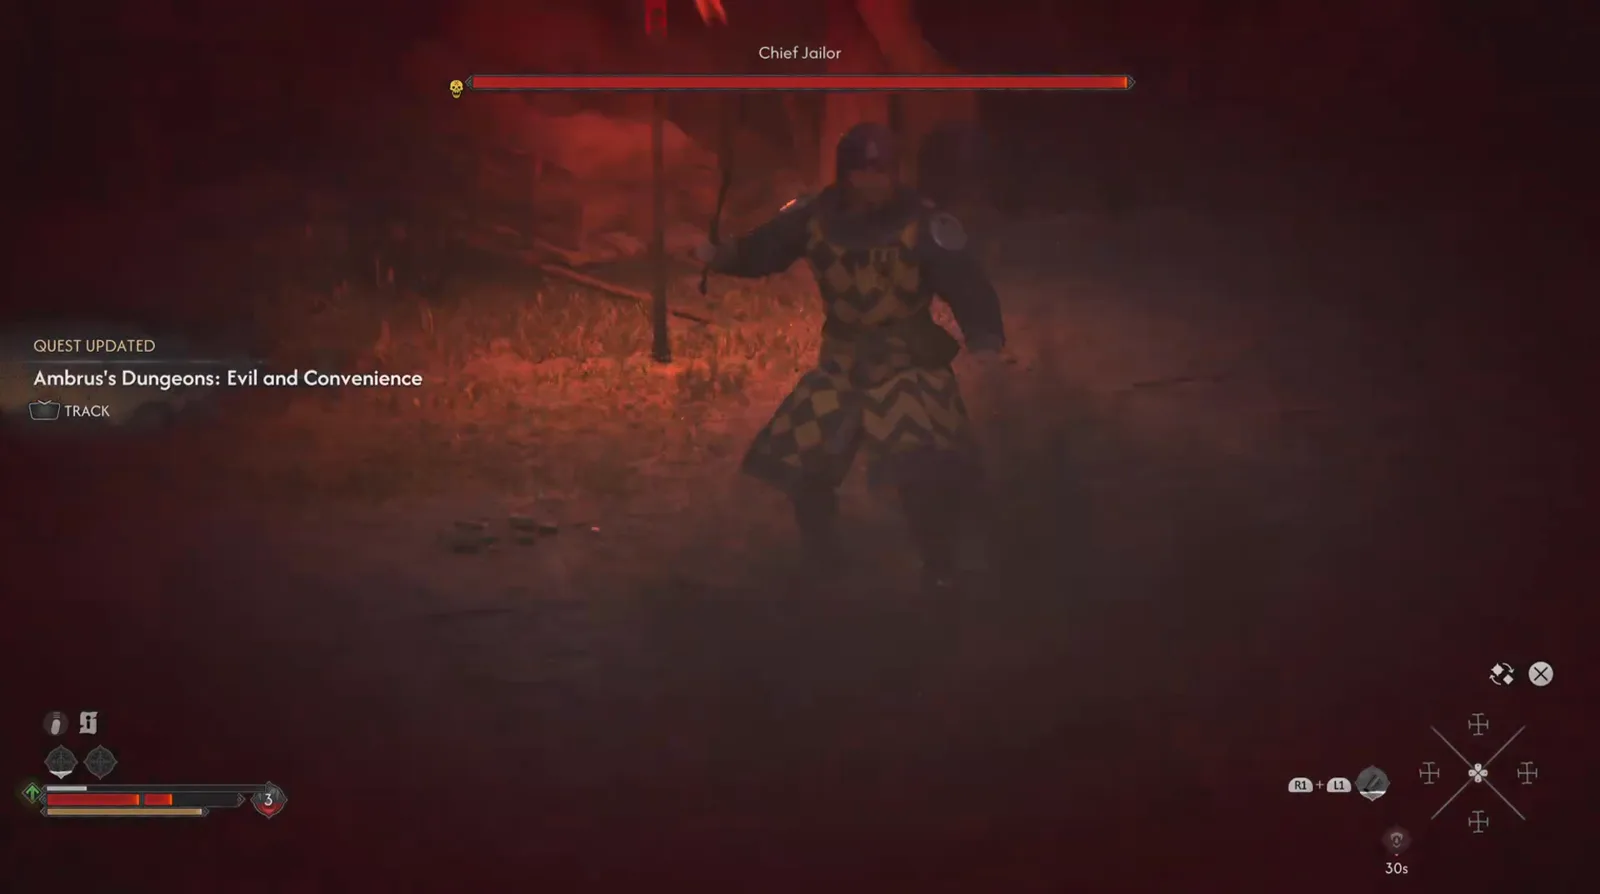
The exact banner wording, captured at the instant the duel begins. Watch the banner at 1:00
The fight as filmed is a straight one-on-one sword duel in the mud between torch-lit huts. The jailor fights in his checkerboard surcoat and helmet, swings in measurable recovery windows, and his bar grinds down across repeated exchanges — roughly half gone by the frame below. No attack names, phase transitions or elemental effects appear on screen, so this page invents no move list; the honest summary is “punish the recovery windows”.
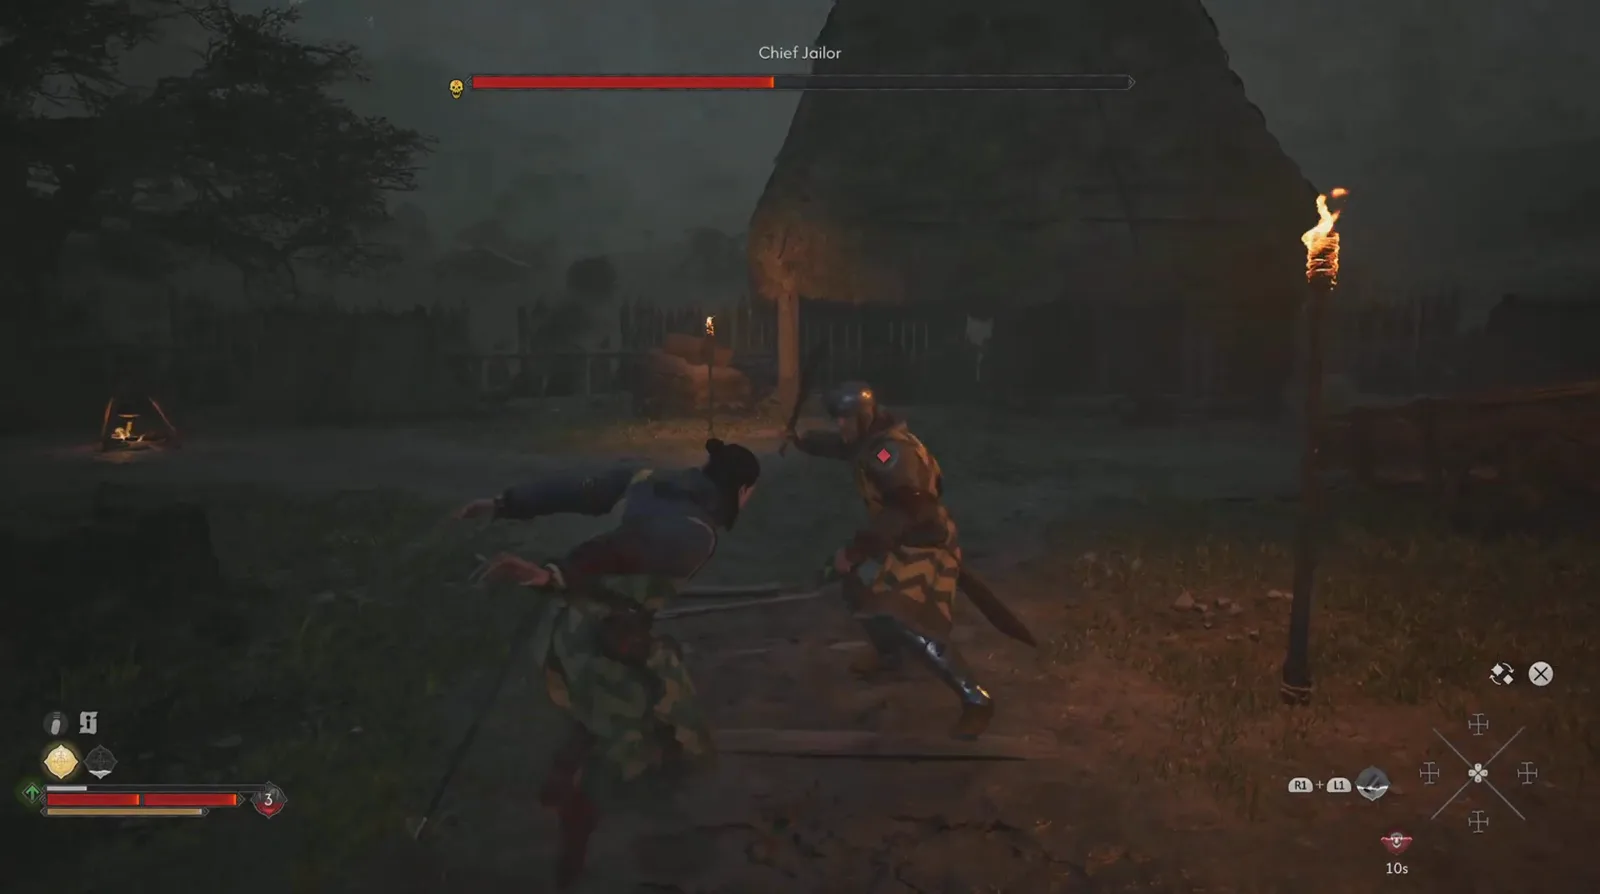
A plain sword duel at dusk — no named moves and no phase change from first swing to last. Watch the duel at 1:20
After the Fight: the Loot and the Blood Collection Ledger
The post-fight loot screen lists five pickups in one panel: Treasure Map: Hidden Stash, Brencis’s Elite Soldier’s Fibula (flagged as Junk — “This fibula used to belong to Brencis’s elite guard.”), a Canteen of Elderflower Juice, a Ruby Diadem, and a Letter from Ambrus. The frame does not show the panel’s source container, so the list is reported exactly as shown.
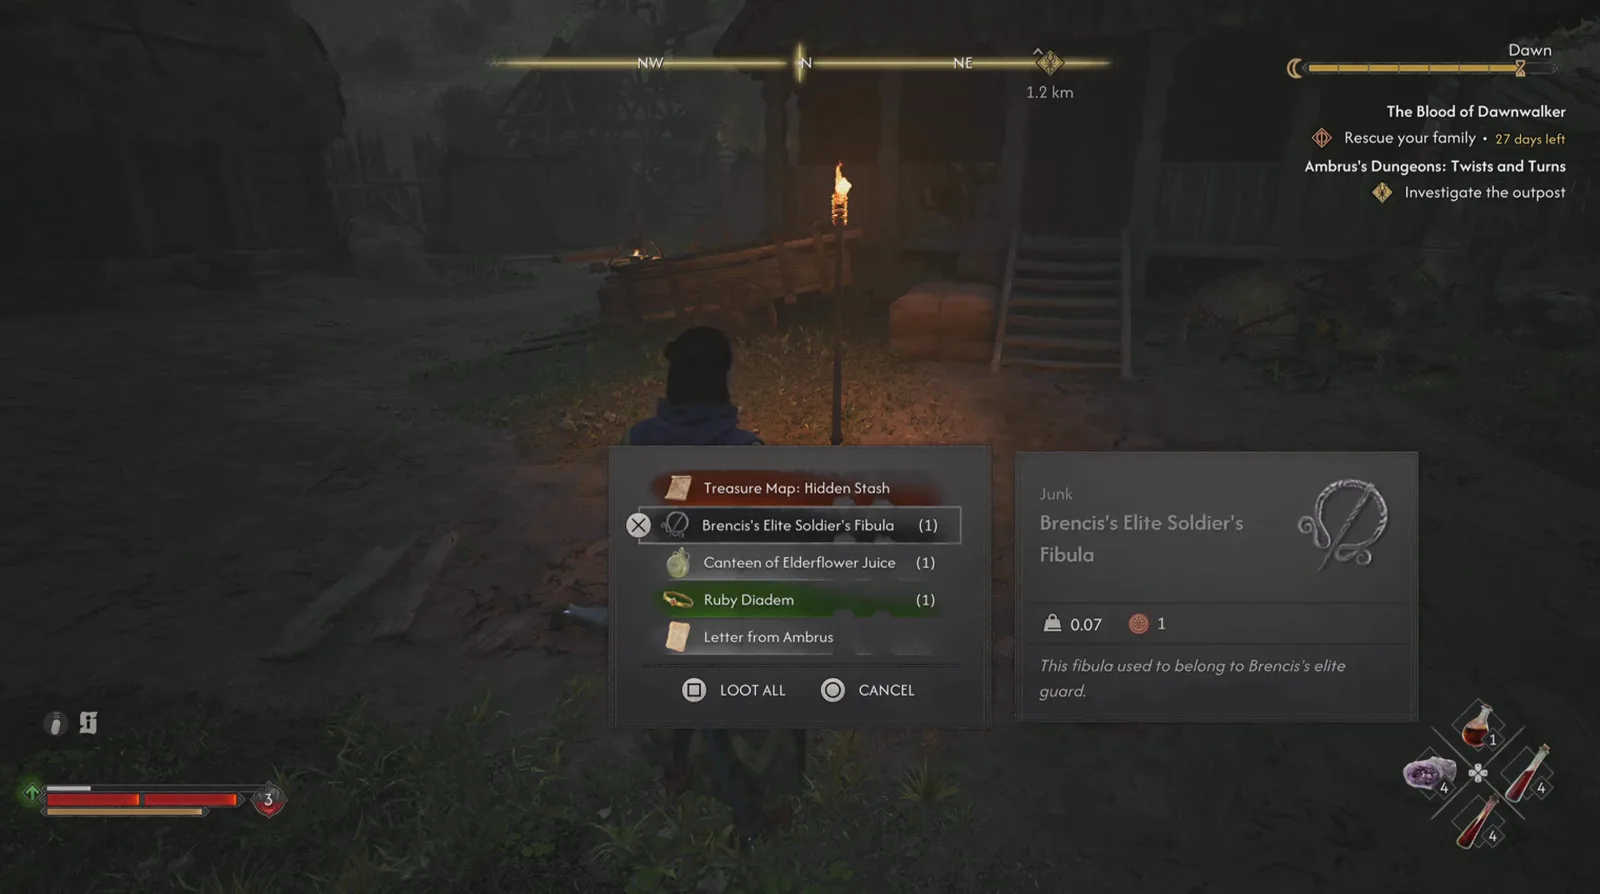
The hidden-stash map is the headline item; the Letter from Ambrus sets up what the ledger confirms. Watch the loot at 1:40
Searching the outpost then turns up the capture’s best piece of environmental storytelling: a readable in-game document titled BLOOD COLLECTION, transcribed exactly as printed:
3 barrels collected from lethally wounded manumits 2 barrels from regular drainings 2 barrels from executions 2 barrels from volunteers
Of these, 4 barrels sent back to Iulian Codrin, as instructed. The remaining ones marked as lost in transit.
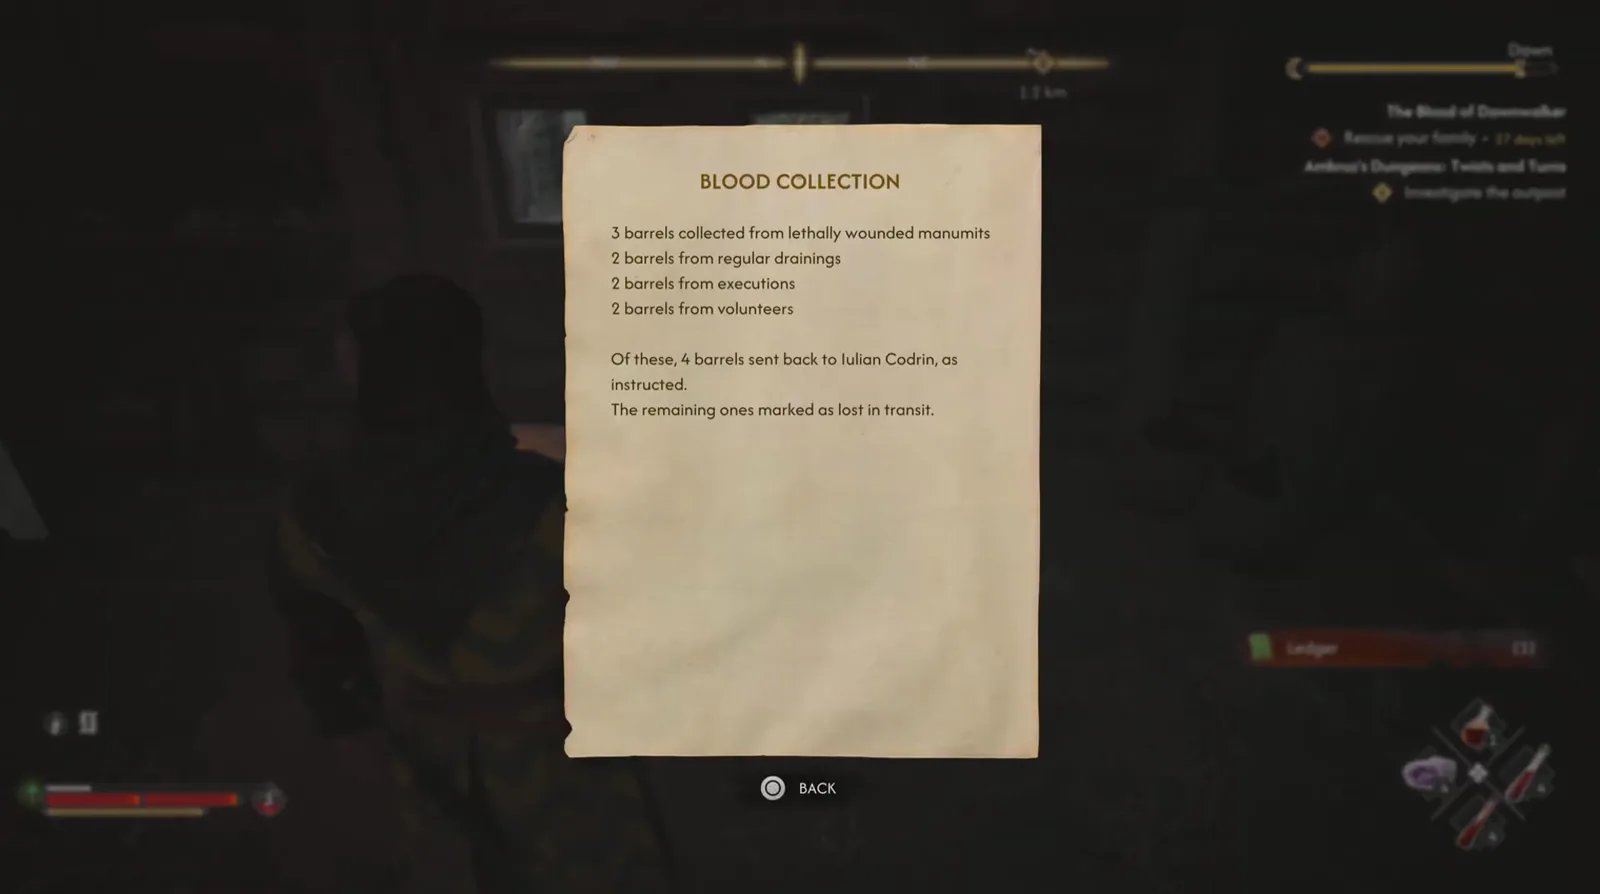
The ledger proving the outpost’s blood never all reached its destination — “manumits” and all. Watch the document at 1:54
Of the nine barrels tallied, four went to a recipient the note names as Iulian Codrin, and the rest were written off as lost in transit. Coen’s subtitle draws the conclusion — “Huh. Ambrus’s men betrayed him…” — and the narration lands the same beat: “Almost half of the collected blood didn’t even make it to Ambrus.” The spelling is Ambrus, not “Ambrose” — the game-rendered subtitles read A-m-b-r-u-s. The note does not say who the “manumits” or Iulian Codrin are.
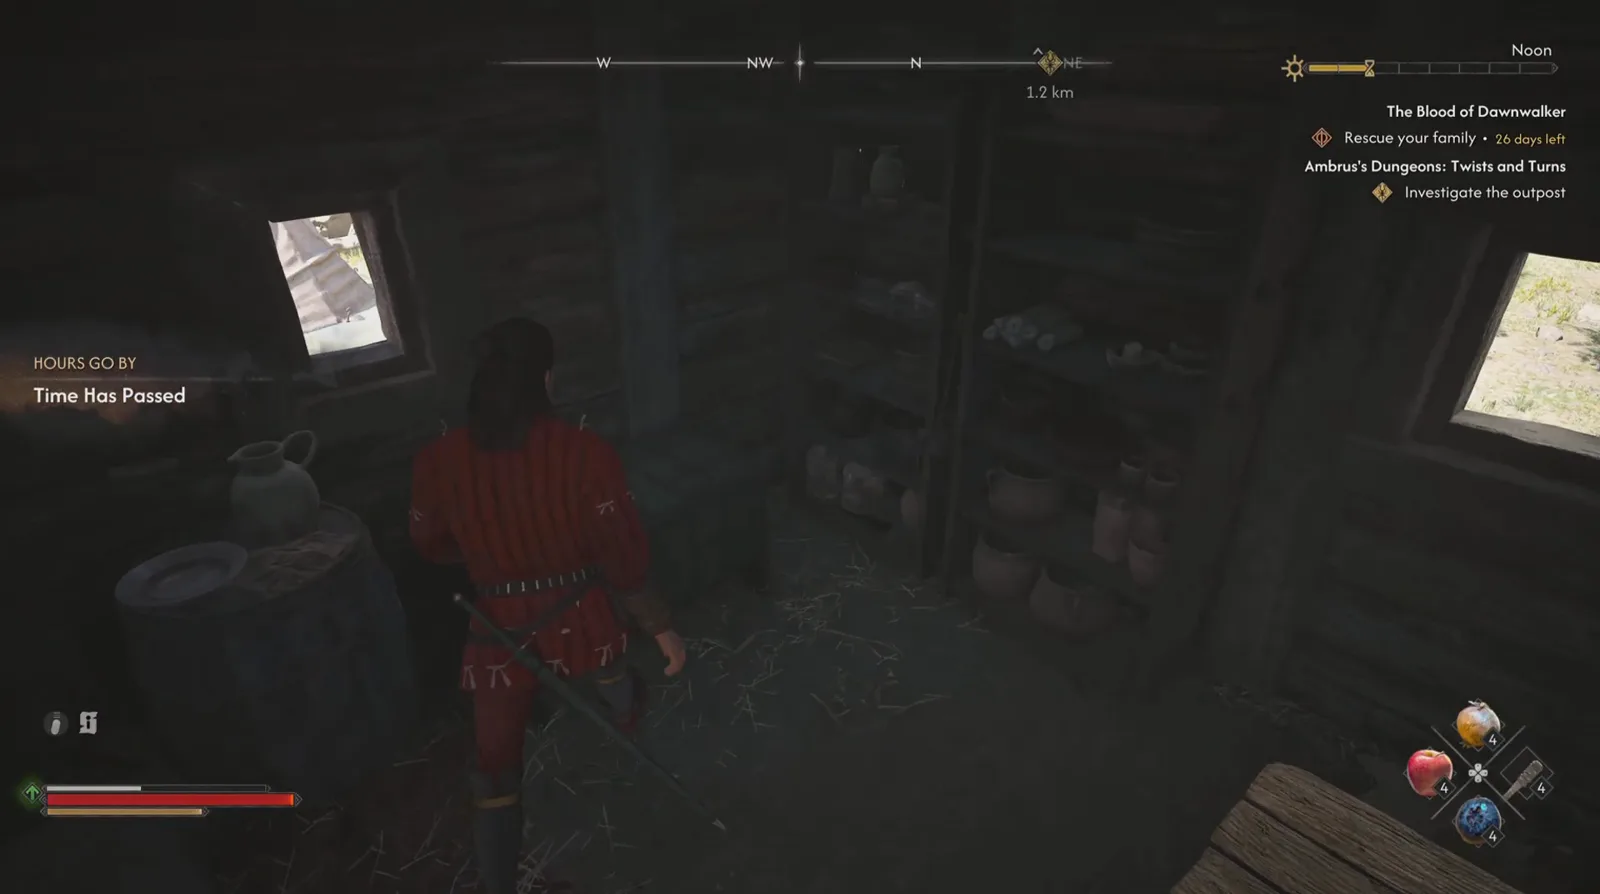
The wrap-up costs daylight too — the tracker ticks from 27 days left to 26 as the hour skip lands. Watch the time skip at 2:26
That skip has a visible price, too: an “HOURS GO BY — Time Has Passed” banner fires, and the clock jumps to Noon. The “Rescue your family” tracker drops from 27 days left to 26 — outpost work spends the same finite calendar as the main hunt (see /guides/30-day-time-system/).

The Blood of Dawnwalker — Chief Jailor boss fight at the Briar Sloughs outpost (Yohanes Aditya)
Sources & Verification
- The Blood of Dawnwalker — Chief Jailor Boss Fight by Yohanes Aditya — the sole source for this page, supplying every screenshot and quote on it (see the plea at 0:26 and the ledger at 1:54).
- Should You Kill Or Spare Chief Jailor In The Blood Of Dawnwalker? (GameRant, Nahda Nabiilah) — cited only for the kill-or-spare framing this capture does not show: killing yields the Treasure Map: Hidden Stash looted from the body, sparing has him hand the same map over and walk away.
More The Blood of Dawnwalker Boss Guides
- The chained “Patron Saint of the Cathedral” from the A Monk and a Saint quest: /bosses/mihai/
- The “Like Father Like Son” duel: /bosses/pieter/
- The prologue bear hunt that opens the campaign: /bosses/ravenous-bear/
- Every documented encounter, indexed: /bosses/
Related Articles
bosses
The Bloodletter Boss Guide: Ambrus's Collectors Duel in Briar Sloughs
Beat The Bloodletter in The Blood of Dawnwalker: the Briar Sloughs leech-barrel camp, his dual-sword duel, the wipe that opens it, and the Blood Leeches he drops.
bosses
Essence of Grief Boss Guide: The Blood of Dawnwalker Memory Fight
Beat the Essence of Grief in The Blood of Dawnwalker: the red apparition inside Isbrand's memory, her unblockable red-skull attacks, and the exact loot.
bosses
Rayko the Incorruptible Boss Guide: Under Watchful Eyes at Stoneward Post
Beat Rayko the Incorruptible in The Blood of Dawnwalker: the Stoneward Post cellar duel during Under Watchful Eyes, his overhead swings, and the loot he drops.
Was this helpful?
Thanks for the feedback!