The Blood of Dawnwalker Legendary Weapons: Durandal Guide
Find Durandal in The Blood of Dawnwalker: follow The Cursed Chasm, defeat Echo and loot the legendary longsword. Includes the other fixed weapon locations.
FAQ
What is the best legendary weapon in The Blood of Dawnwalker?
Where is the King's Slayer sword?
How do you get the Hand of Fate?
Can you miss legendary weapons in The Blood of Dawnwalker?
Where is Durandal in The Blood of Dawnwalker?
How Many Legendary Weapons Are in The Blood of Dawnwalker?
Only a subset of legendaries are cross-verified as fixed, quest-tied weapons you can farm on purpose: the Imbued Sword of St. Mihai, Durandal, Gladius, The Purge and King’s Slayer. The complete legendary list is carried in the Game8 and MapGenie legendary equipment tables; this guide follows those two whenever they disagree with the walkthrough footage. Everything sourced from a single video capture is labelled “single video capture, not cross-verified” below, and any stat line only that footage shows is written as “not documented” rather than quoted as fact. Weapon cards in this game measure real axes — Damage against Mortals / Supernatural, Attack/Block Stamina Cost, Max Human/Vampiric Health, Activation Charge Restoration, Armor — so build pairings here key off those, and off the armor picks in /guides/armor-sets/.
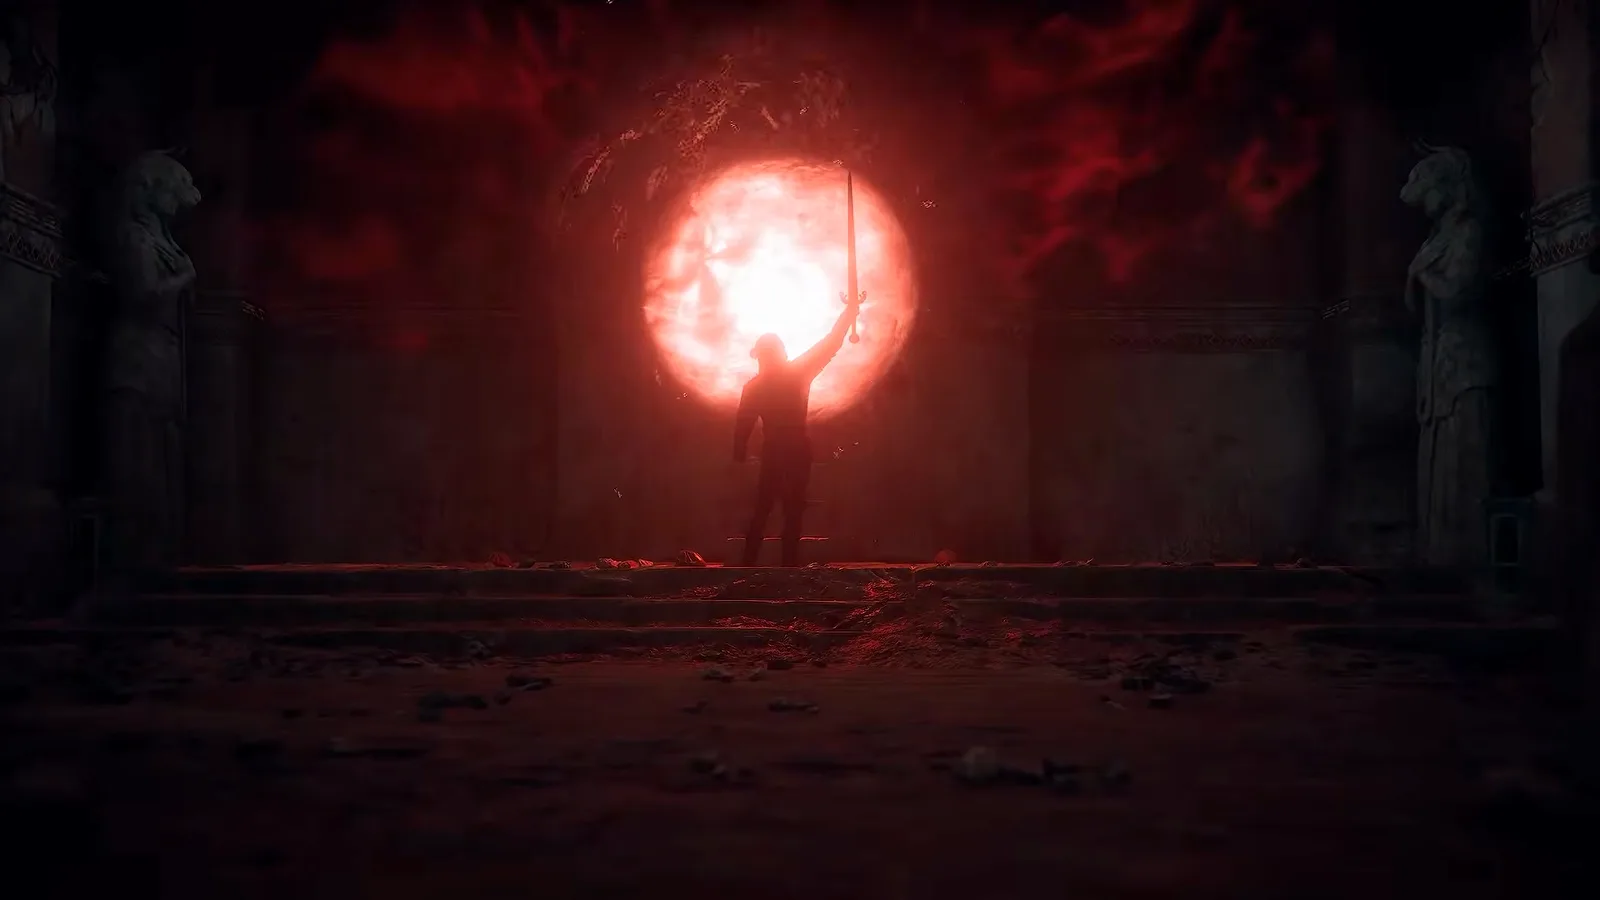
Quick index — the last column states how firm each entry is:
| Weapon | Where it comes from | Sourcing |
|---|---|---|
| King’s Slayer | Buried treasure west of Svartrau | cross-verified; the +45% block number is single-source |
| Gladius | Balaur cave (The Beast of Balaur) | cross-verified |
| Durandal | The Cursed Chasm: defeat Echo and loot the lost treasure | quest tracker and Durandal loot card visible in DefectiveGaming’s capture |
| The Purge | Bakir’s camp, or bought from the Silver Trader | weapon cross-verified; stats single-source |
| Urka’s Sword | The Champion of Old ruins, eastern valley | single video capture, not cross-verified |
| Hand of Fate | Crypt beneath Father Florine’s house | single video capture, not cross-verified |
| Imbued Sword of St. Mihai | Cathedral riddle chain + Forge It Anew | cross-verified (PC Gamer, MapGenie) |
King’s Slayer — the Defensive Buried Treasure
The earliest cross-verified legendary you can grab: King’s Slayer is a buried treasure on the river bank just west of Svartrau — find the rock formation beside the lone tree and dig. The walkthrough says no treasure map is required and the spot is reachable the moment the prologue ends, which also makes it a natural first stop on the /guides/beginner-guide/ route.
The video capture presents King’s Slayer as the pure-defense pick, describing a reduced Block Stamina Cost and a larger perfect-block window reported as +45%. Only one source shows that number, so the exact value is not documented (single video capture, not cross-verified); the reduced-block-stamina role is consistent with the game’s real Armor/stamina attribute axes.
Gladius — The Beast of Balaur’s Cave
Gladius is a fast sword weighted toward Damage against Mortals and Max Vampiric Health. It comes from a treasure box in the cave on Balaur during The Beast of Balaur — fight through the undead dogs, then climb the cliff at the upper level during the night (vampire form makes the ascent trivial). The cave used to be one of Brencis’s hideouts, and it pays twice:
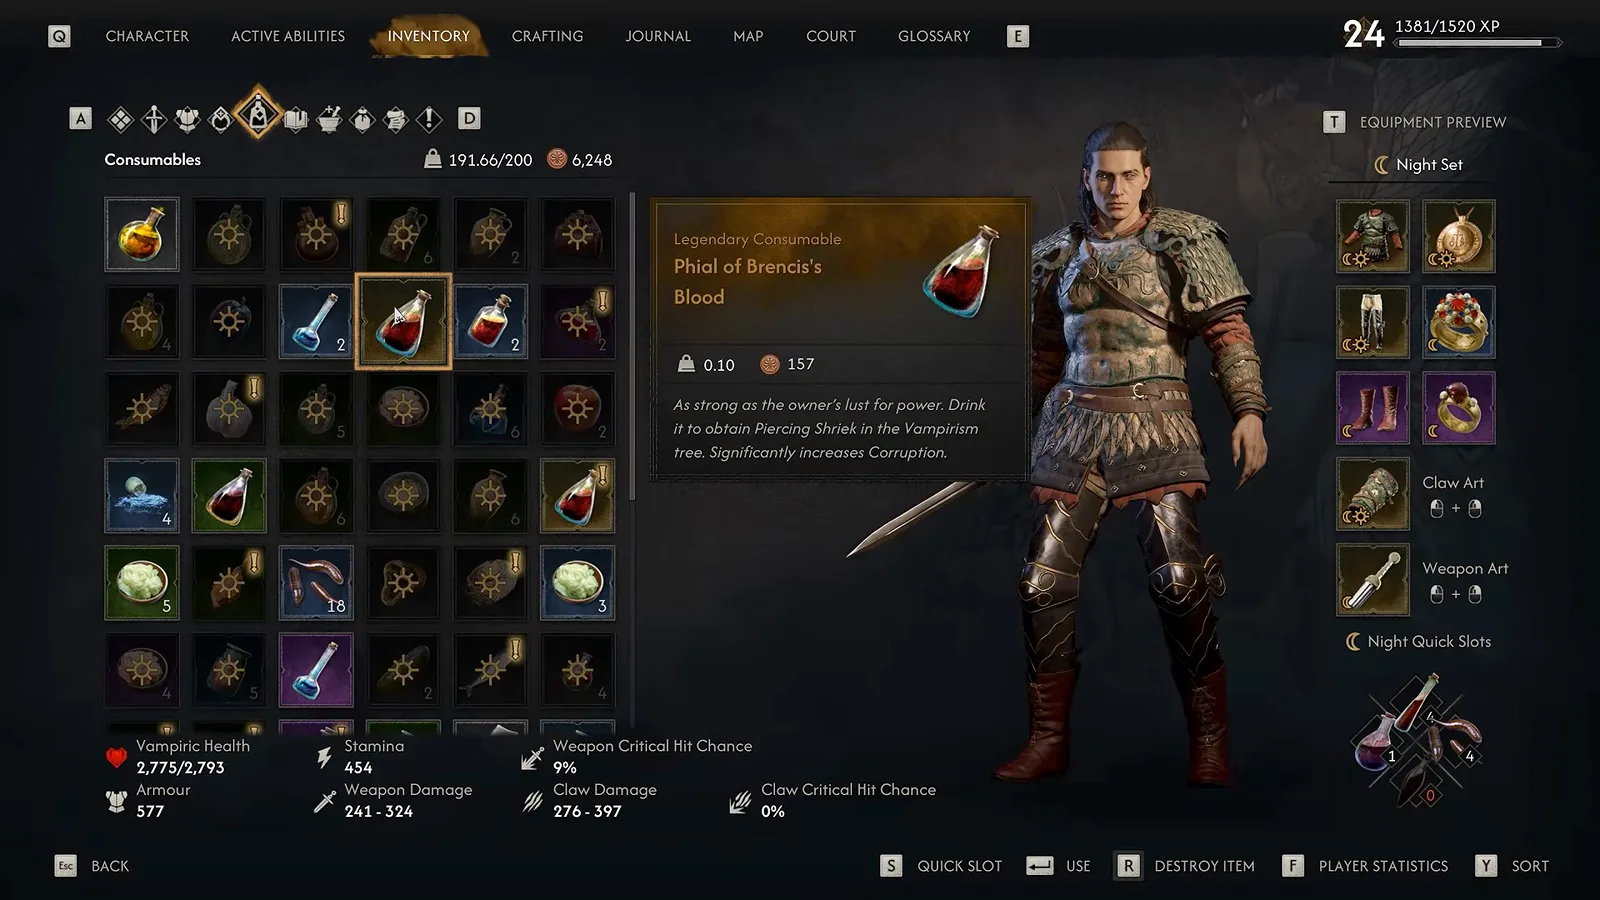
On the table to the right of the central altar sits the Phial of Brencis’s Blood — drink it to unlock Piercing Shriek, a scream that heavily debuffs enemy damage and defenses. The Gladius itself is in the treasure box nearby. If you collected all the quest clues, report to Ciprian in the village to close out The Beast of Balaur for extra XP. (Note: the old copy of this page called this mountain “Mount Balour” and the item a “Vial”; the region and beast are Balaur, and the item is a phial.)
Where to Find Durandal in The Blood of Dawnwalker
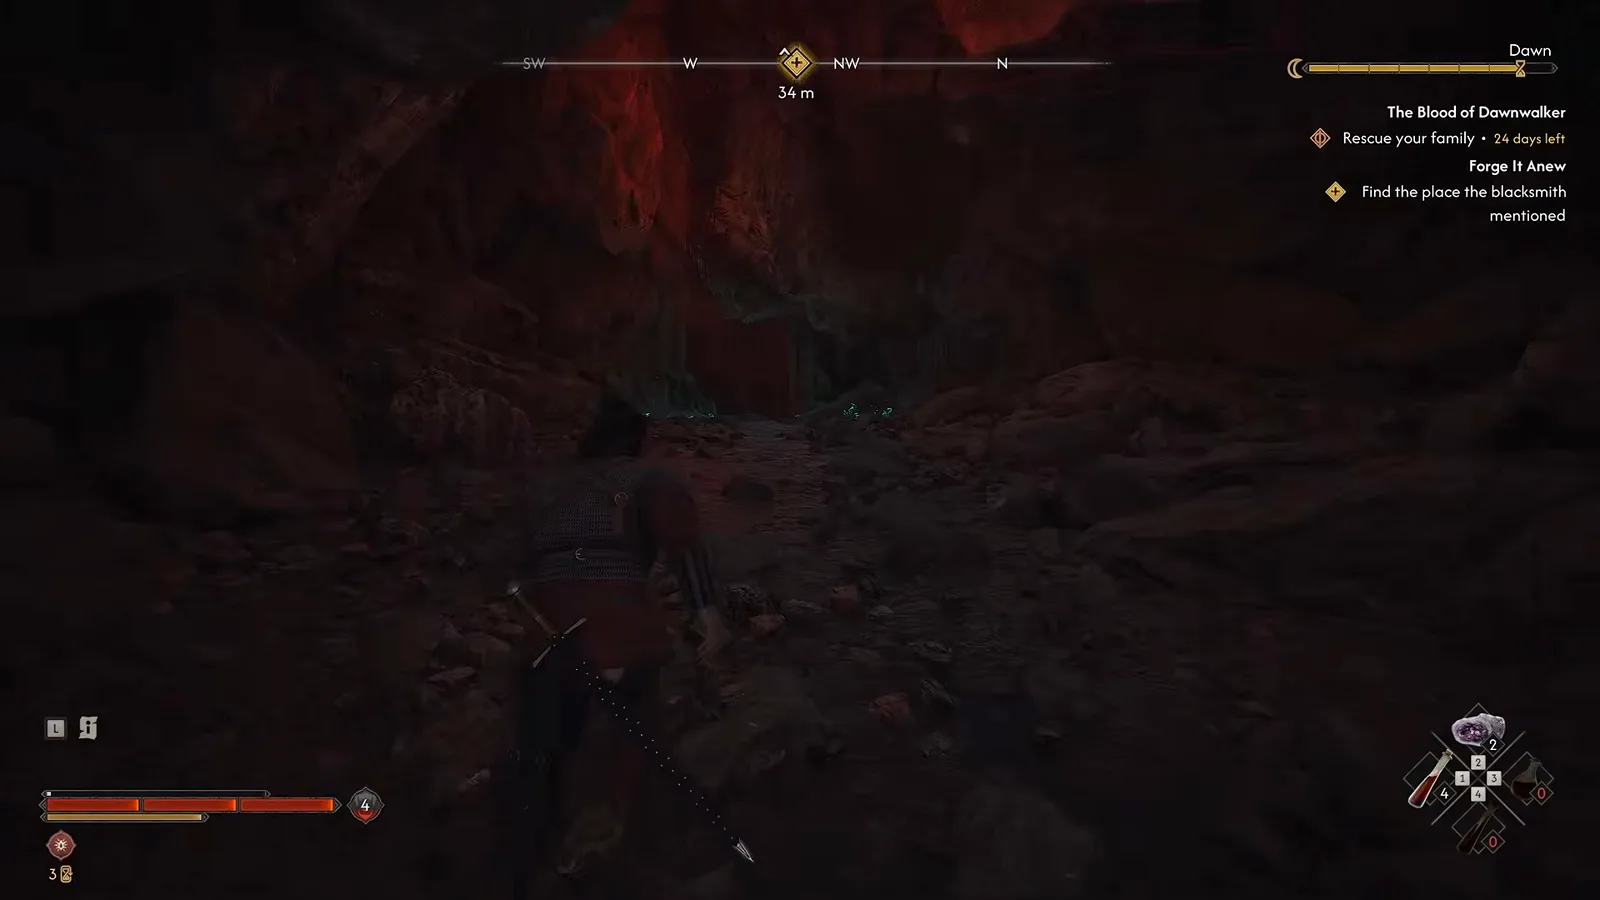
Durandal is the legendary longsword found after the Echo encounter in The Cursed Chasm. The quest tracker and reward card in DefectiveGaming’s capture settle the route more precisely than the earlier weapons walkthrough. Follow these landmarks:
- Follow The Cursed Chasm objective, “Find Knyaz Skender’s lost treasure”. Investigate the shattered wooden bridge and its surroundings; the footage shows the broken beams at 0:14.
- Descend into the ravine. The red-lit chasm and the treasure objective are visible together at 0:55. The capture takes place in the morning, so it does not establish vampire form as a requirement.
- Defeat Echo, the red spectral boss at the bottom, and watch for the accompanying thrall. The Echo boss guide shows the fight and its recovery openings without inventing a move list.
- Search the treasure after the fight. At 2:28, the loot panel explicitly displays Durandal — Legendary Longsword.
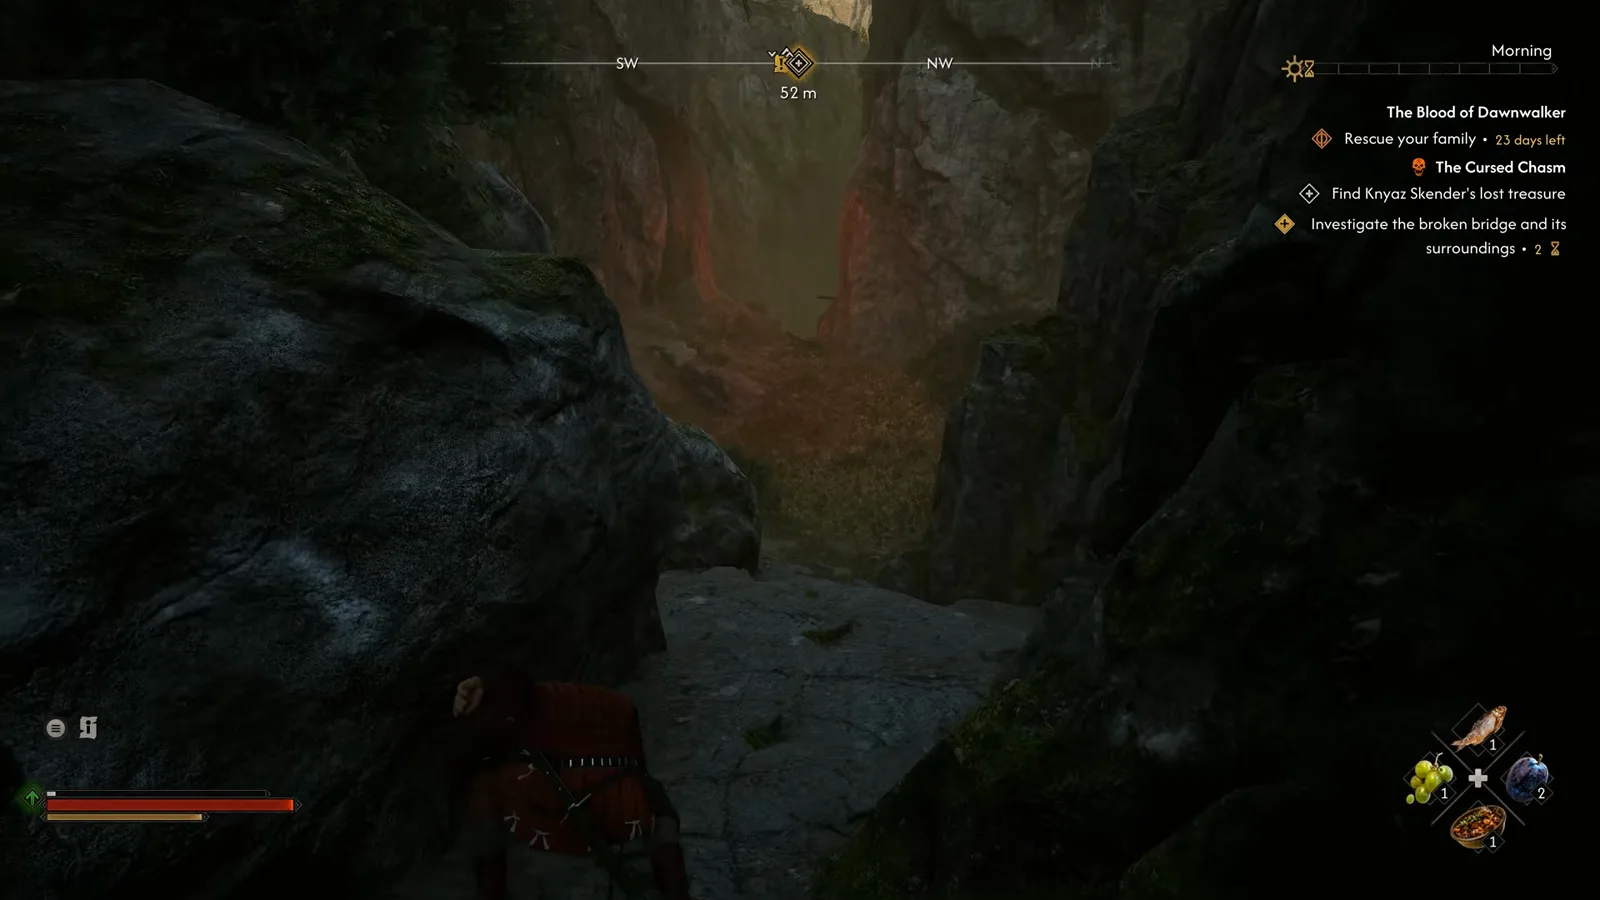
The quest tracker supplies the route name to look for in your journal. Source: DefectiveGaming, 0:55.
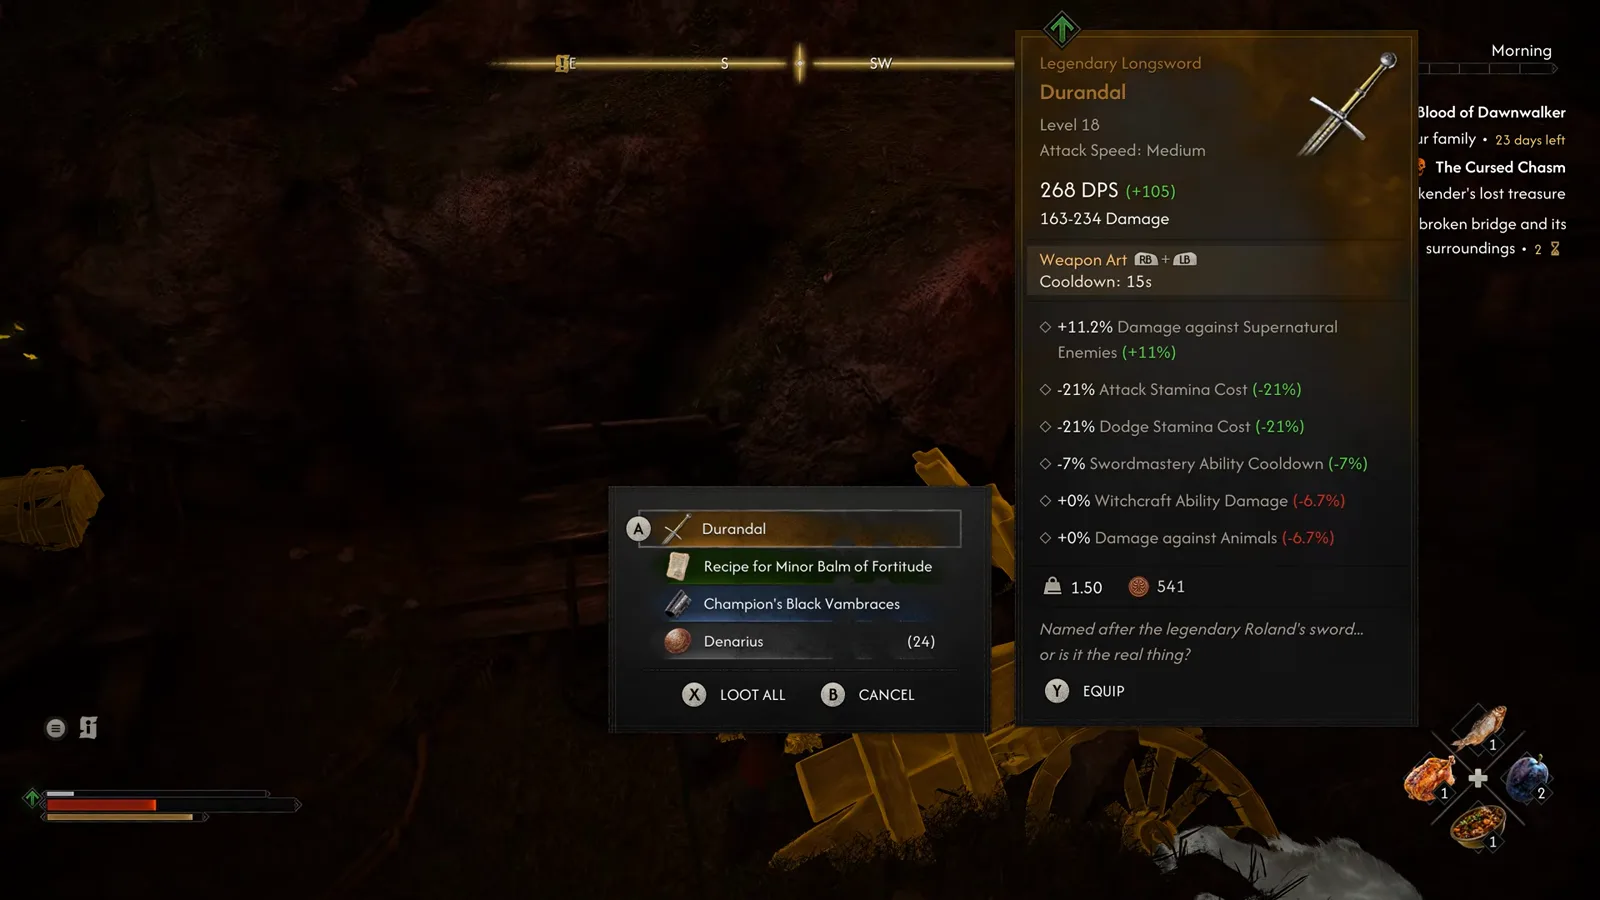
Loot the sword from the treasure; its rarity and name appear on the same panel. Source: DefectiveGaming, 2:28.
The reward card shown in this save includes Damage against Supernatural Enemies and reduced Attack/Dodge Stamina Cost, which helps explain its role alongside the best weapons. The exact numbers describe the filmed item, not a guaranteed roll at every player level; the Echo guide transcribes that card separately.
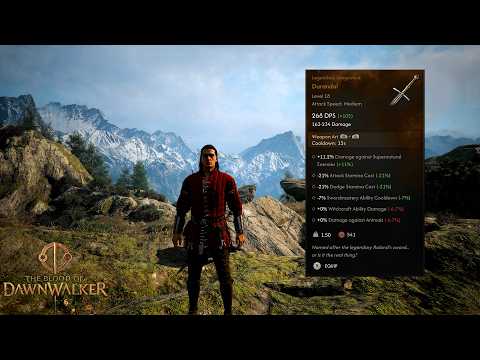
The Cursed Chasm, Echo and the Durandal reward (DefectiveGaming)
The Purge — Bakir’s Camp or the Silver Trader
The Purge is a cross-verified legendary longsword. In the capture it appears as a level-22 sword whose card reads as a survivability stick — a large Max Human Health bonus alongside reduced Attack and Block Stamina Cost. The old copy of this page quoted “322 DPS, +27% / −27% / −21.6% / −9%”; those figures come from one on-screen card and are not documented (single video capture, not cross-verified).
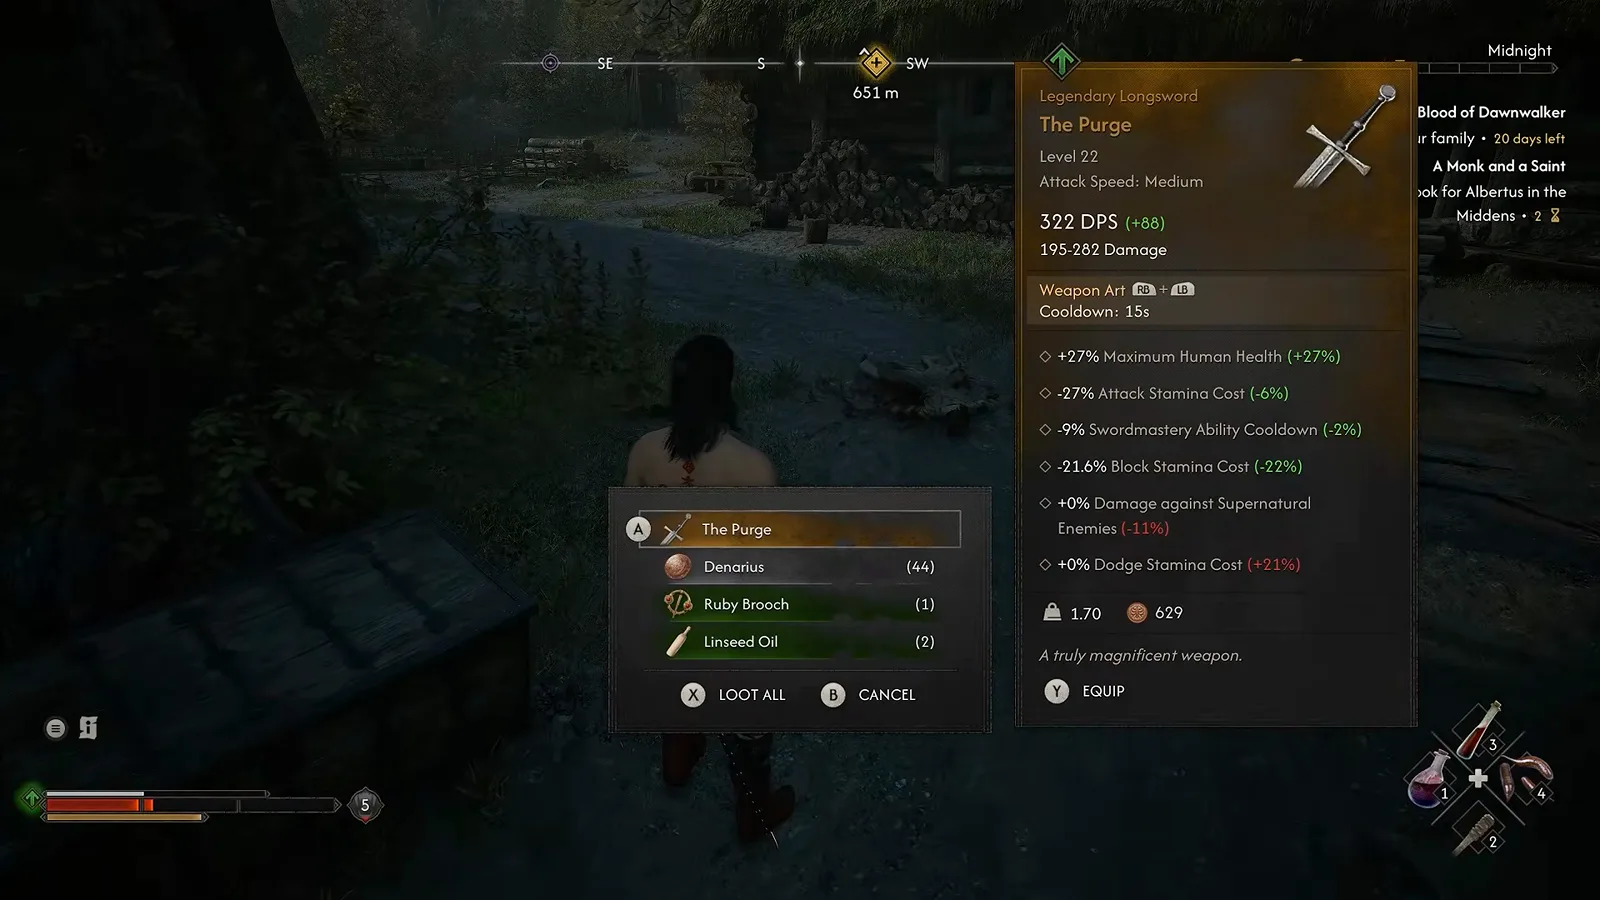
Two ways to get it: clear the head-hunters camp from Bakir’s mission north of Svartrau and loot the chest by the tree — the walkthrough calls this mission A Matter of Honor, but that quest name is single video capture, not cross-verified — or simply buy it from the Silver Trader camped west of Svartrau. The Trader’s existence and location are cross-verified (IGN’s How to Sell Silver); the “roughly 3,500 denarius” price is not documented. If you take the purchase route, /guides/denarius-farming/ covers the income.
Urka’s Sword and Hand of Fate — Father Florine’s Crypt
Per the capture, two legendary weapons live in one mission chain starting at the cathedral in Svartrau at midday: Father Florine is performing a baptism. Interact, choose confession, confess all the sins offered (wrath included), then pick the yellow dialogue option. He agrees to help — and becomes an ally later — sending you to his house west of the city, where an ancient temple is dug into the ground beneath.
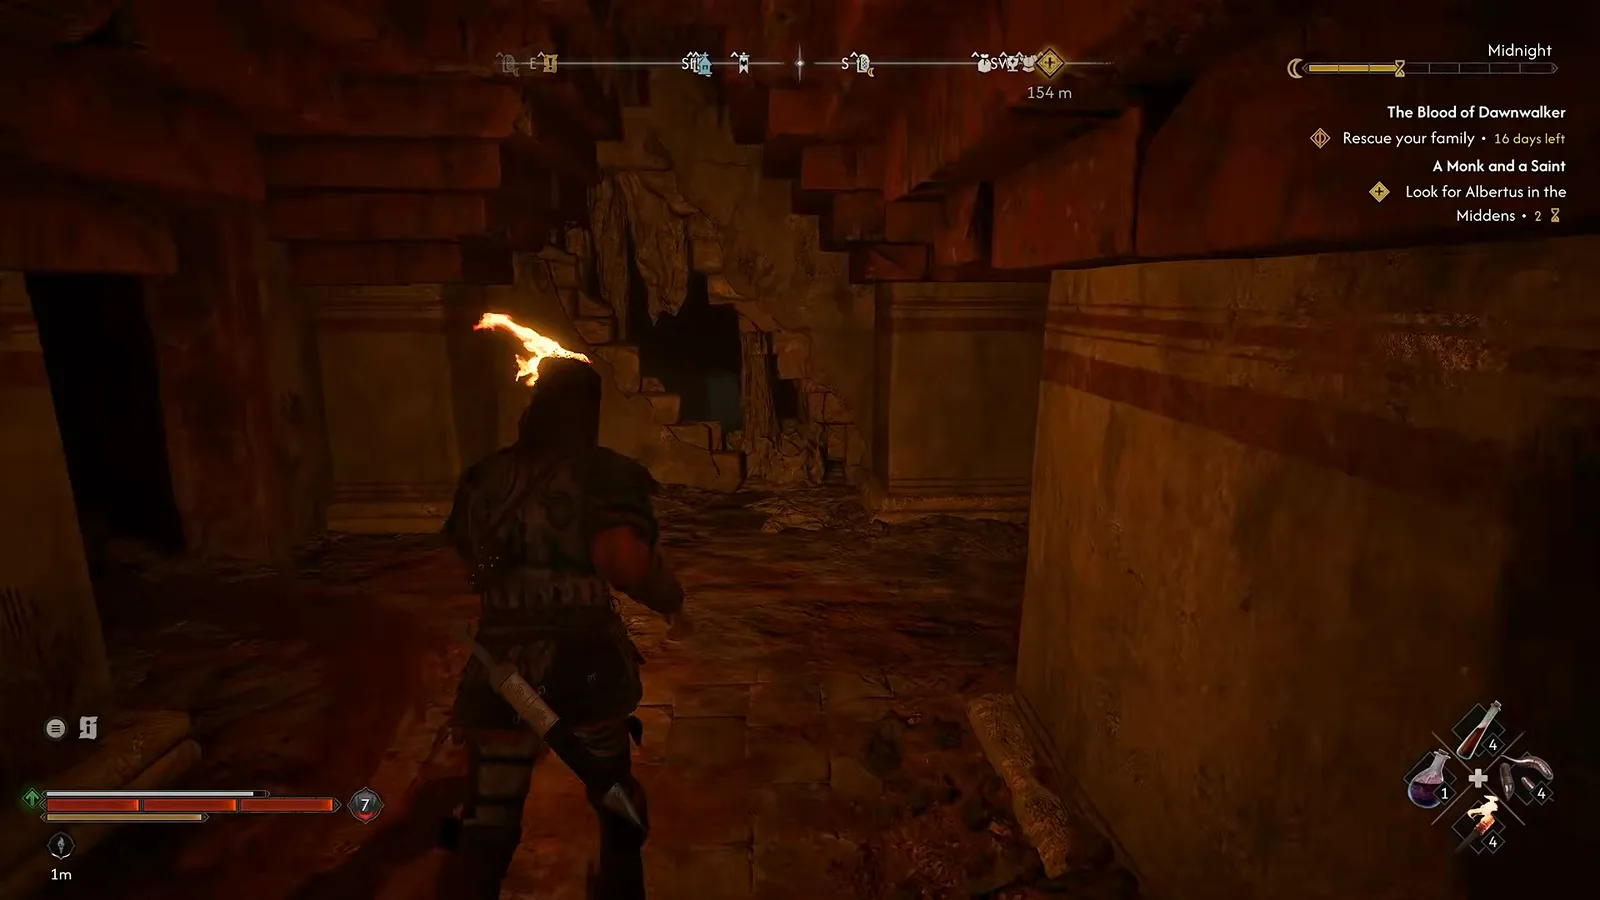
Inside the crypt, take the ancient key (from Florine directly, or the barrel next to him); don’t attack him — the friendly option costs nothing. The crypt trial also awards an ancient armor from its final boss, but the weapons are the prize:
- Urka’s Sword (not cross-verified): inspect the fresco in the room before the final boss on the lower level. It opens The Champion of Old, a side quest at ruins near the eastern-valley waypoint — clear it, beat the boss (the capture says this detour burns three in-game hours, so plan around the /guides/30-day-time-system/), and the sword is yours. Its card is reported as an anti-supernatural crit stick — Damage against Supernatural plus Max Human Health — the mirror image of Gladius (the anti-mortal sword); no DPS or % is documented. Its special is described as a step-back into a jump stab, then a cross slash.
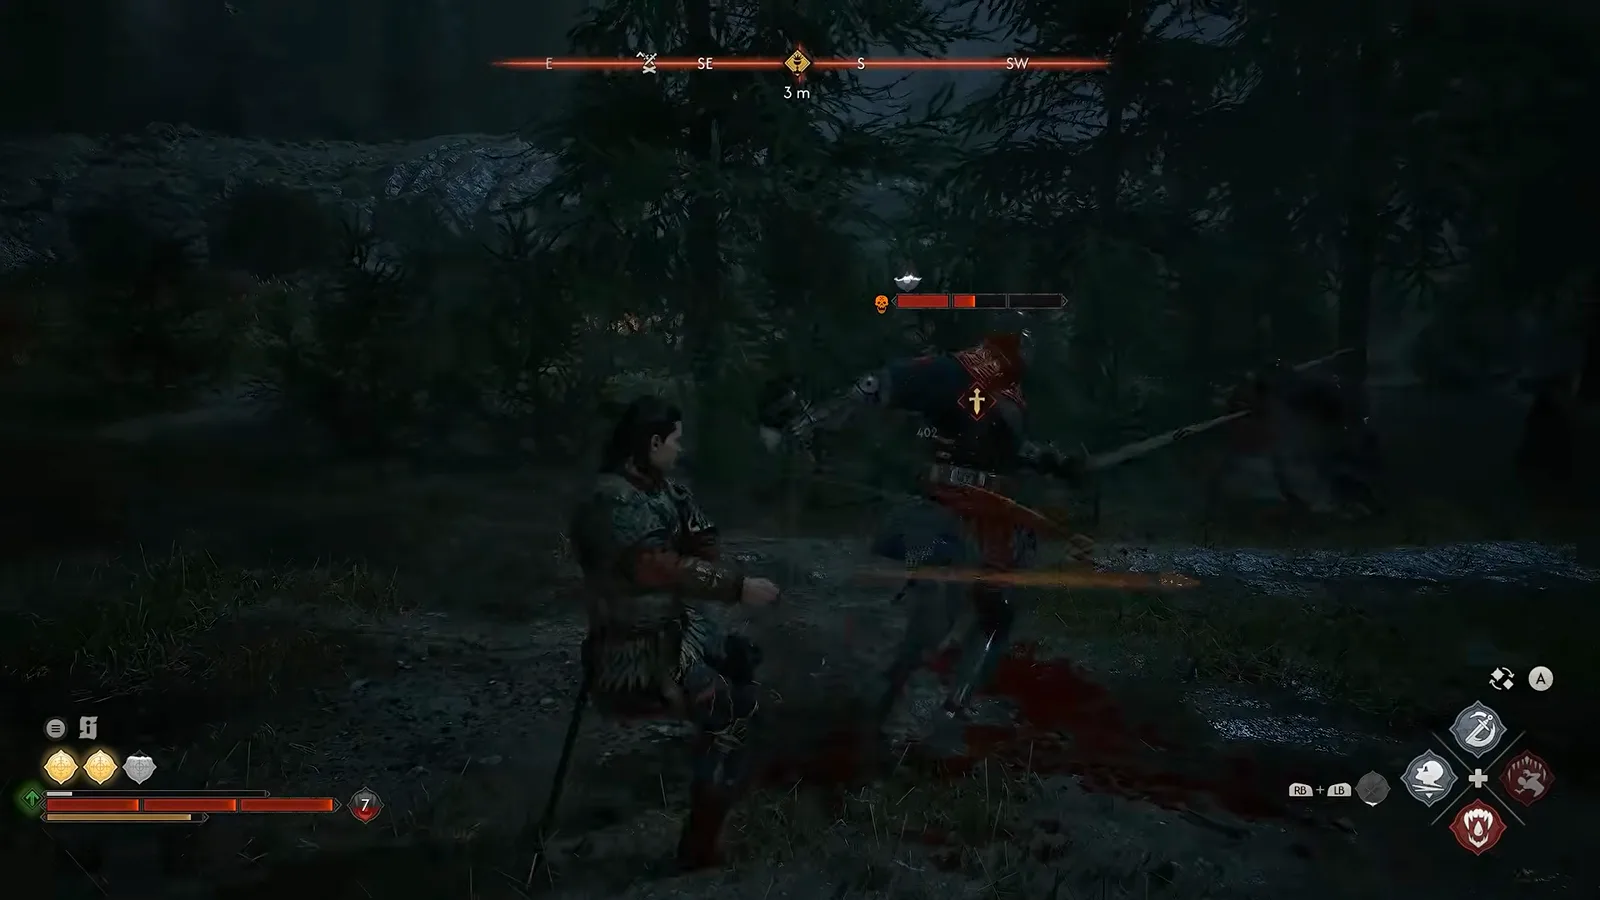
- Hand of Fate (not cross-verified): behind the statue room, slip through the wall gap, keep left, and cross to the secondary chamber — at night a vampire jump skips the whole climb. The blue-toned lower chamber hides a treasure chest that needs the strange stone key (steps below). The chest is reported as a witchcraft stick: Activation Charge Restoration and ability-cooldown bonuses, so your spells do the work while the sword covers uptime. No values are documented.
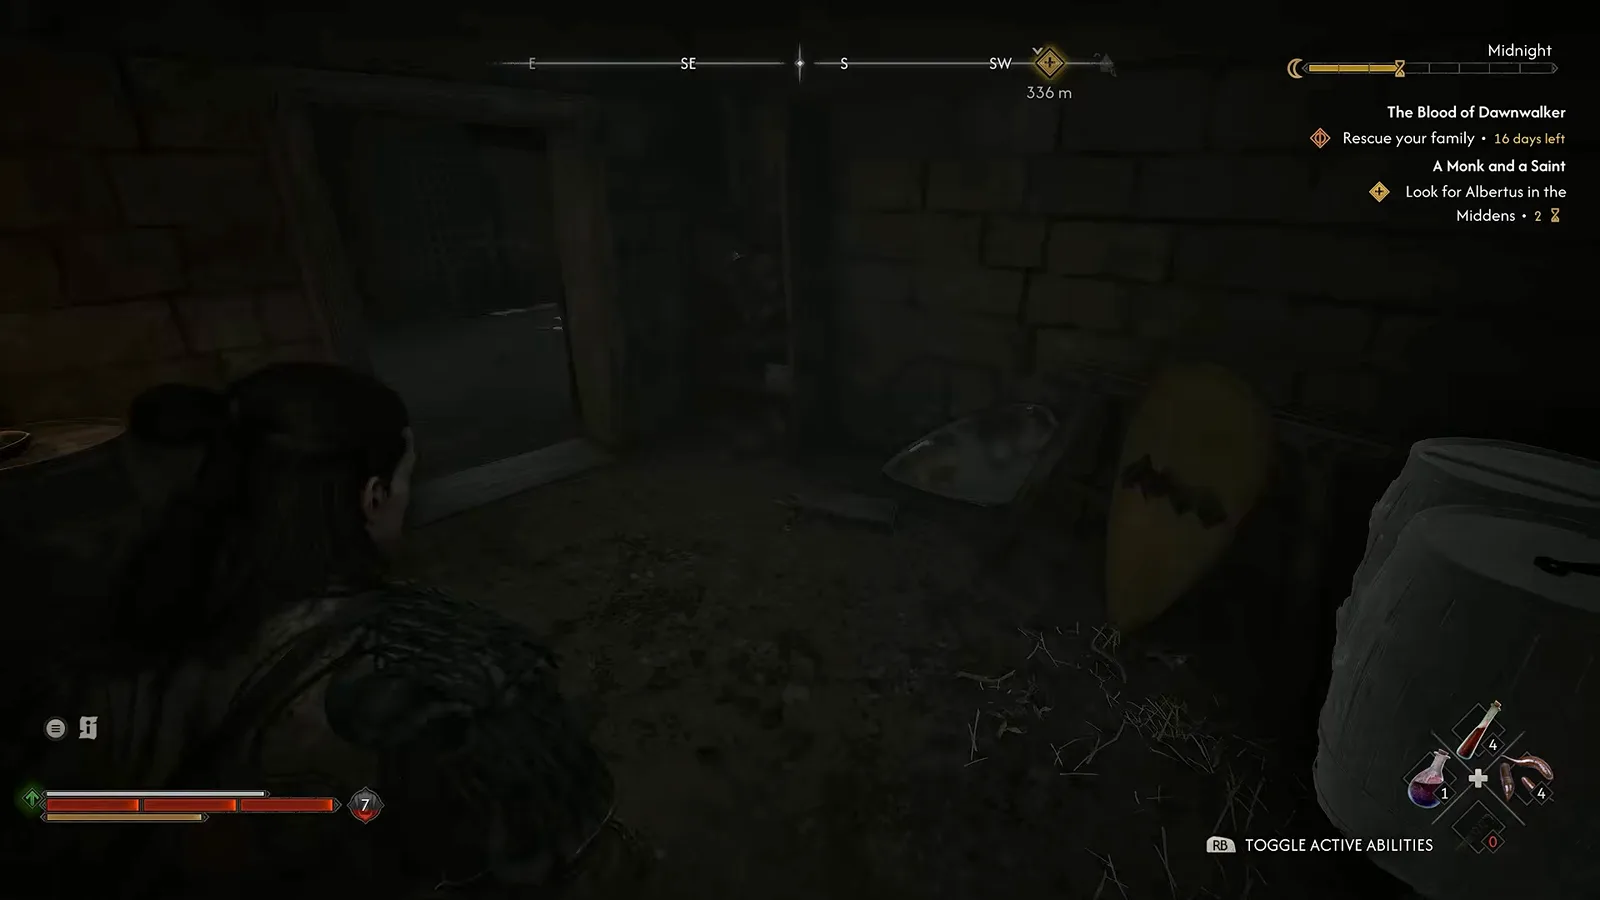
Where Is the Strange Stone Key? (not cross-verified)
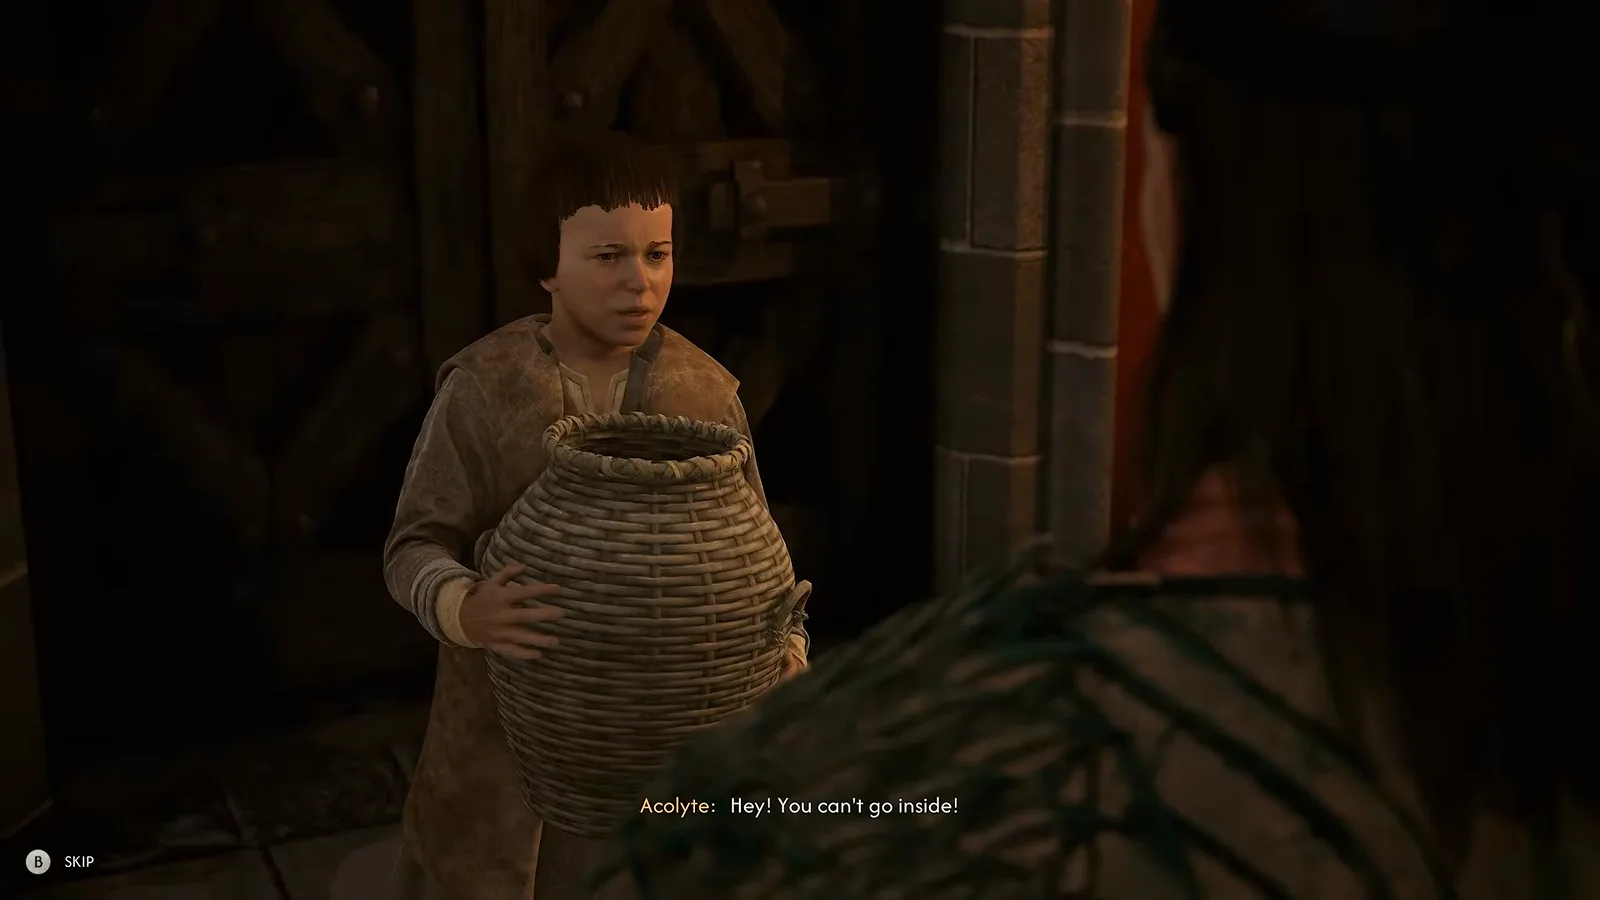
Per the capture, go to the cathedral at night: climb the scaffolding on its right side into an upper level, drop down, and enter the second room (a kid occupies it by day). In the back you’ll find a journal with the treasury key tucked behind it. Exit to the backyard, enter the treasury, and move the bookshelf on the first floor — behind it, at the bottom of the cellar, the strange stone key waits on a blood-stained altar. By day the treasury route is blocked — the acolyte at the door refuses entry, which is why the night approach is the low-friction one:
Saint Mihai’s Sword — the Riddle, the Tomb, and Forge It Anew
The longest chain in the game yields its most-recommended sword. Prerequisite: finish one of Anca’s first missions so she points you toward Albertus, on the western outskirts of Svartrau (the quest line appears as A Monk and a Saint). In his house, say you seek Mihai’s sword, take the piece of charcoal, and answer his five riddle lines — in order:
- Abelard the Sorrowful
- Svartrau Plaza
- His penance, the place of his redemption
- Never once set foot inside it
- St. Mihai, a great warrior, arrived at Vale Sangora
Back at the cathedral, work the treasury bookshelf room again — this time the golden chalice on the left table yields the Emblem of St. Mihai. Grab the blood vial on the second floor too (the capture says it grants another unique ability). Then find the deacon by the altar: he wants the almshouse sorted first. In the infirmary, the patient in the third bed mentions the closed plague wing next door — move the bookshelf, descend, kill the cellar monster and take the key from its body. Return to the deacon for library access, read the yellow Annal on the library’s second level for about an in-game hour, and it reveals the location of St. Mihai’s crypt.
At the tombstone row — five stones — his is the fourth from the left (immediately right of the middle one). Interact, descend, and beat St. Mihai himself in the boss fight:
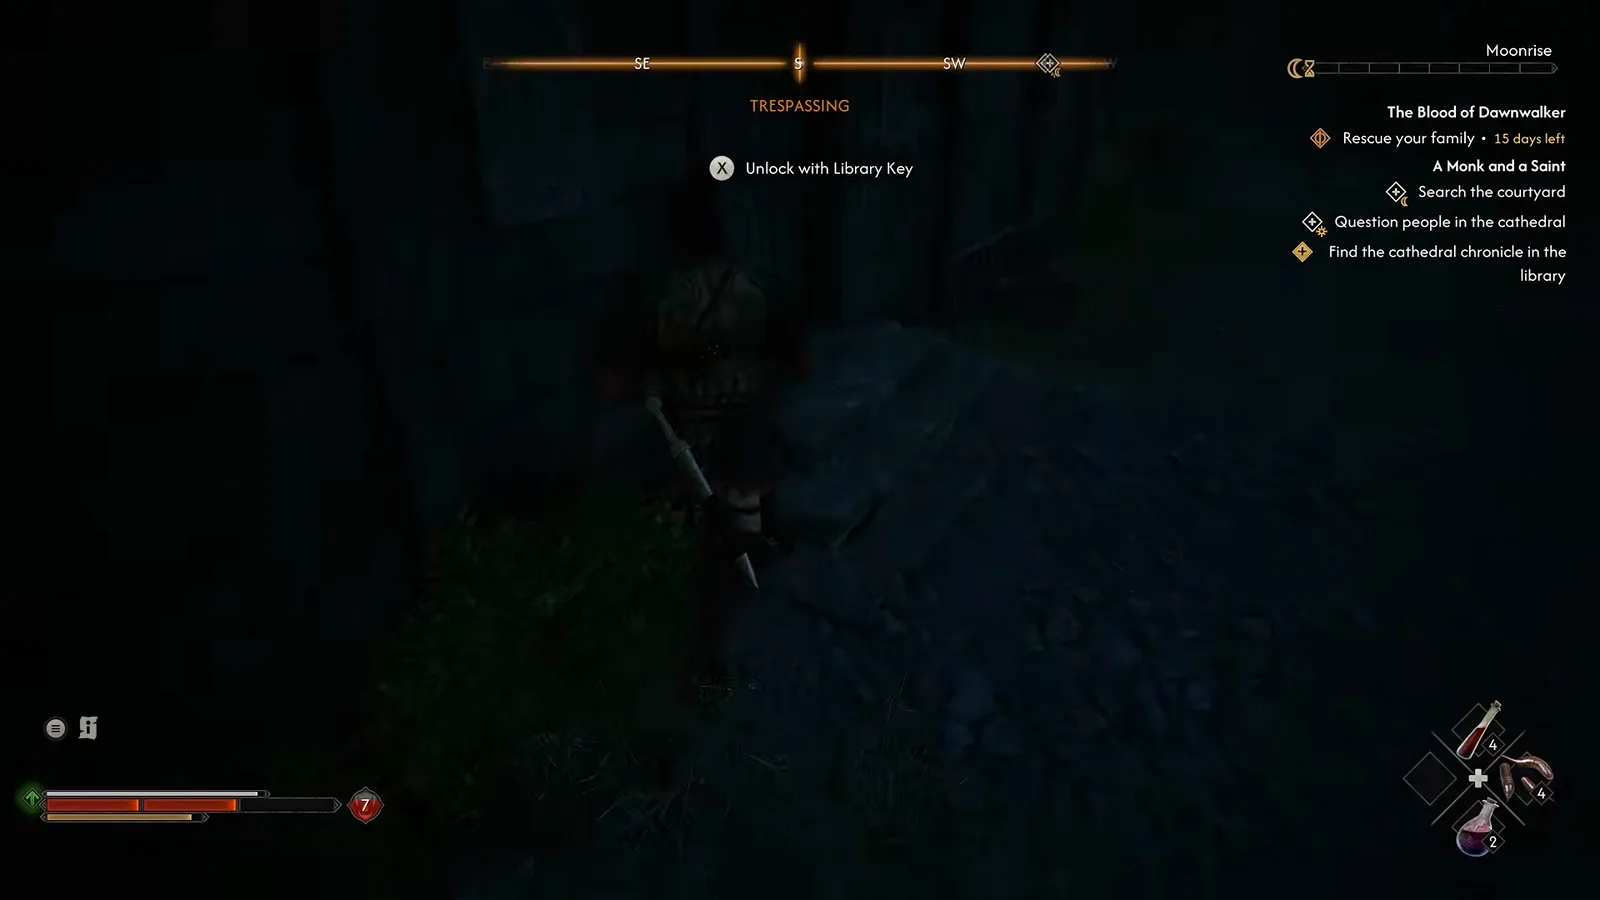
You receive his sword broken — rare quality, and easy to dismiss. Do not throw it away. Do the fight during the day if you can, so the nearby catalyst can extract extra information from him. That opens Forge It Anew.
The Blacksmith: Uriashi at the Uriashi Hermitage
The restoration is done by Uriashi (sometimes rendered “Uriash”), the hornless female blacksmith at the Uriashi Hermitage shrine in the northwest of the Briar Sloughs. She is the same craftsmanship hub behind the Arbiter set line A Bulwark Against Darkness in /guides/armor-sets/. After you pick the dialogue option about defeating Brencis for good, she restores the epic version of the blade. (The old copy of this page called her the “Uhrisk hermit blacksmith”; the correct NPC name is Uriashi and the location is the Uriashi Hermitage.)
The Three Sword Shards — all in Kobold nests
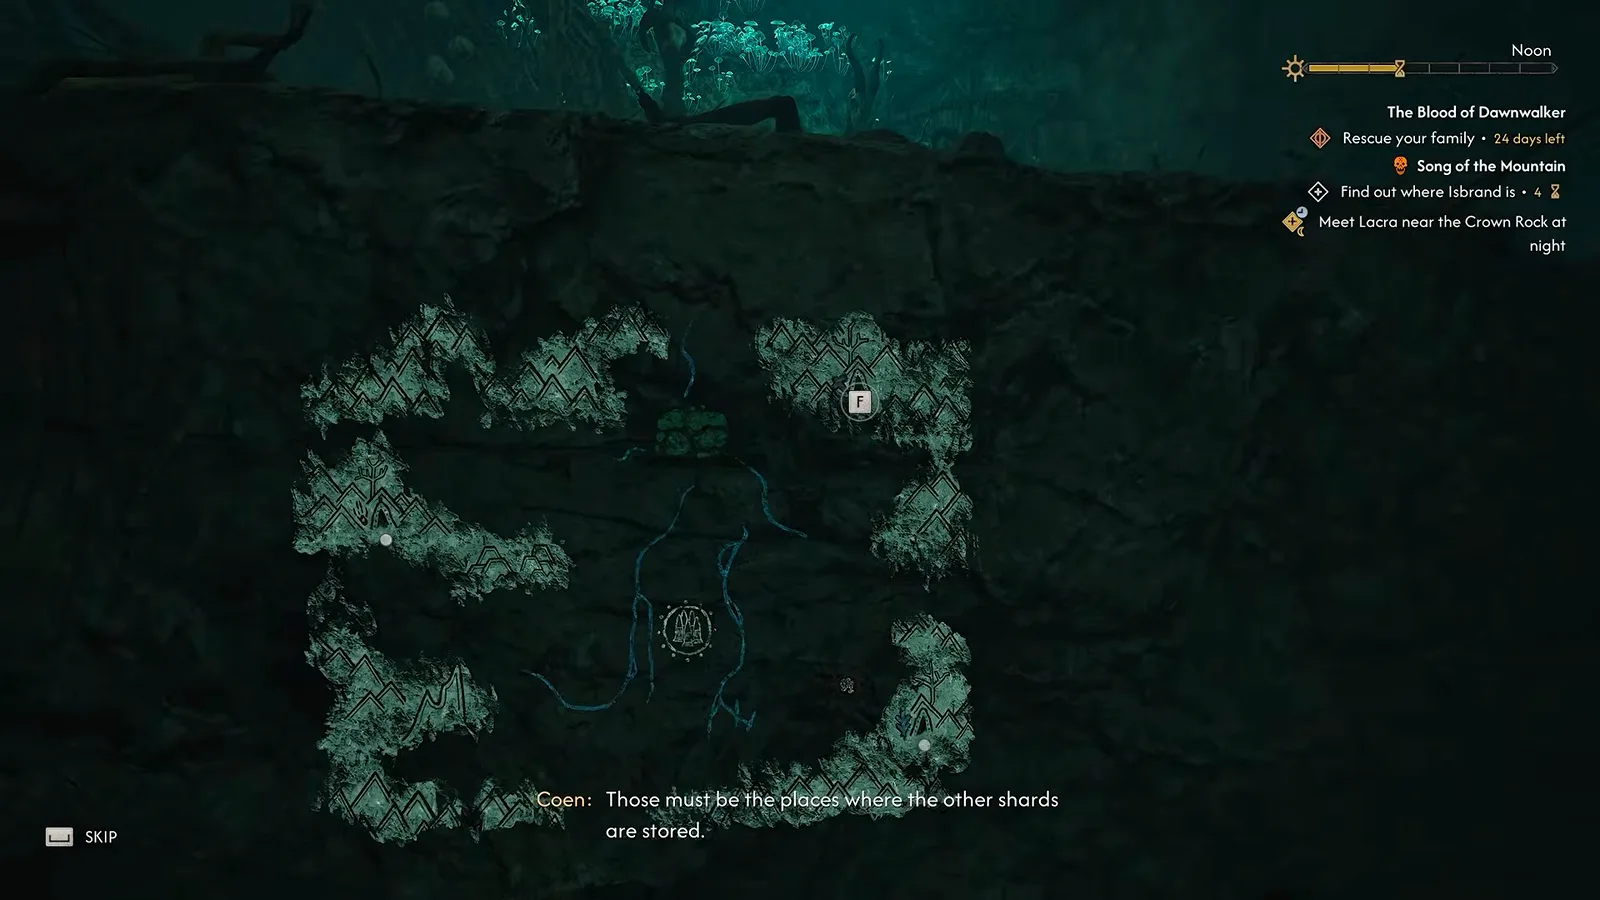
Cross-verified by PC Gamer’s Forge It Anew shard guide and the MapGenie quest table: all three shards come from Kobold nests, and the Forge It Anew line runs through three named stages. Cave paintings inside the first nest mark the other two locations.
- Do Not Disturb — a Kobold nest in the northeast of the Maragir Wealds. Take the shard from the broken cross; the rock-art on the cave walls points to the remaining two.
- Hostile Takeover — a Kobold nest in the north of the Rockfalls, marked by a white X at the cave mouth. Kill the poison-spitting corrupted Kobold “Munch-Munch” to reach the shard.
- Executive Order — a Kobold nest in the south of St. Tyna’s Grove. This shard has been moved to Xanthe’s camp at The Silts; retrieve it from a small chest in the main tent.
Quenching in the red curse sphere
With all three shards, Uriashi re-forges the blade; then follow the objective up the northern slope, behind the brambles, into the ancient ruin on the mountain. Clear the enemies inside, then quench the sword in the red curse sphere — the finish yields the Imbued Sword of St. Mihai at legendary quality.
Its reported stat line uses real axes: heavy Damage against Supernatural plus Attack Stamina Cost / dodge reductions. Its weapon art is described by the authoritative guides as an area (AOE) attack whose form changes between day and night. Community playtesters describe the night form as a wide 360° spin slash with a built-in dodge, but that is a subjective playtest read, not a spec — there is no published damage number and no “strongest weapon in the game” claim to lean on. This is the sword the rest of the game — and the /bosses/ index — gets played with.

Walkthrough capture used for the single-source entries above (KhrazeGaming)
Sources & Verification
- DefectiveGaming — Echo / The Cursed Chasm — Durandal’s route is checked against the visible quest tracker at 0:55 and loot card at 2:28, also documented in the Echo guide.
- PC Gamer — Blood of Dawnwalker: Forge It Anew sword shard locations — cross-verifies the three Kobold-nest shards (Do Not Disturb / Hostile Takeover / Executive Order), Munch-Munch, and the reforging chain.
- MapGenie — The Blood of Dawnwalker quests & legendary equipment — quest-name and legendary-list cross-check.
- IGN Wiki — How to Sell Silver, Day 1 guide, and Crafting — Silver Trader west of Svartrau, real weapon attribute axes, Into the Den / Ravenous Bear.
- Game8 — The Blood of Dawnwalker Wiki — full legendary table; inaccessible fields remain pending manual review.
- KhrazeGaming walkthrough capture — the original single video source and the weapon screenshots outside the Durandal section. Entries sourced only here are labelled “single video capture, not cross-verified” (see the St. Mihai riddle answers at 11:43 and the final imbuing at 19:23).
More The Blood of Dawnwalker Weapon Guides
- Silver is contraband, not a damage type: /items/silver-swords/
- Armor to pair with the blade: /guides/armor-sets/
- Fund the merchant route: /guides/denarius-farming/
Related Articles
bosses
The Bloodletter Boss Guide: Ambrus's Collectors Duel in Briar Sloughs
Beat The Bloodletter in The Blood of Dawnwalker: the Briar Sloughs leech-barrel camp, his dual-sword duel, the wipe that opens it, and the Blood Leeches he drops.
bosses
Rayko the Incorruptible Boss Guide: Under Watchful Eyes at Stoneward Post
Beat Rayko the Incorruptible in The Blood of Dawnwalker: the Stoneward Post cellar duel during Under Watchful Eyes, his overhead swings, and the loot he drops.
bosses
Munch-Munch Boss Guide: The Rockfalls Kobold in The Blood of Dawnwalker
Beat Munch-Munch in The Blood of Dawnwalker: the Rockfalls cave kobold, its four-segment boss bar, the red-skull unblockable attacks, and the exact loot.
Was this helpful?
Thanks for the feedback!