Rayko the Incorruptible Boss Guide: Under Watchful Eyes at Stoneward Post
Beat Rayko the Incorruptible in The Blood of Dawnwalker: the Stoneward Post cellar duel during Under Watchful Eyes, his overhead swings, and the loot he drops.
FAQ
Who is Rayko the Incorruptible in The Blood of Dawnwalker?
Where do you find Rayko?
Is Rayko tied to saving Mert?
What does Rayko drop when killed?
How hard is the Rayko fight?
Who Is Rayko the Incorruptible in The Blood of Dawnwalker?
Rayko the Incorruptible is the boss the game’s health bar names in that exact wording — a big, helmeted, bearded man in a yellow-and-black chevron tabard over chainmail, fighting with a long two-handed weapon he lifts well above his head. He is the armed problem inside the Stoneward Post during the side quest Under Watchful Eyes, and this page is rebuilt from two independent captures of the same cellar: one 65-second duel recording with an Italian-language HUD, and one long English-language quest playthrough.
The naming is worth pinning down first, because it is the one thing both captures agree on. The Italian bar reads Rayko, l’Incorruttibile; the English bar reads Rayko, the Incorruptible. Same skull marker at the left end, same single continuous red bar, same pointed end caps.
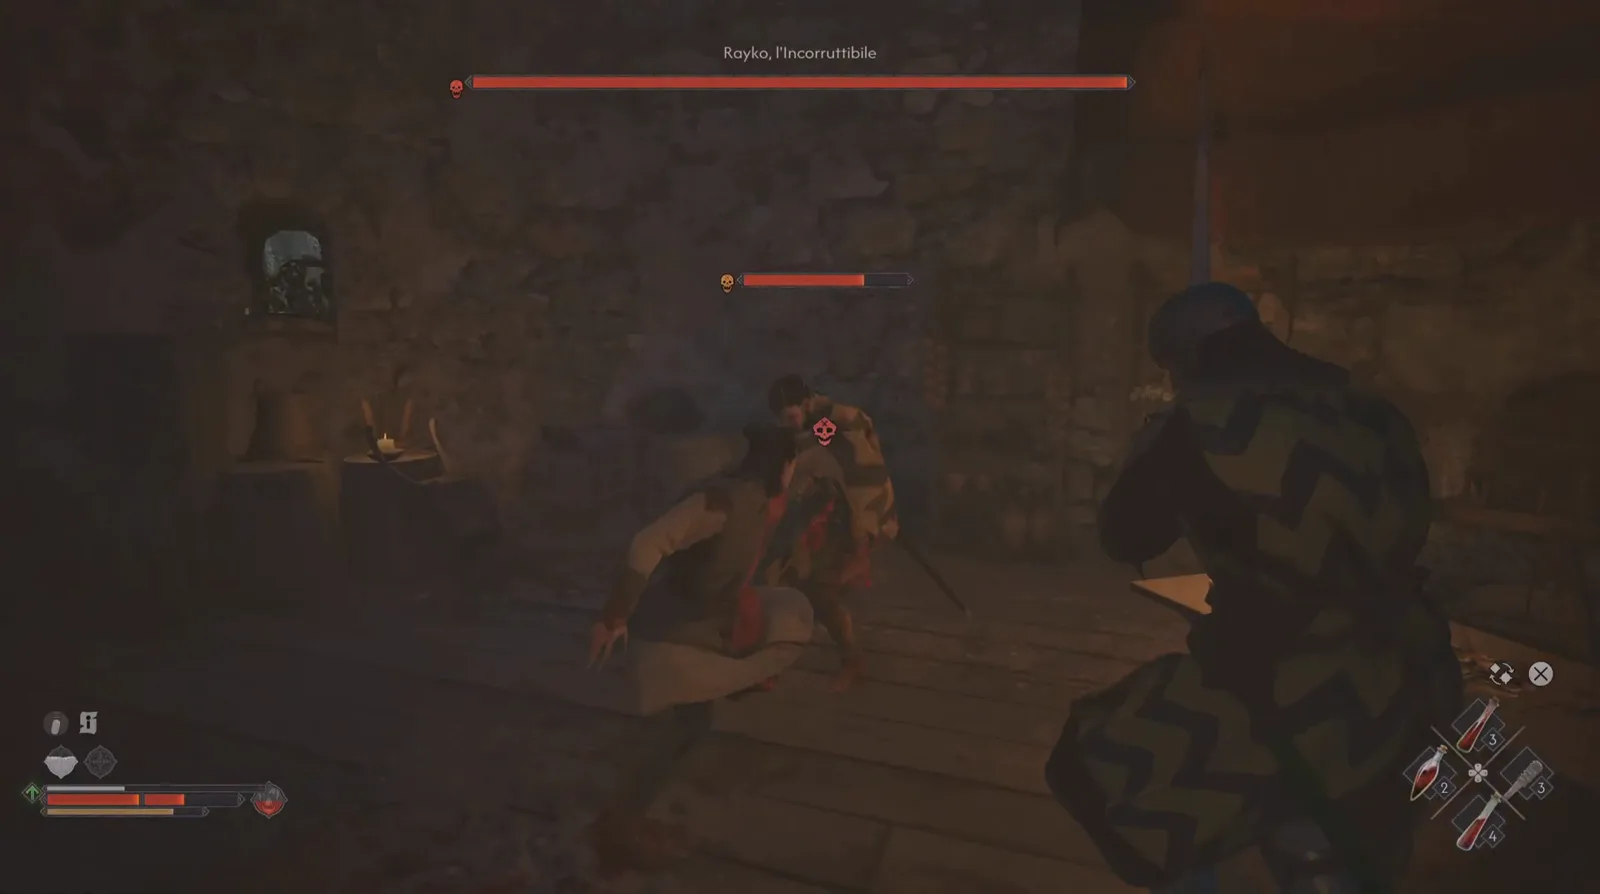
The bar is full here, and it is one unbroken red line — no segments, no phase gates. Watch the opening lunge at 0:08
That is a real difference from other named fights. /bosses/bloodletter/ renders as a bar split into three segments, and the transition between segments is the moment his pressure changes. Rayko’s bar has no dividers at all, and across the whole capture it simply drains.
His design is clearest when he stops moving:
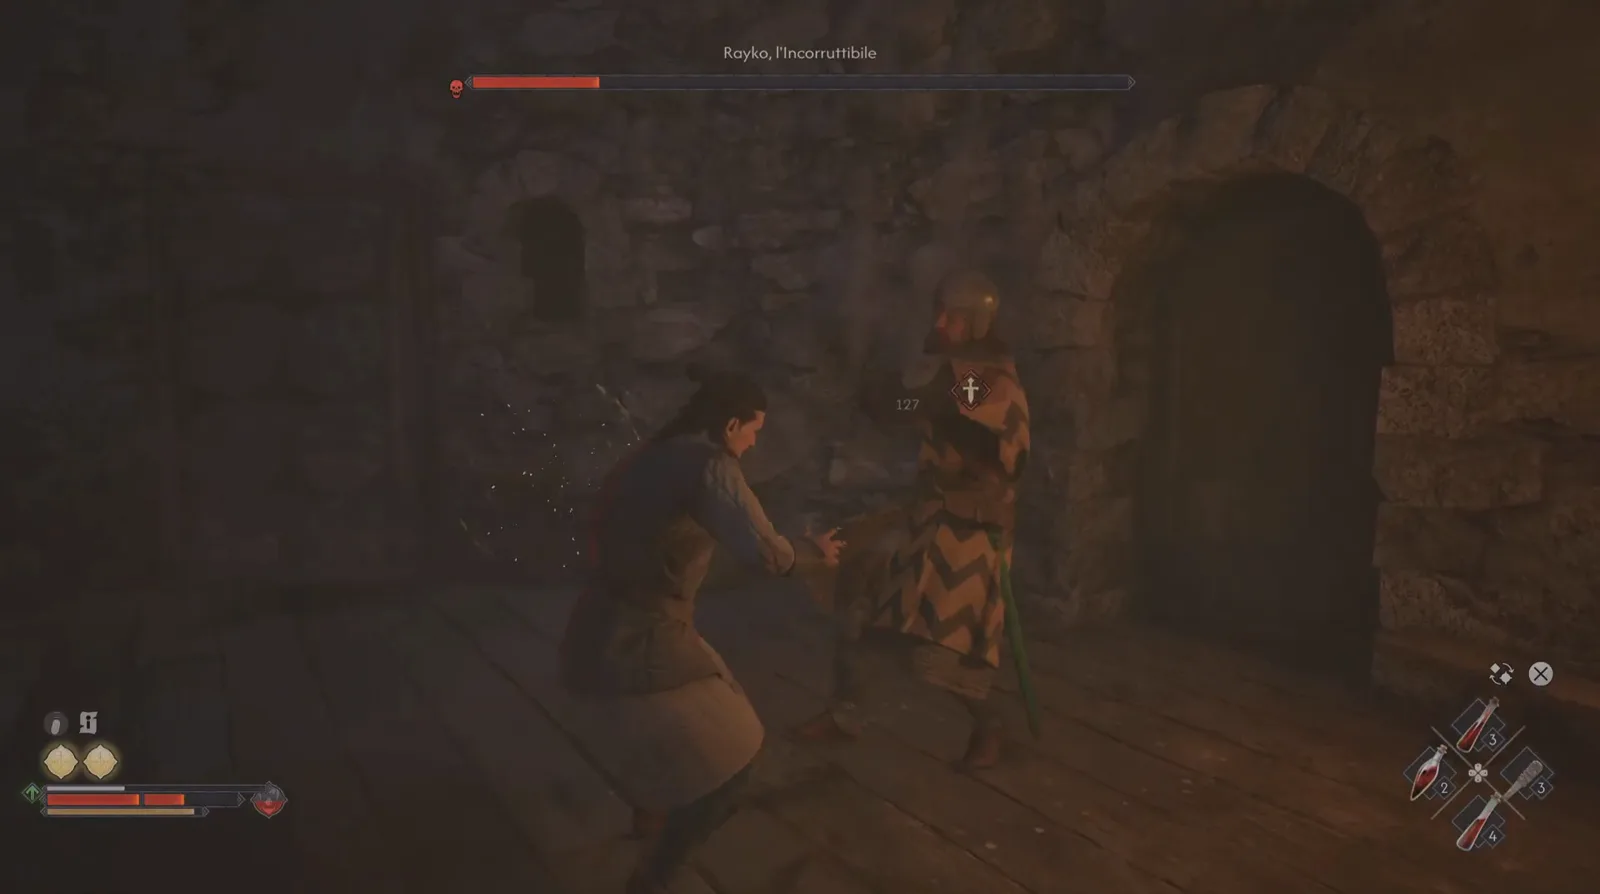
Helmet off the face, beard visible, and a long green scabbard hanging at his hip while he waits in the doorway. Watch him at the doorway at 0:56
Where Do You Fight Rayko?
The room does most of the locating. Both captures show the same interior: rough stone wall, plank wooden floor, at least two arched doorways, a wall lantern burning on the right-hand wall, a long table set with a lit candle and plates, and a rack of round shields or barrel heads against the left wall. It is a post’s cellar, not open marsh.
The tracker supplies the name. In the English capture, immediately after the duel, the objective list reads Under Watchful Eyes with the step “Escort Mert through the Stoneward Post’s main gate” — the on-screen proof of both the quest and the site.
The approach, though, is still running on the calendar, and the capture is blunt about the cost. Bottom of the tracker, the time-of-day label and the countdown are both on screen before the fight starts.
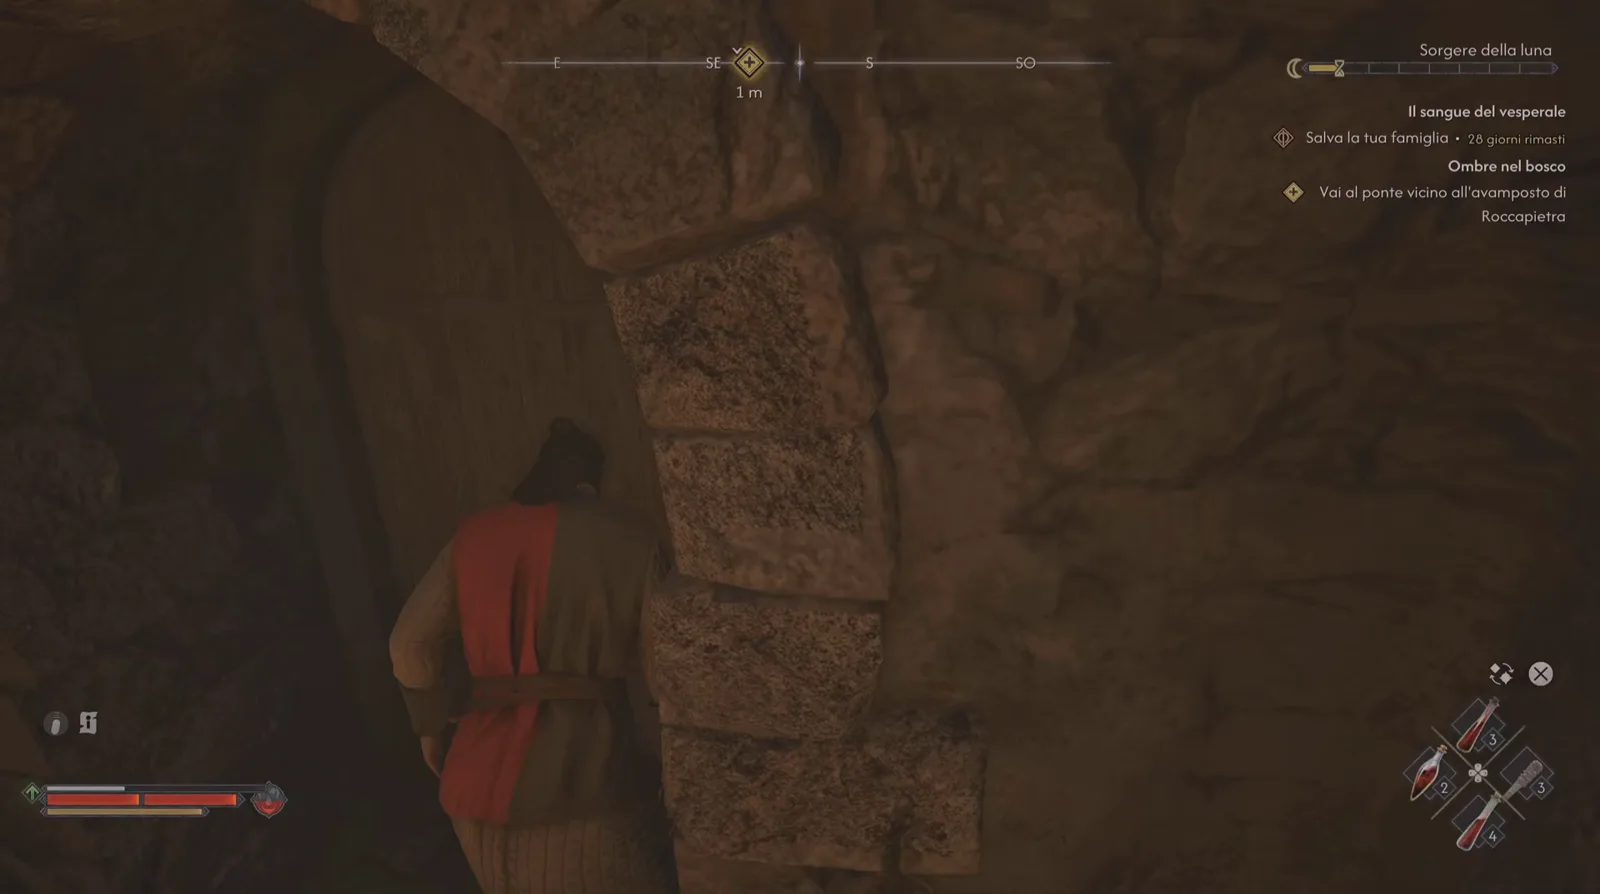
Twenty-eight days left on the clock at the moment this was recorded — the duel is spending real hours, not just attempts. Watch the approach at 0:00
Read that panel carefully: it is the Italian localisation, so the quest headers print as Il sangue del vesperale and Ombre nel bosco, and the day counter prints 28 giorni rimasti. The English capture’s equivalent tracker reads Rescue your family • 27 days left under the main-quest header, with time-of-day labels like Wee Hours and Dawn above it. Those labels are the currency of /guides/30-day-time-system/ — every reload, every failed attempt, and every Time Has Passed notice during this quest takes days off the same counter, which is the real difficulty of the whole Stoneward Post sequence.
One HUD behaviour is worth knowing before you go in: the quest tracker disappears for the duration of the fight. In the English capture it is visible while exploring and gone the moment Rayko’s bar appears, at every check inside the duel. Do not expect to read your objectives mid-fight.
What Does the Rayko Fight Look Like?
A straight one-on-one duel in a tight room, with reach as the whole story. Rayko’s weapon is long enough that he lifts it clear over his head to strike, which means his wind-up is visible and commensurately slow:
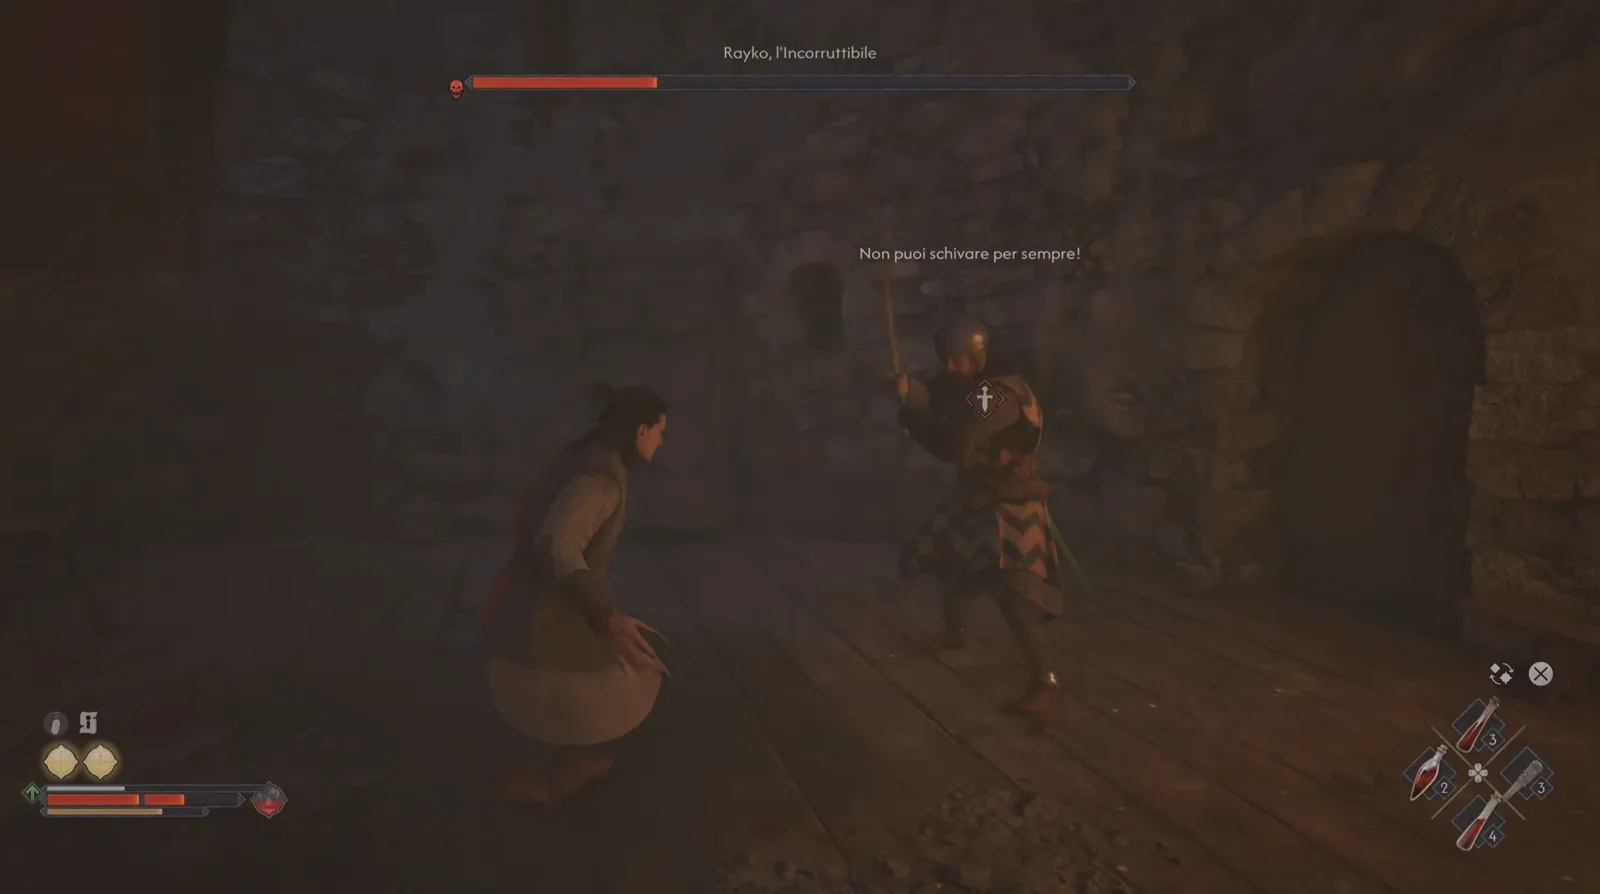
Weapon fully overhead, Coen still on one knee — this is the window, and the subtitle is the game taunting you for taking it. Watch the wind-up at 0:52
The subtitle over that frame reads “Non puoi schivare per sempre!” — you can’t dodge forever. It is a boss taunt addressed to the player in the second person singular, and it is the same line the English capture’s subtitles carry as “You can’t dodge me forever.” Two different localisations of one voice line, which is the cleanest cross-check on this page.
The English capture’s subtitles preserve a large block of his dialogue, all of it goading rather than tactical: “Slow as a snail.”, “Time to put you in the grave.”, “Find courage to die.”, “Show some dignity. Fight.”, “You make me want to laugh.”, “No one will come to your aid.”, “Die, weakling.”, “Saw it coming from a mile away.”, “Should have practiced more.”, “Not so cocky anymore, eh?”, “I take no prisoners.” None of them names an attack or announces a phase.
The damage readout is equally plain. The only numbers the Italian capture produces are 141 and 127, white and unadorned, with a small marker over his chest:
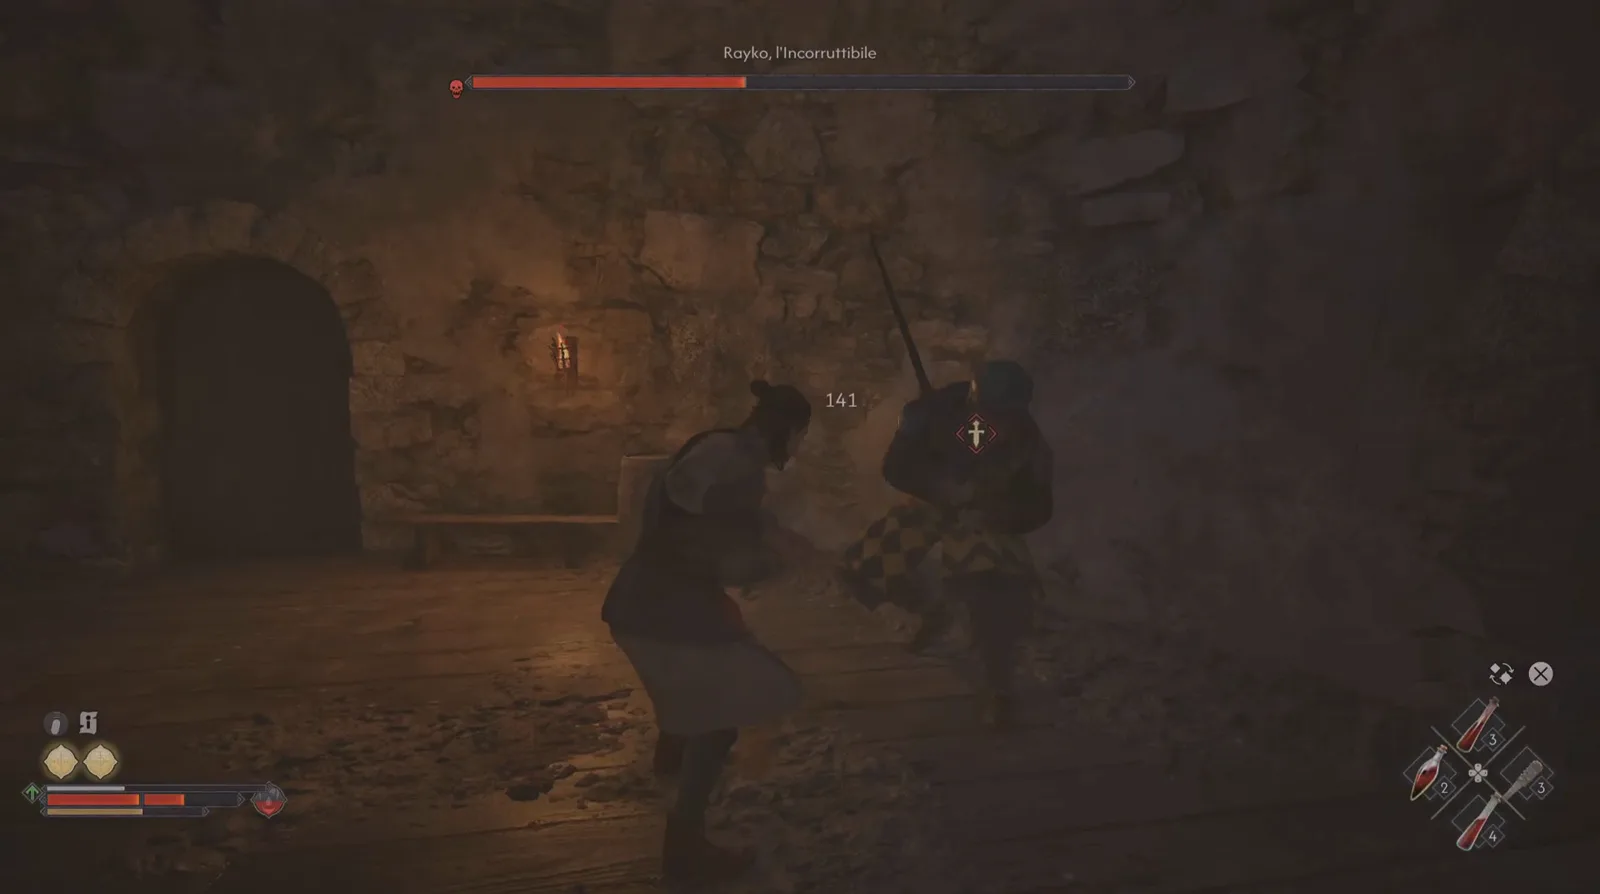
141 on a single hit, with the boss bar already down to roughly half — plain blade damage, no element attached. Watch the 141 hit at 0:44
The bar’s descent is the most useful tactical data the capture yields, because of what is absent from it. It goes full → about 90% → about 55% → about 50% → nearly empty with no transformation, no new attack set, and no transition marker of any kind. Compare /bosses/xanthe/ or /bosses/bakir/, where the shape of the encounter changes. Rayko is a single sustained duel: the same long weapon and the same overhead rhythm from first strike to last.
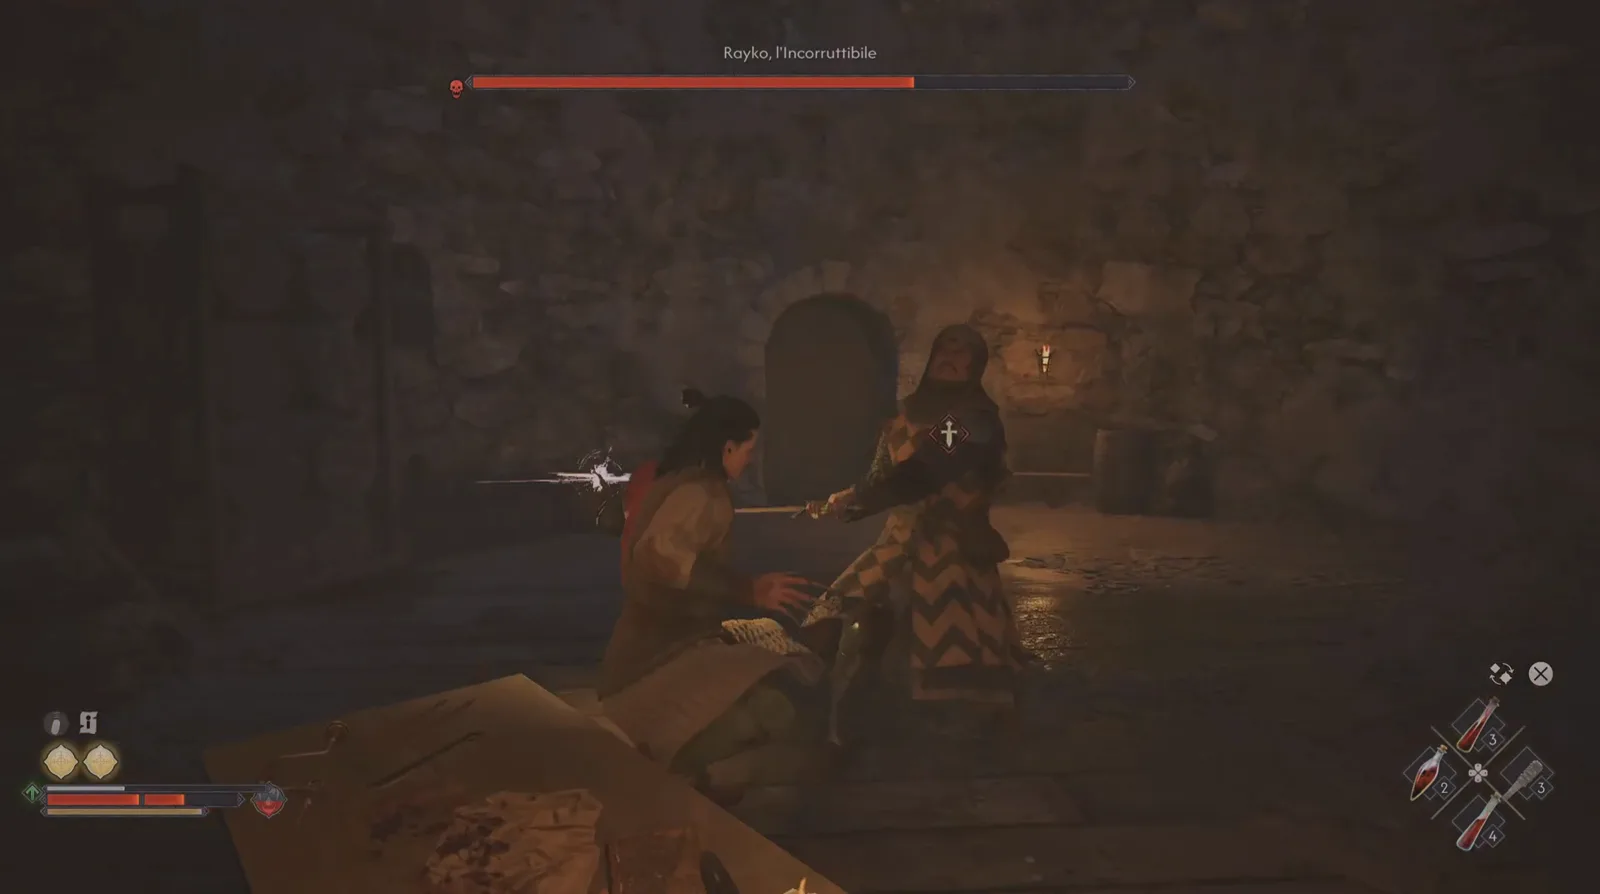
The bar is only a notch short of full here, and the room has already boxed the exchange into the doorway. Watch the exchange at 0:36
He is also not necessarily alone in the room, which changes how you should treat the space. Early in the capture a second, shorter skull-marked bar appears below his own, and the subtitle over it reads “L’avete visto anche voi?!?” — did you all see him too? — plural, so the speaker is addressing other people, not the player.
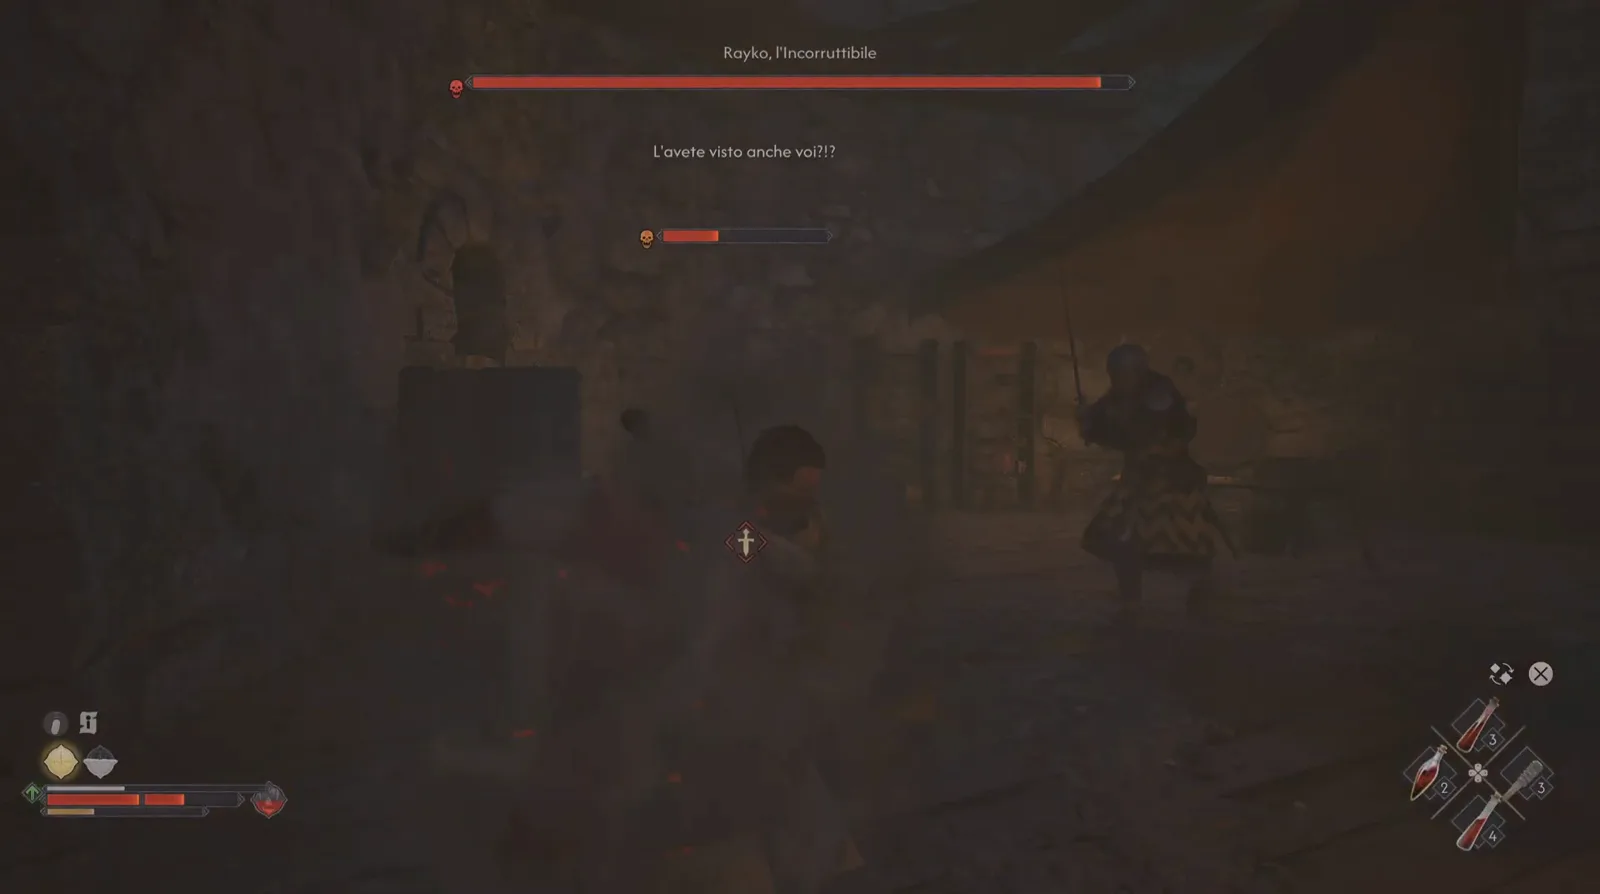
That lower bar is a second elite-tier fighter, which is why this page never calls the duel strictly 1v1. Watch the second bar at 0:16
Practically, the capture argues for the same approach this site recommends against every reach-heavy named duel — see /bosses/brencis/ for the parry-and-punish version: make him commit to the overhead, step inside the recovery, take one hit of your own, and get out before the weapon comes round again. Sustained dodging is exactly what he is waiting for, and he says so.
What Does Rayko Drop?
The kill is followed immediately by a loot panel over a blood pool on the cellar floor, with his boss bar gone from the top of the screen.
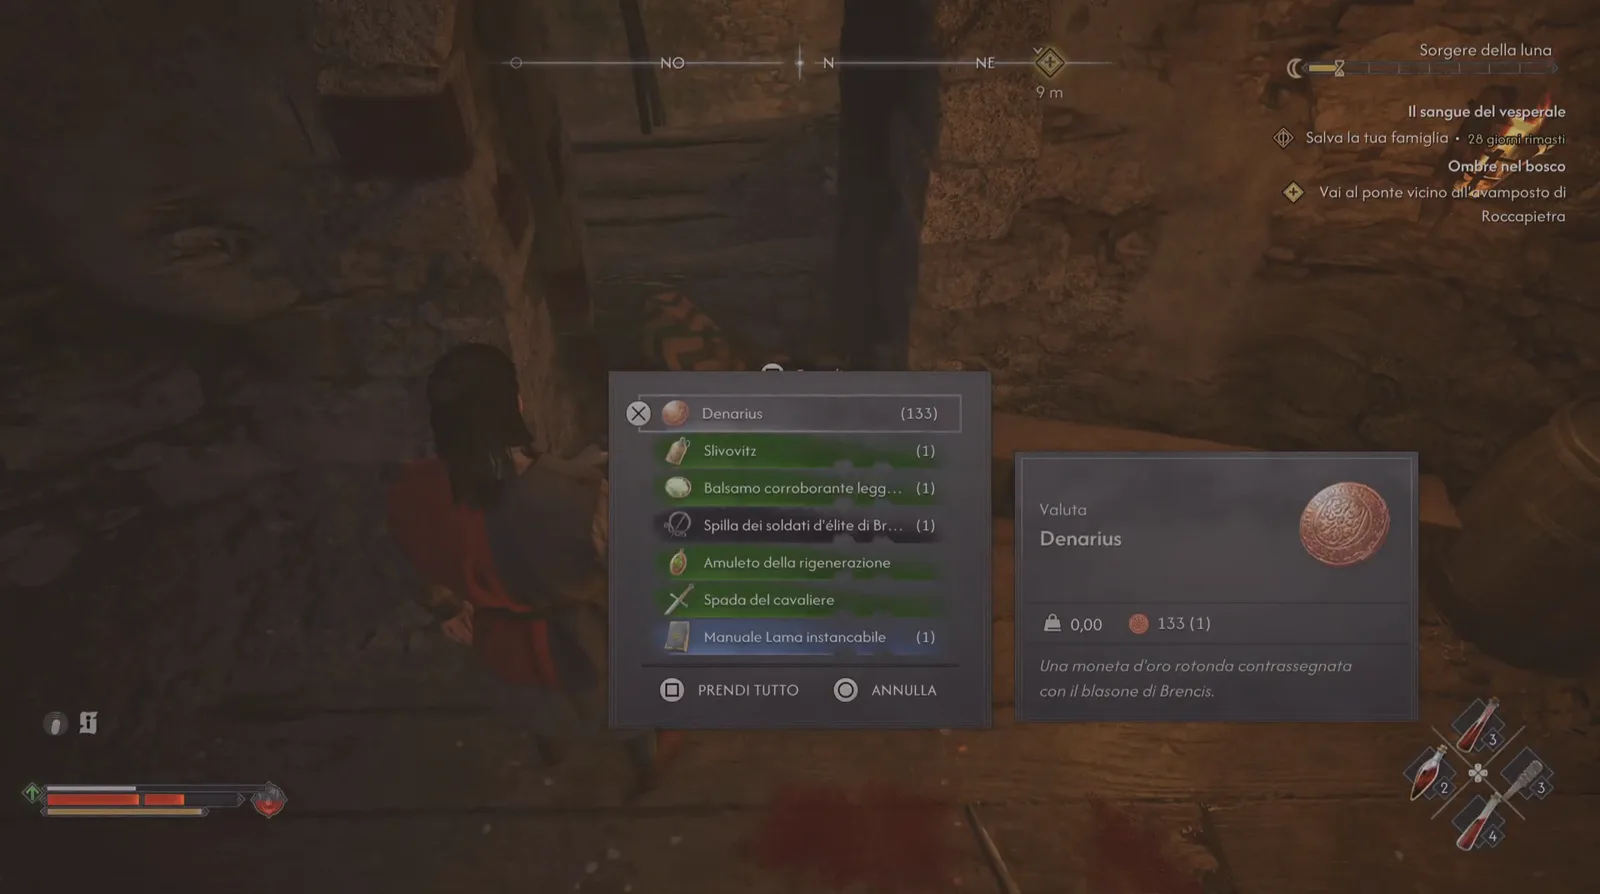
The tracker is back on screen at the same moment the bar is gone — combat really has ended. Watch the loot panel at 1:04
Read off that panel, in the Italian localisation this capture runs, the list is:
| On screen | Count | Reading |
|---|---|---|
| Denarius | (133) | Currency. Its tooltip calls it a coin stamped with Brencis’s coat of arms. |
| Slivovitz | (1) | Not translated by the game — the item name is the same in English. |
| Balsamo corroborante legg… | (1) | Panel edge truncates it; matches the Minor Fortitude Paste line. |
| Spilla dei soldati d’élite di Br… | (1) | Brencis’s Elite Soldier’s Fibula. |
| Amuleto della rigenerazione | — | An amulet of regeneration. |
| Spada del cavaliere | — | A knight’s sword. |
| Manuale Lama instancabile | (1) | A blade manual — the same ___ Blade Manual family as the one The Bloodletter drops. |
The two Brencis-branded lines are the interesting part. They are not Rayko’s own kit; they are the signature of the man whose soldiers he is fighting alongside, which is why the same fibula appears in /bosses/bloodletter/‘s loot list and why the currency in your pocket is counter-stamped at all. The Denarius economy behind that is covered on /guides/denarius-farming/, and the manual belongs in the swordmastery books indexed on /items/swordmastery-manuals/ — read it before assuming a blade drop is a straight upgrade over what is on /items/silver-swords/.
⚠️ The English names above are this page’s translations of Italian strings, not on-screen English. Only Denarius and Slivovitz appear untranslated. Treat the rest as approximate labels for the items, and confirm against your own HUD.

The Blood of Dawnwalker — Under Watchful Eyes quest, Rayko the Incorruptible boss and saving Mert (Dregstar88, Part 21)
Sources & Verification
- The Blood of Dawnwalker - Rayko, l’Incorruttibile - Boss Fight by Jackallino — the image source for all eight screenshots, chosen because it is the only Rayko footage available that is free of facecam, channel logo and burned-in overlays. It is a 65-second continuous capture running an Italian-language HUD, and it supplies the boss bar and its name, the cellar interior, the overhead weapon, the 141 and 127 damage numbers, the Non puoi schivare per sempre taunt, the second elite bar, and the complete loot panel. See the kill-adjacent wind-up at 0:52 and the loot panel at 1:04.
- THE BLOOD OF DAWNWALKER UNDER WATCHFUL EYES QUEST RAYKO THE INCORRUPTIBLE BOSS & SAVING MERT PART 21 by Dregstar88 — the English-language fact source for the boss’s English bar label, the Under Watchful Eyes quest name, the Escort Mert through the Stoneward Post’s main gate objective, the Rescue your family / 27 days left tracker, the Wee Hours and Dawn time labels, the hidden-tracker-during-combat behaviour, the caged prisoner and the Time Has Passed notice, and the full English taunt list. Its frames are unusable — a facecam sits in the bottom-left corner of every second of it — so it contributes no images.
- Fextralife — Rayko the Incorruptible — consulted only to corroborate the quest assignment, the Stoneward Post location and the Briar Sloughs region. Its named attacks and drop list are not reproduced as fact here, because none of them is visible in either capture.
- Dropped as a source:
ozeQidJojQ8(Boss Fight Index Channel Muki) — the ideal dedicated English fight capture, but YouTube refused every download and subtitle request for this ID with a bot-check, so nothing from it could be read.wpYyyMD_PSs(Shazam Gaming) — clean and English, but its tracker reads The Freehand / Speak with the miller and it shows only unnamed camp guards with no Rayko bar, so it is a different quest and was not used.
More Briar Sloughs and Quest Boss Guides
- The duel that shares this boss’s Brencis-branded loot: /bosses/bloodletter/
- The blood-outpost fight in the same marsh region: /bosses/chief-jailor/
- The Boyar whose counter-stamped coin this boss drops: /bosses/ambrus/
- The warlord behind the Elite Soldier’s Fibula: /bosses/brencis/
- How the day countdown this quest burns actually works: /guides/30-day-time-system/
- Every documented encounter, indexed: /bosses/
Related Articles
bosses
The Bloodletter Boss Guide: Ambrus's Collectors Duel in Briar Sloughs
Beat The Bloodletter in The Blood of Dawnwalker: the Briar Sloughs leech-barrel camp, his dual-sword duel, the wipe that opens it, and the Blood Leeches he drops.
bosses
Essence of Grief Boss Guide: The Blood of Dawnwalker Memory Fight
Beat the Essence of Grief in The Blood of Dawnwalker: the red apparition inside Isbrand's memory, her unblockable red-skull attacks, and the exact loot.
bosses
Munch-Munch Boss Guide: The Rockfalls Kobold in The Blood of Dawnwalker
Beat Munch-Munch in The Blood of Dawnwalker: the Rockfalls cave kobold, its four-segment boss bar, the red-skull unblockable attacks, and the exact loot.
Was this helpful?
Thanks for the feedback!